Please note I will not be hosting any Public events from 31st January 2023. Nothing too drastic from our side, just need a break.

I’ll be providing updates when we’re back, here and on my social media platforms.

Thank you for all the custom and friendship this has brought me to date.

I look forward to seeing you all again soon, both new and old customers.

The Pratzen was clear, to the North of the Pratzen the visibility was up to 30″, elsewhere all was shrouded in mist. Every four turns depicted an actual hour of game time and by turn nine Davout had arrived, he was still a few turns from any action however and the Russians could not see him!

The troops from Prebeshevsky's 3rd column look to stop Soult advance in the centre.

The action along the Goldbach Stream had been minimal, limited to cavalry skirmishes and light infantry skirmishes to the east of Sokolnitz.

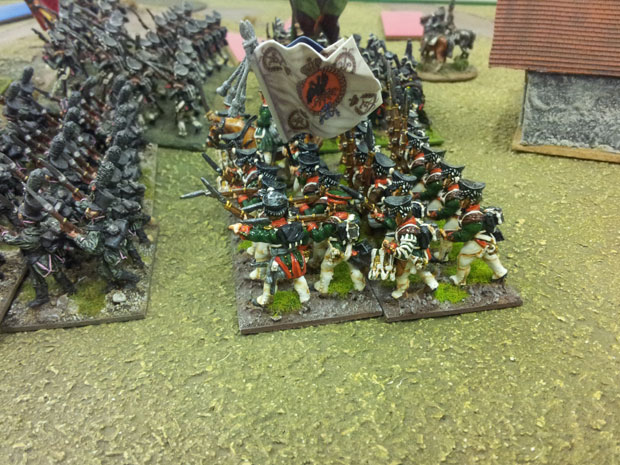
More of the Russian infantry from Prebeshevsky's 3rd Column.

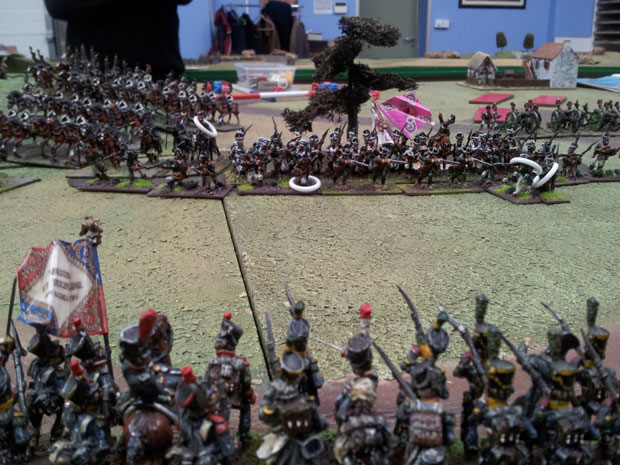
Soult's infantry advance in support of Oudinot, the Russian's look to stop them.

Infantry from Kollowrath's column can be seen engaging the Pheasantry.

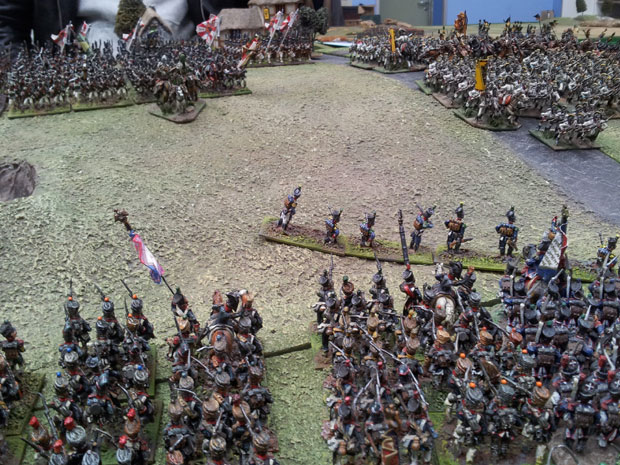
While on the Pratzen itself the Austrians had poured down toward the Pheasantry and were now lining out in an attempt to push the French defenders back. On the French side a little further North, Oudinot and his Grenadiers had begun their climb up the steep slopes of the Pratzen. Ascending out of the mist the tops of the Russian standards could be seen and with cry’s of Vive le Empereur the Grenadiers marched on!

Austrian troops support their Russian comrades.

Around the Santon and the village of Bosenitz the French had got heavily engaged and the infantry fighting was extremely fierce. The French cavalry before the village of Blasovitz withdrew out of range as the casualties began to mount. French artillery moved into position to contest the ground and bombard the village. Docturov’s foot battery engaged them at long range, with support from Liechtenstein’s horse battery. The ground here was now denied to both sides while this duel went on. The French moved a Guard foot battery into the line to support the line foot battery and Horse battery.

Pouring across the North most section of the Pratzen.


You’ll note throughout there’s more of the Front Rank Figures painted by Reinforcements by Post. The flags are mostly by GMB Designs.

Where was the French Guard, it had not materialised out of the mist yet….but it was out there somewhere. The allies were not worried they had the Russian Guard in the centre, just waiting for them to materialise.

More on Friday.

The battle continued to develop in a dense mist, only the Pratzen had cleared to the point of being clear, to the North of the Pratzen the visibility had increased to 30″ but everywhere else it remained at 18″.

The Pheasantry and part of the Goldbach stream.

The troops from Soult's Corps occupy the pheasantry and have crossed the Goldbach in support of Oudinot.

This allowed Cavalry formations to be used in a far more bold way than is usual here at the Wargames Holiday Centre, the Heavies were advancing to within a 20″ of artillery looking for the opportunity to spring out of the mist and suffer minimum casualties before charging home. It was during one of these plucky manoeuvres that the mist lifted to the North of the Pratzen, allowing French and Russian Batteries to suddenly open up on a somewhat surprised target.

The view to the North, Sokolnitz can just be seen on the bottom right.

Over at Telnitz the Russians peered into the mist seeking out a target toward the Goldbach stream.

The woodland east of the Sokolnitz area.

Still the mist persisted, turn after turn! The drums of Oudinot’s Corps of Veterens beat the pas de charge as they reached the Pratzen and began their steday climb.

After waiting for the mist to the lift the Russians move off toward Telnitz in earnest.

To the North of the battlefield east of the Santon, Lannes and Bernadotte engaged Langeron’s Second column and Docturov’s 1st Column in bitter hand to hand fighting, the village of Bosewitz changed hands twice and the casualties began to mount.

Infantry from Prebshevsky's 3rd Column move up the reverse of the Pratzen.

More tomorrow.

On the 16th December 2011 a group of gamers braved the harsh British weather to come along to the first re-enactment of Austerlitz at the new WHC. Well, I thought it would be quite fitting as Austerlitz was fought in December on a cold winters day, we should fight it in December, on a cold winters day.
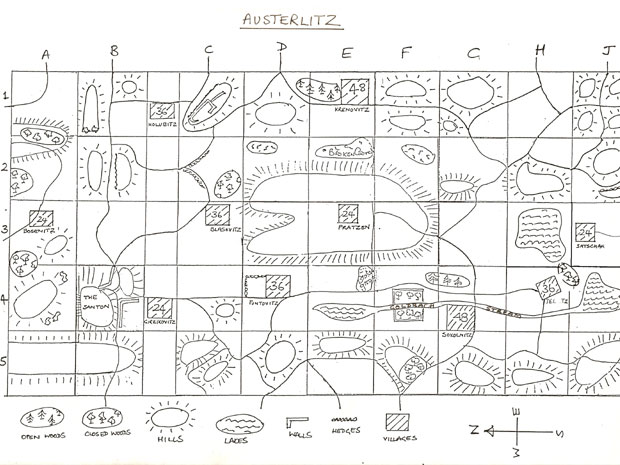
The Map of Austerlitz used at the Centre.

The Map of Austerlitz used at the Centre.


I’ve had to squeeze this in, so apologies if the edges are a little short.

As it turned out the weather was positively balmy! That aside, the protagonists arrived and chose their side, decided their strategies and and deployed for action. Four players a side and over six thousand figures and we were ready to play out one of the most pivotal battles of the Napoleonic war.

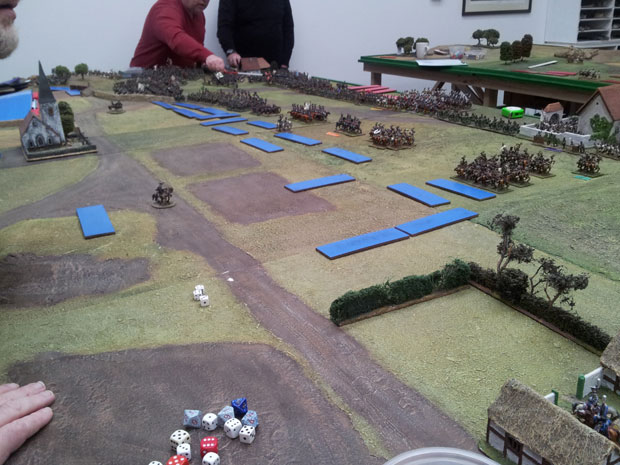
The view of the Battle to the North.

The view of the Battle to the North early in the game.

Those of you who know your history will know that Austerlitz began early in the morning of 2nd december 1805. So the first thing I had to do was outline how the misty conditions were going to work on the battlefield. Visibility was set with three levels, the first reducing visibility to 18″ and also reducing movement, no doubling etc. The next two levels improved on this until everything became normal. The Pratzen was clearing on a 4,5,6. the areas North of the Pratzen on a 5,6, everywhere else on a 6. This was rolled each turn after movement and the visibility would improve by one level on the result of the one die roll.

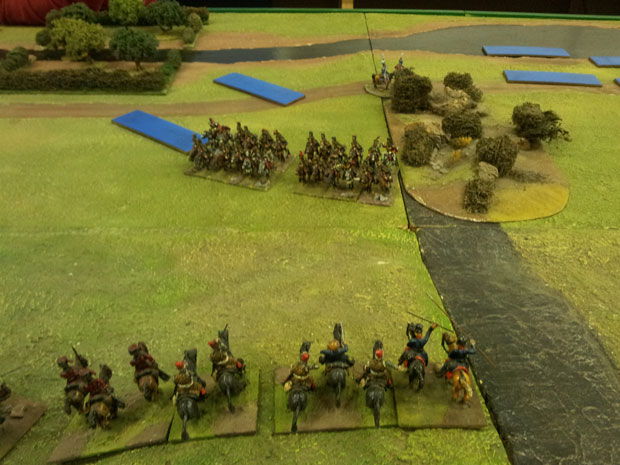
Cossacks move on to the central plain.

Cossacks move on to the central plain. North of the Goldbach revealing the troops of Soult.

So, the battle started with all figures on the customary tiles and the layout looked to be a broad distribution of the allied forces. This can be somewhat deceptive though as the ratio of troops to tile can be two or one battalion, or indeed whole regiments of cavalry or two squadrons. There seemed to be quite a few French tiles across the front so all looked equal. Well you may also realise that this isn’t the truth of the matter as the French are outnumbered by the Allies initially with Davout force marching his divisions to the battle, this would increase the French forces but only slightly. The class of the average French troop is better though, so hopefully this and the planning would ensure a repeat of the famous French victory.
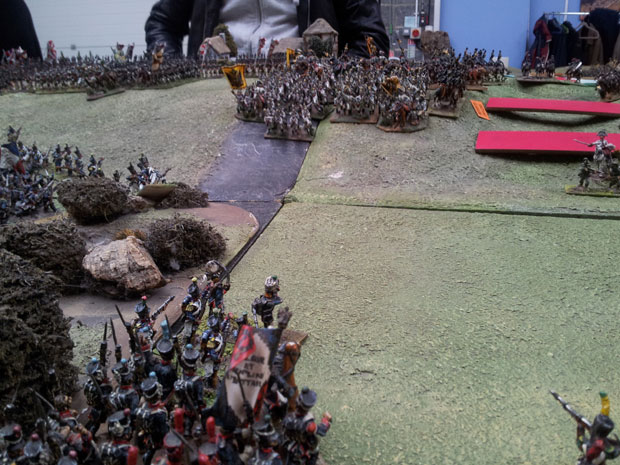
The Austrians move down to support Miloradovitch

The Austrians move down to support Miloradovitch.

The first few turns saw the Allies moving forward on the Pratzen, guns were deployed and Miloradovich sent some of his Russians forward toward the village of Telnitz and also occupied the woodland east of the Goldbach and the village of Sokolnitz.

In the French Centre the advance past Puntowitz and the foot of the Pratzen began, Oudinot’s combined Grenadiers steadily rolling forward into the mist. The French over on the right, or the Northern part of the battlefield pushed on toward the village of Bosenitz. From their position south of the Santon, Bernadotte advanced in support of Murat and the French reserve cavalry. Visibility was still down to 18″, so everything was still on tiles.

The advance toward the Pratzen

The advance toward the Pratzen, Soult's troops catch a glimpse of the troops on the Pratzen.

The first troops to become visible were the Russians and French around Telnitz. Advance screens of Soult’s light cavalry saw Miloradovitch’s infantry hastening to Telnitz, while skirmishers from both sides engaged in long range sniping in and around the woodland east of Sokolnitz.

The woodland to the east of the Goldbash and Sokolnitz.

The woodland to the east of the Goldbash and Sokolnitz.

Over on the Northern side of the battlefield lead elements of Lannes Corps and the Russians engaged in fire-fights and melee! The Russians were occupying Bosenitz by now and the cavalry melee’s were violently brief.

The Russians of Miloradovich on the move

The Russians of Miloradovich on the move


These are one of the new Front Rank Figures battalions we have received from Reinforcements by Post.

More of the Front Rank Battalion.

The mist on the Pratzen had raised a level, however elsewhere it remained at 18″ so most of the artillery fire was at a minimum. The photo’s are taken later in the game however, so there are more figures on the table.

More tomorrow.

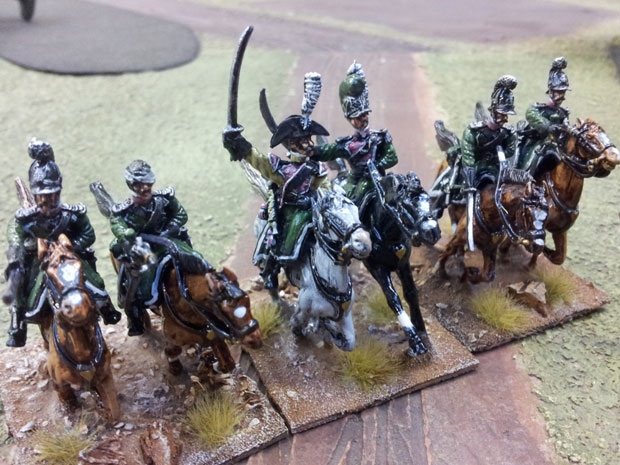
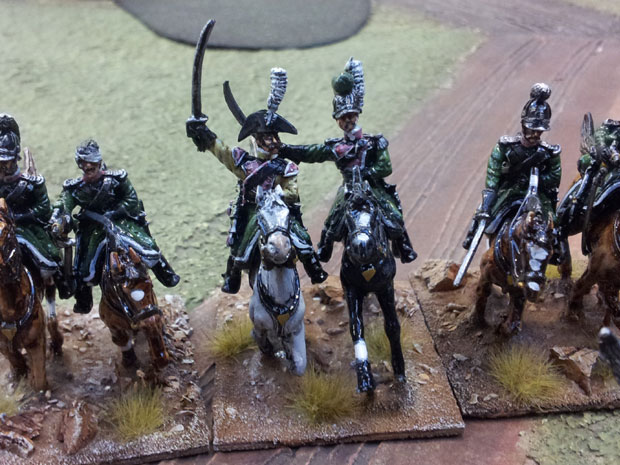
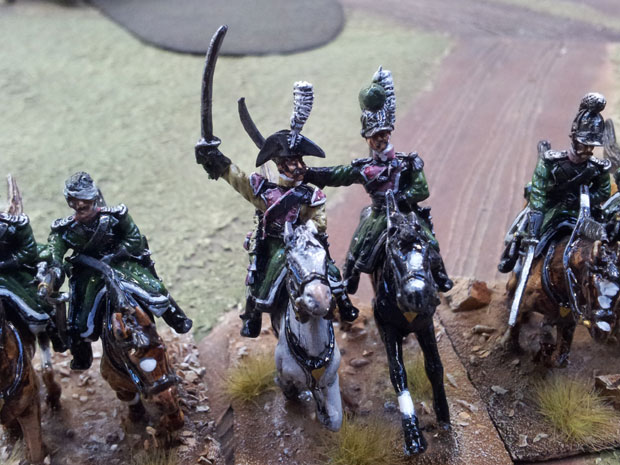
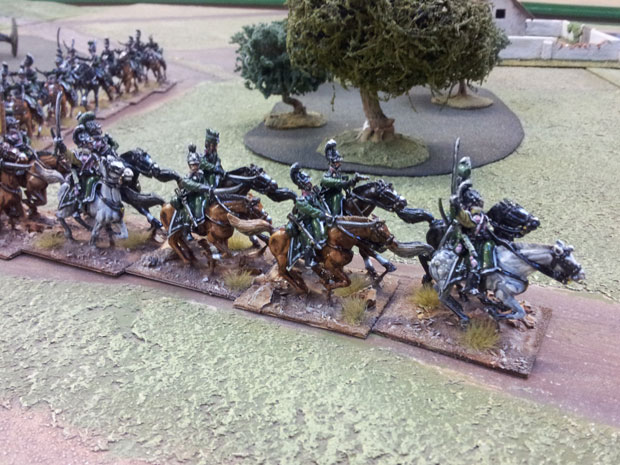
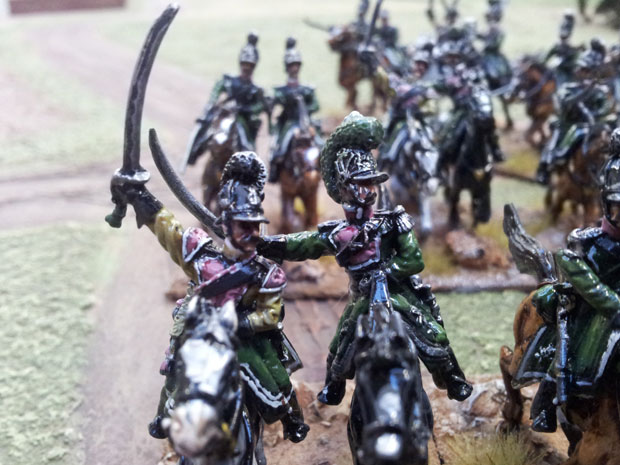
Last year I laid my hands on some of the Firing Line Miniatures figures. These are quite well hidden under the Bicorne Miniatures banner, which is sad as these are some of the nicest figures I have seen in a while.

The new boys thunder past.

The new boys thunder past.

The thing with this manufacturer is that the horses are exceptionally well proportioned anatomically and in my humble opinion look like horses should.

The 1st Squadron

The 1st Squadron.

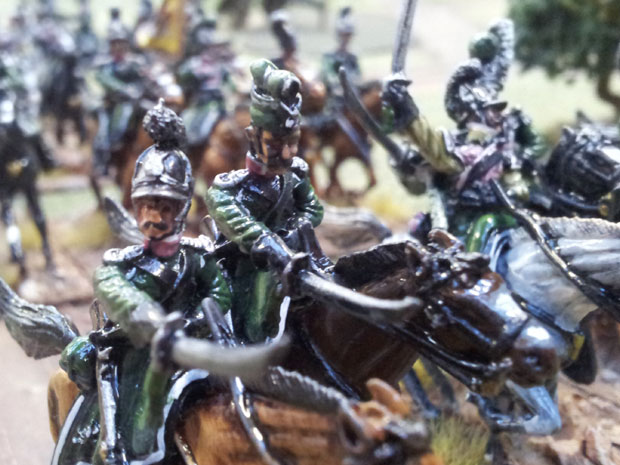
All the figures have separate heads, (oh no, how many heads to stick on??? I hear you cry!) which is a real bonus as this allows a variety of styles of headgear. I like the look of a regiment that has subtle variety, you know, a bicorne here, bandaged head, bonnet de Police etc. When adhering the head it is exceptionally easy with these, the collar has the right space “hole” to fit the lug from the head. This allows the bodies to create a variety of different figures as well, thus representing various regiments.

A good example of the heads and the sword arms.

A good example of the heads and the sword arms.

Front view

Close up

The troopers of this Wurttemburg regiment come with a separate sword arm as well, which allows various positions and a change of a pistol with sword dangling from the wrist. All for that important variety.

Another view of the horses

A good look at the Horses.

The Napoleonic French range, as well as the Wurttemburger’s is exceptionally good.

Bonnet de Police

A look at the variety of heads again.

Anyway enough about the figures, these were built and painted by none other than Chris Cornwell of Itinerant Wargamer, he’s also working on a few battalions of infantry as well and I’ll be reviewing those in months to come.

Officer and trumpeter

Officer and Trumpeter

I’ll let you all judge the look of the figures themselves. Chris has his usual attention to detail with these and mighty fine they look when arrayed on the table. They have yet to taste battle however, although this will be remedied very soon. I imagine, as with all new, shiny figures, they will under perform or indeed get wiped out! Such is the lot of the wargamer.

At the gallop.

More of the Trumpeter and Officer figure.

My thanks go to Chris for such a fantastic looking addition to the Wargames Holiday Centre. I hope you like the look of them.

The review of Austerlitz next week.

In the last month there has been a flurry of activity regarding the Sudan and just recently I had the chance to take a look at the Mahdi figure painted and based by “One man and his brushes” star Dave Docherty.

Mahdi and his helpers.

Mahdi and his helpers.

Dave has started with this command figure and also dabbled with the Plastic figures available. You can see more of these on his blog site One man and his brushes

A good look at the Front of the main figure.

A good look at the Front of the main figure.

I was trying to get an image of him addressing his followers at sunrise, so took the shots with natural light, early in the morning. I hope you approve!

Side view of the whole command stand.

Side view of the whole command stand.

Rear

Ansar.

Dave’s painting technique is to paint and not dry brush I believe, so there is a lot of blended colour on his figures. The swathes of clothing on the Mahdi himself are great examples of this. The “Ansar” with him lend a brilliant contrast to the simple colour scheme of their master.

Top side view.

Top side view showing more of the blending of the colours.

I really liked the finish with the camel as well (no bad jokes please!) a great look, very natural!

Humphrey.

The camel's finish is quite realistic I thought.

We are also looking at the Connoisseur range of Sudan figures, the first look has been very pleasing, the figures have come up very well and fit right in with the whole feel of the Sudan!

More on New additions tomorrow with a look at the WHC’s new Wurttemburg Chevau leger!.

Last year when we moved south I checked which figures would need replacement. The Russians had a lengthy service record and were subsequently moved to the top of the refurbishment list.

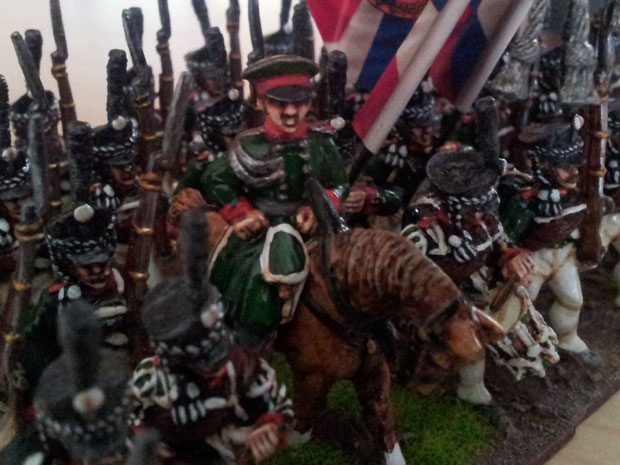
Command stand

The mounted officer offers variety as there are three potential candidates for the infantry.

I love the look of Connoisseur and Bicorne Miniatures ranges, (not forgetting Firing Line Miniatures, which are fantastic!)the flexibility of the figure lends a lot to the conversion process that’s needed to give the flair within a regiment of thirty plus figures. Elite also has a wide array of figures available and you know that the figures will always paint up well.

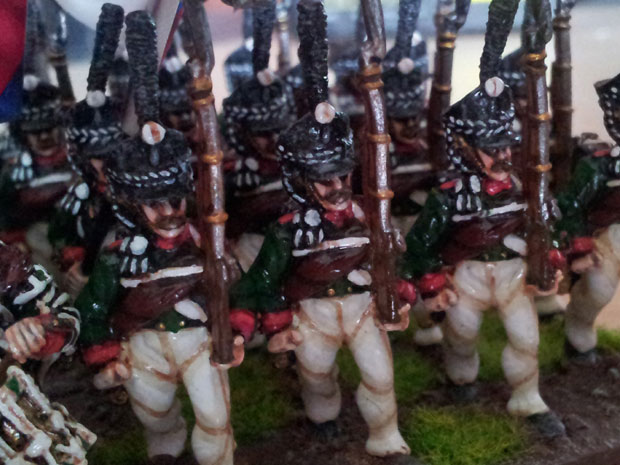
I chose Front Rank Miniatures for our Russian’s though, I liked the look of the faces and the solid feel of the figure. Our figures obviously get a lot of handling and it’s important that there’s a durability about the figure. I also had quite a few to hand!

Cross belts, blanket rolls, all have exceptional detail!

Cross belts, blanket rolls, all have exceptional detail!

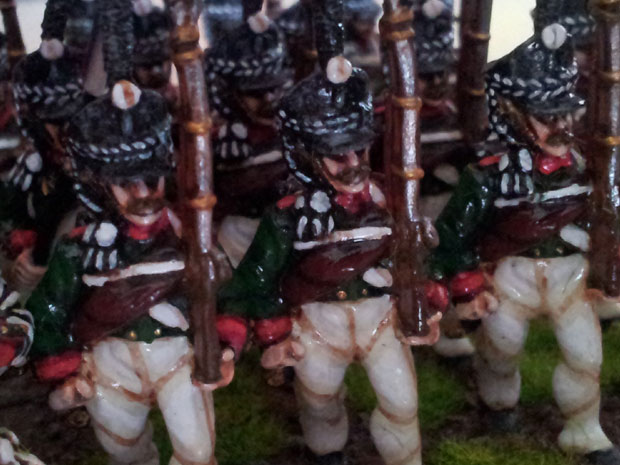
The faces on Front Rank figures are quite exceptional in my opinion, the best looking figures for me are ones with a good face, good flag and good basing. They are the things you really see after all. The detail in the uniforms are clearly there to see, nothing has to be painted in. Well unless you’re painting in detail on a regiment that’s not already manufactured, such as the Russian Guard. There’s only subtle differences between the line Grenadiers and the Guard, lace to collar and cuff and the cartridge pouch badge etc. But there is a difference.

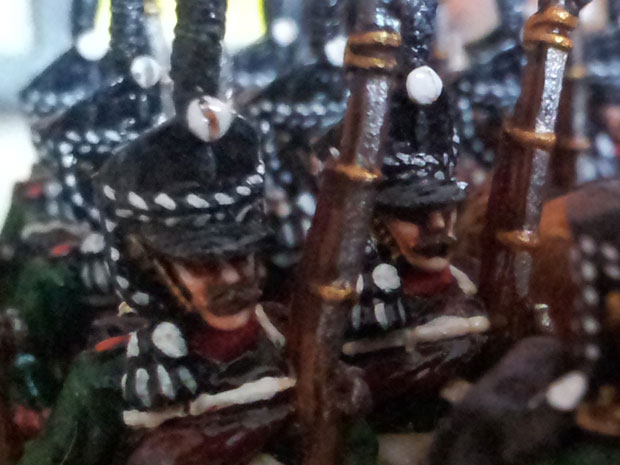
More detail of the faces and shako cords.

More detail of the faces and shako cords.


Note that the pom-pom and grenade badges had yet to be painted in, of course these are all done now.
So I sent the figures over to Reinforcements by post., I had seen good results from these guys in the past, I have featured some of the figures painted by them in earlier posts. I suppose that I was nervous of any hidden costs, transportation, import/export tax and the like. Fortunately they were very helpful, I got the figures over to them, gave them some details on what it was I actually wanted (finer detail and the like, as they already have an extensive knowledge for the painting of most figures.), then sat back and waited for them to come back in.

Well it was well worth the wait, the figures I got back were simply stunning! I eagerly sorted them out into their battalions, based them then flagged the lot. All that sounds easy in a very short sentence……I can assure you it is not! I deliberately asked them to leave the shako/kiwer badges black, the pom-pom’s were also left white. I perceived that it would make things easier for getting them into battalions if I could paint on the battalion distinction after basing them all. I need not have bothered, they were all painted as I wanted, no mistakes! Faaantsatic!

So several working days later I had the first lot done. I was planning on replacing the old figures for the Austerlitz game and needed to get them sorted out as the clock was ticking. So after sorting out the battalions for the Guard, combined Grenadiers and line ( I even threw in a marine regiment for variety) I was ready to go.

Finnials, flags were all varnished and stuck in the figures, when I say stuck in they really are! Front Rank have neat recesses left in the hands of the standard bearer which allows the placement of the pole, so it’s less likely to come out later on!

The detail for the shako cords.

The detail for the shako cords, the jackets and trousers also have three colours on them.

I have to also mention the flags, I purchased all the Russian replacement flags from GMB Designs. These are exceptionally good flags with a lot of time and effort having gone in to researching the history of each flag. The Guard flags and line are quite superb. The Russians have a fine array of colour to their earlier flags, the replacements weren’t on the dot so to speak so I felt a little poetic licence in mixing flags with the later uniforms!

Detail of the Drummers and Grenadiers.

Detail of the Drummers and Grenadiers, you can also make out the flags excellent detail.

I think the end result is very pleasing to the eye. I’ve added this image as it was the first battalion to be based and flagged.

The images of the Austerlitz game will include more of the variety of Front Rank miniature battalions.

All that later this month though!