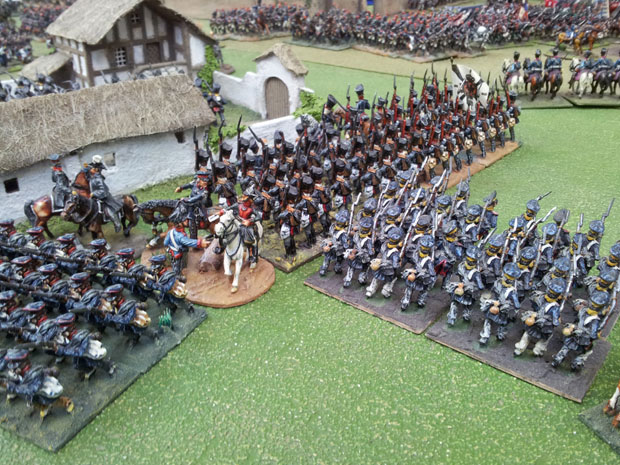
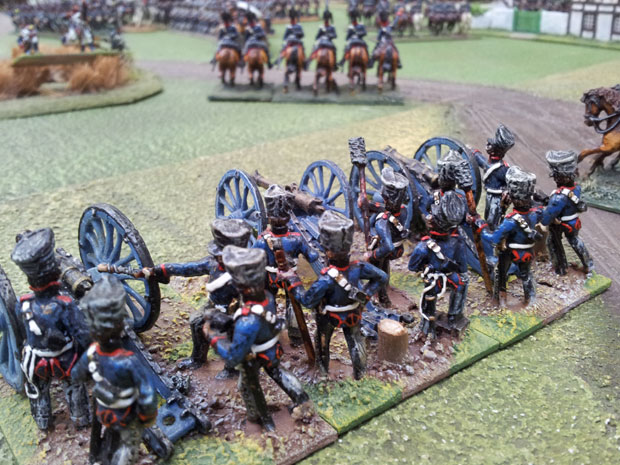
Please note I will not be hosting any Public events from 31st January 2023. Nothing too drastic from our side, just need a break.

I’ll be providing updates when we’re back, here and on my social media platforms.

Thank you for all the custom and friendship this has brought me to date.

I look forward to seeing you all again soon, both new and old customers.

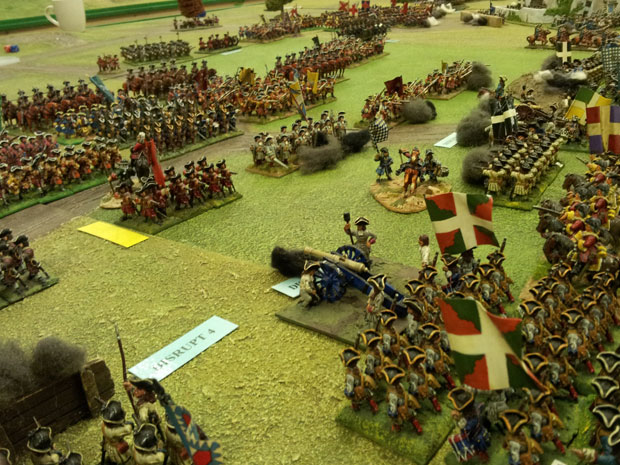
The Battle of Malplaquet was reaching a climax, the whole centre was now embroiled in a desperate struggle!
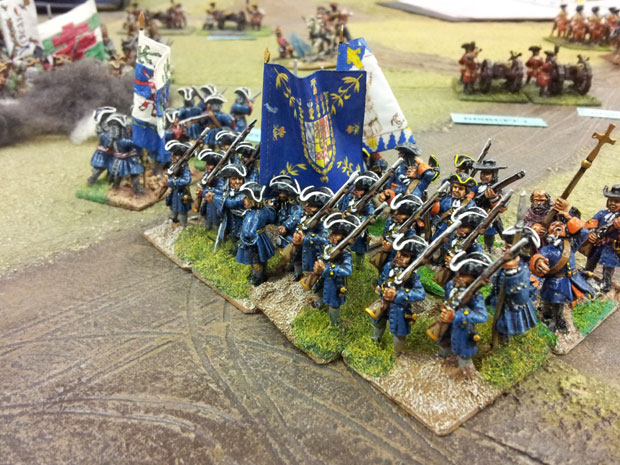
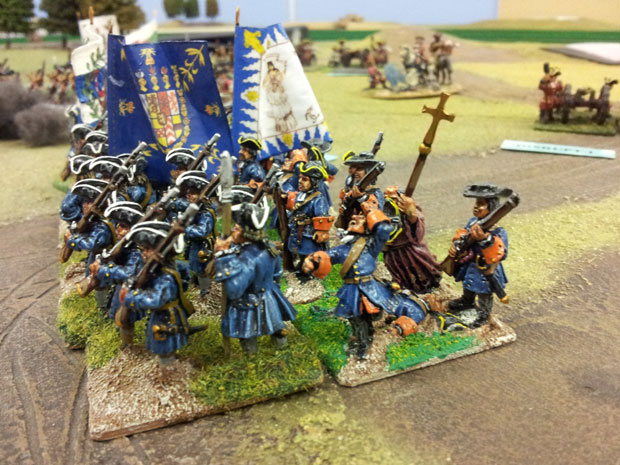
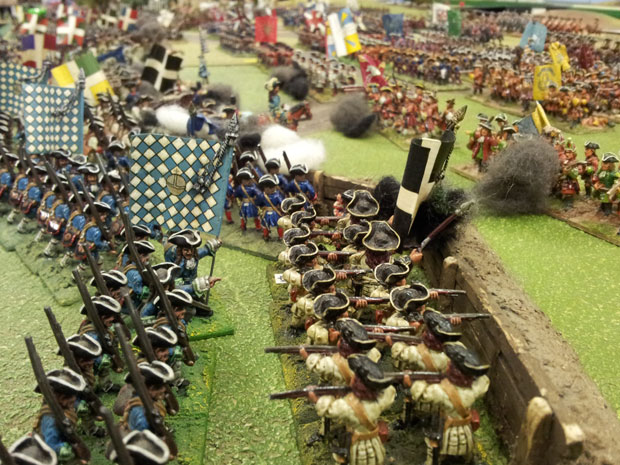
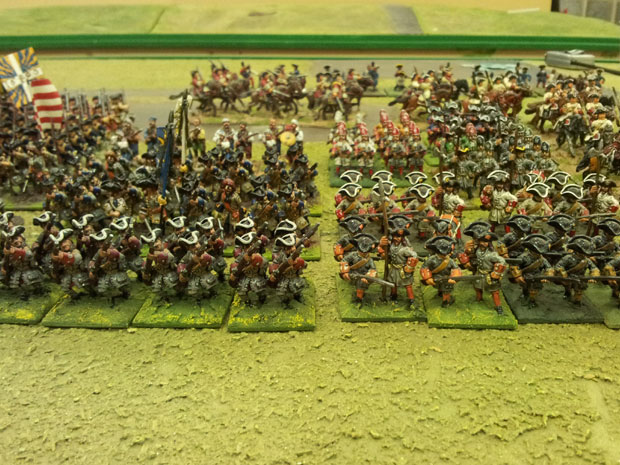
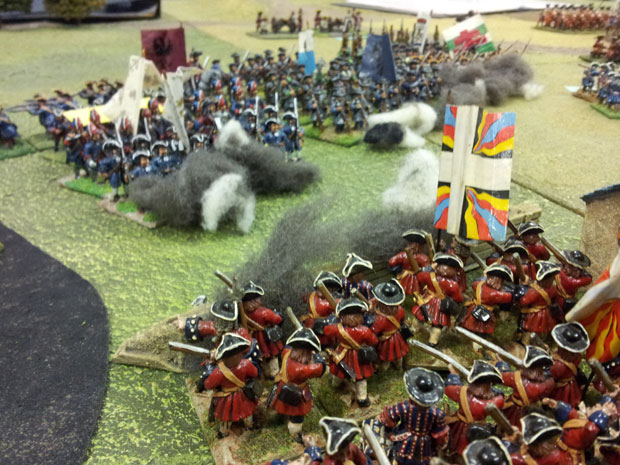
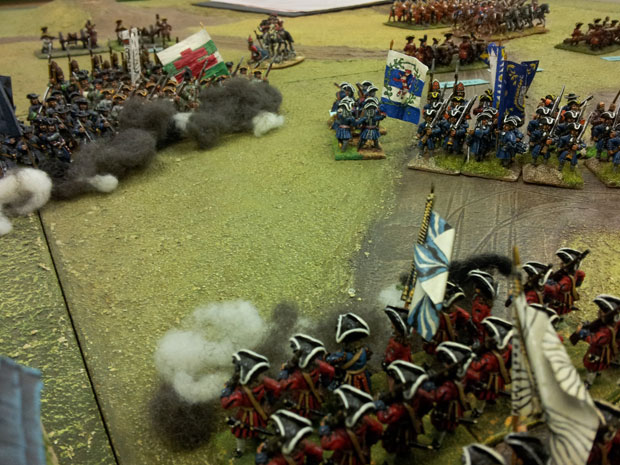
Palatinate Troops

Palatinate Troops engaging just south of the Sars Wood.


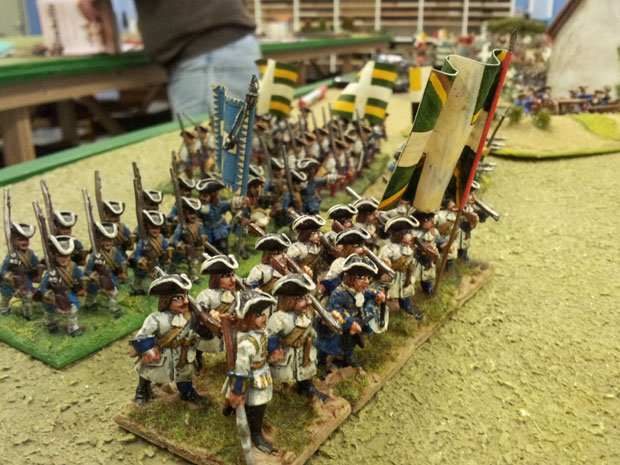
We used some of the colourful troops as the Germans in the forces. These figures are all from the Wargames Foundry range.

The Palatinate close up.

The Palatinate close up.


There are obviously a number of German regiments on the allied side and we tend to use as much of the accurate stuff. Figures are from Foundry.

The fighting around Blairon farm became more and more intense! Count Lottum’s force attacking it from the front.

The troops from Lottum's force engage in fore-fights with the garrison of Blairon.

The troops from Lottum's force engage in fore-fights with the garrison of Blairon.


A lot of the figures in the foreground are from the old Strategem range.

The troops from the Allied reserve were moving in to support the push from Orkney and Lottum.

The Danish Guard begin to advance again on Blairon farm

The Danish Guard begin to advance again on Blairon farm.


The Danes had been locked in a fire-fight with the defenders of Baliron Farm for a number of turns. So intent on killing the French, eventually Lottum had to move up and order them forward again!
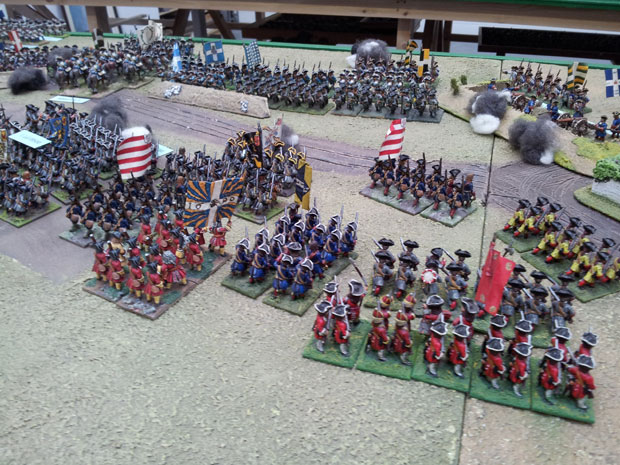
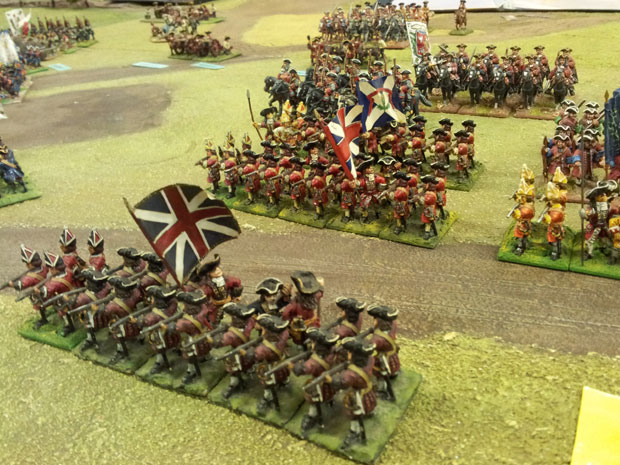
Hessians of the reserve.

Hessians of the reserve.

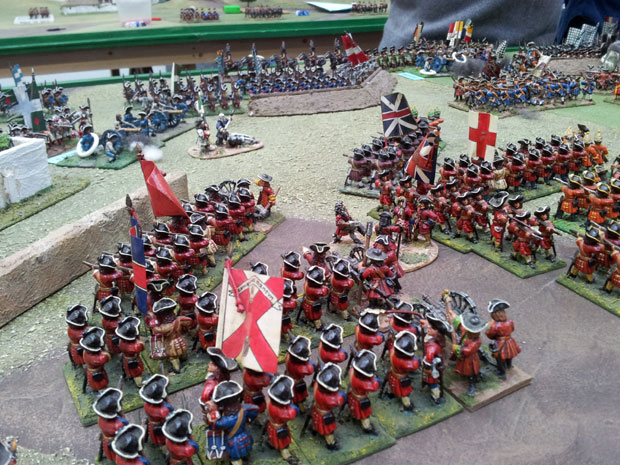
The fighting North of Lainieres Wood began to escalate, the Allied reserve was being committed to the fray, rank upon rank of Hessians filed forward to deliver their first volleys.

Hessians support the attack North of Lainieres Wood.

Hessians support the attack North of Lainieres Wood.


The Hessians in the foreground, advance into the line to bypass the defenders of Lainieres Wood visible with it’s redoubts in the distance.

The conclusion of this huge game will be presented next week.

Til then!!!!!

The action was free flowing along the whole front, here are a few more images of the action!

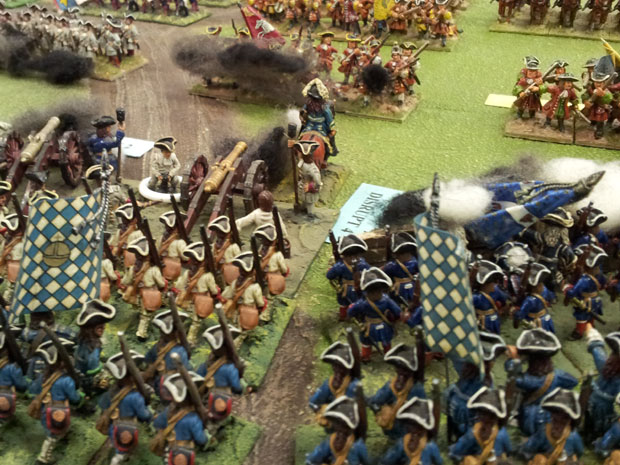
Troops in the French Centre attempt to halt the forces of Orkney

Troops in the French Centre attempt to halt the forces of Orkney and Lottum.

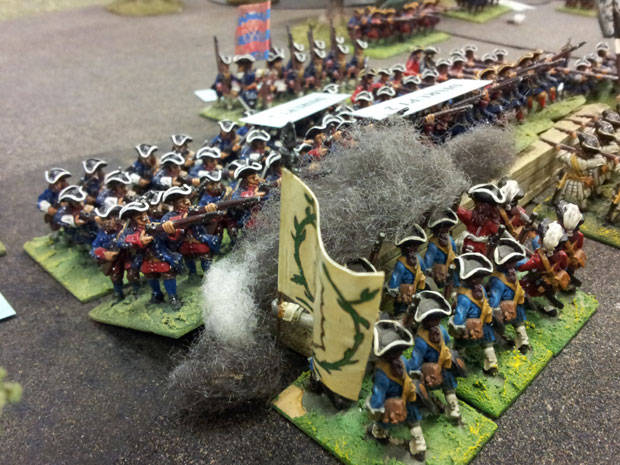
The French Battalion in the foreground looks as though it is about to break. The Bavarian Battalions represent the “Raw” troops, as the Bavarian troops, or what was left of them, were merged into the newly raised French regiments.

The Hanover Battalions of Lottum's force.

The Hanover Battalions of Lottum advance into the firing Line in the Allied left centre.

The Hanoverian troops in Lottum’s force engaged the French toe to toe for hours. The figures are from Wargames Foundry mostly.

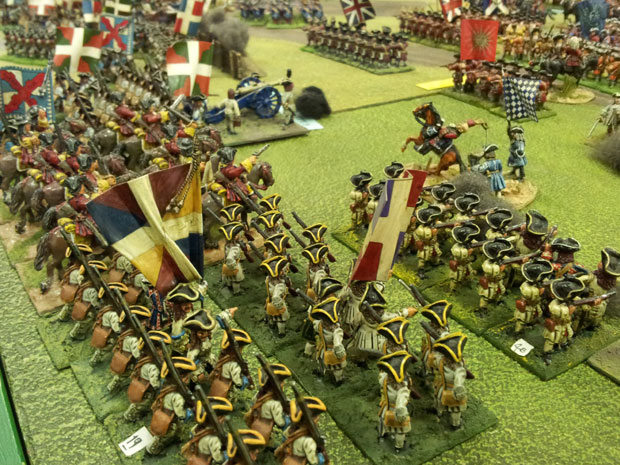
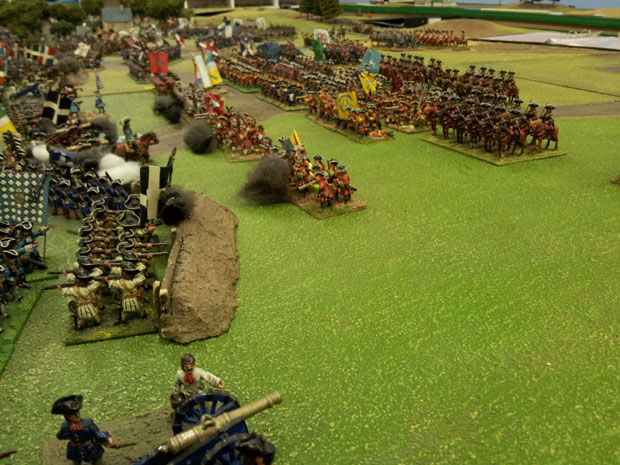
Here the French hold in depth.

Here the French hold in depth in the Centre.

Again Bavarian’s represent our French Raw troops.

The wings of the battle were being pushed in toward the centre, the centre then became a more desperate struggle.

Toe to toe

Toe to toe in the centre.


The redoubts or abatis ensured that the French suffered less, thus allowing them to hold a great deal longer!

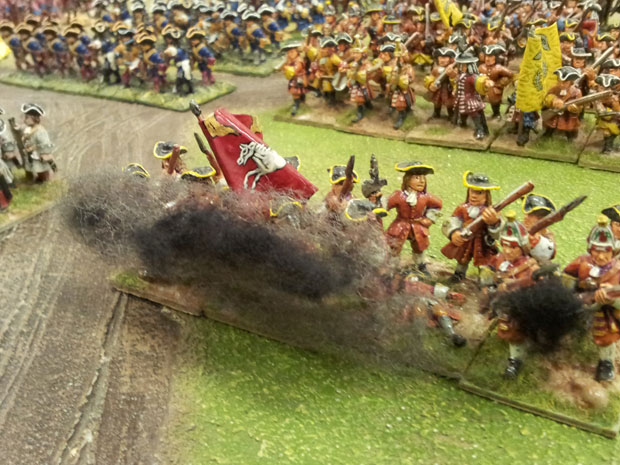
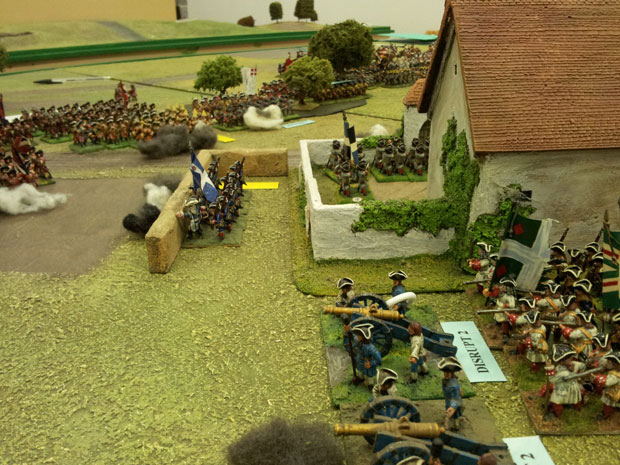
The remainder of the Garde Francais in the garden of Blairon Farm

The remainder of the Garde Francais in the garden of Blairon Farm, sell themselves dearly.

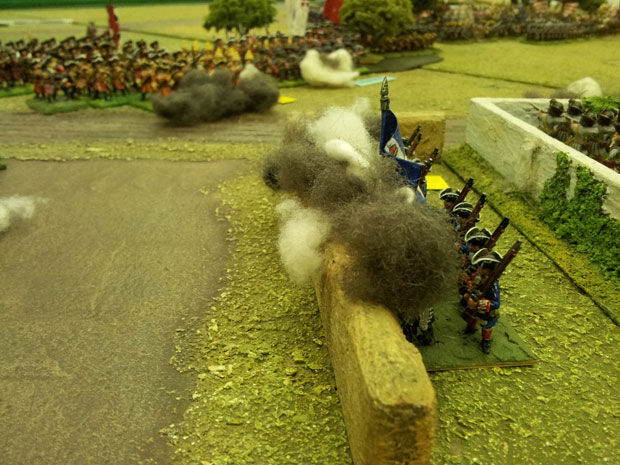
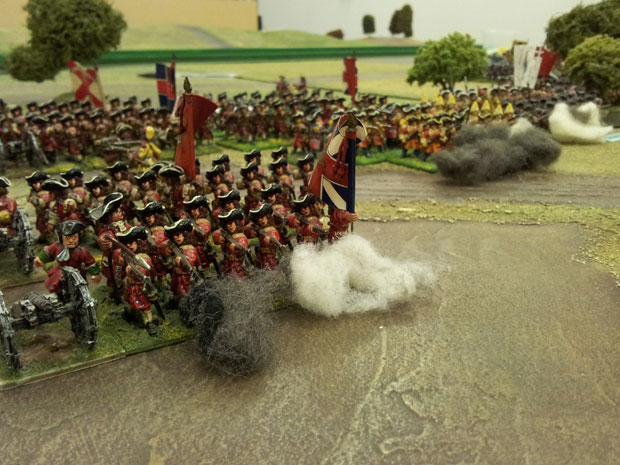
These troops caused a lot of casualties and managed to hold off attack after attack. The figures are by Wargames foundry. The cotton wool denotes they are locked in a fire-fight.

Orkney's boys.

Orkney's boys advance into action again.

The British troops sold themselves dearly, there was a lot of carnage caused by them holding their discipline and opening up at close range. These figures are by Strategem.

More on the battle tomorrow.

The British had arrived on the French left and the Cavalry Reserve under Wood was heavily engaged on the French right. Forces were being drawn from the French Centre and the Allied attack was slowly moving forward in the centre.

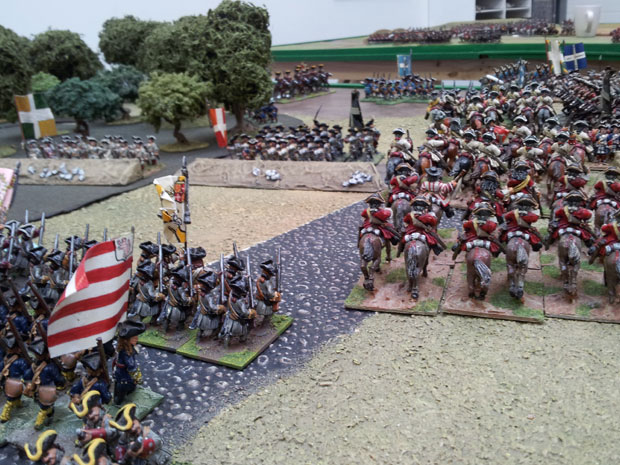
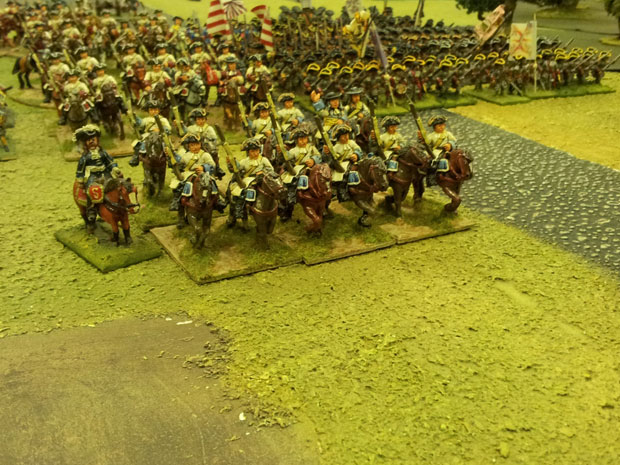
Count Lottum's Hanoverian Horse.

Count Lottum's Hanoverian Horse.


Horse are Foundry Miniatures.

Prince Eugene rode over to the Allied right to encourage the troops here. Most had entered into fire-fights with the battalions opposing them. He soon got them moving again though. Count Lottum was pushing his horse forward to support his attack in the centre.

Orkney's troops advance.

Orkney's troops advance.


These lads are from Strategem miniatures predominantly

Over on the Allied right, Orkney was probing the Lainieres Wood, he encountered the French in their redoubts soon saw off the leading. Marlborough heard of Wood’s success and sent the Prince of Wurttemburg with the second division of the cavalry reserve to support him.

Orkney's Dutch troops enter the fray

Orkney's Dutch troops enter the fray.

Orkney’s men were suffering casualties, not only was Lainieres wood becoming a hot bed, but in front of Blairon Farm the Danish Guards had entered into a fire-fight with the defenders and would not be moved.

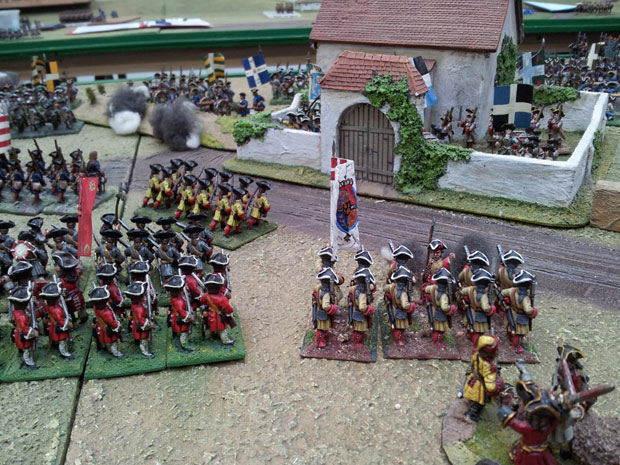
The defence of Blairon Farm

The defence of Blairon Farm.


Foundry Miniatures in one of our custom made Farm Houses by Mick Sewell.

Marshal Villiers sent the Count de Monteson to hold up Withers flanking move on the French left.

The French Concealed Battery

The French Concealed Battery.


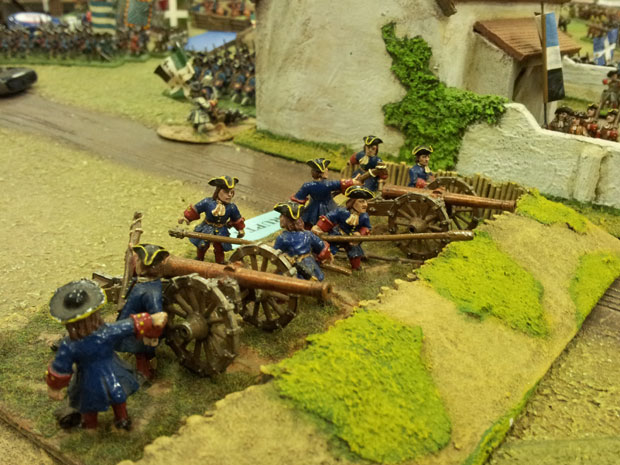
The French were allowed one concealed battery to be deployed to the south of Blairon farm, this enfiladed the attaking troops of Orkney’s command, causing great carnage!

In Sars Wood the Prussians renewed their assaults, this would be their third attempt at the redoubts! Success!! Three of the five redoubts were now in Allied hands. The French countered with their dismounted Dragoons and the remaining French Line.

Close up of the concealed battery.

Concealed Battery close up!

The French were under extreme pressure, could they hold but a little longer they would surely win the day through attrition.

More tomorrow.

Well, hopefully you will all have had a great Xmas! Eaten too much, got all the things you wanted from Santa and are now looking forward to seeing in the New Year.

Here at the Wargames Holiday Centre we’re just putting the finishing touches to our new year celebrations and this includes another prize draw for all our subscribers. So if you’re not already signed up, visit the website and get on the mailing list!

Troops under Lottum advance to the south of the Wood if Sars

Troops under Lottum advance to the south of the Wood if Sars.

You will remember just before the Xmas break we had just started the Battle of Malplaquet update. The Allies were attacking on both flanks, while the centre under the command of Churchill, Duke of Marlborough stalwartly advanced into the teeth of the French defensive positions. The two large woods had been fortified with several abatis throughout and French troops dug in. The Blairon Farm on the French right wing was fortified and under the due care of the troops from the Gardes Francais.

Troops advance into the French right wing

Troops advance into the French right wing.

Preliminary bombardment was uneventful and the Prussians under Schulenburg had already been repulsed in the Sars wood. General Withers had been sent by Marlborough to flank General Goesbrand on the French left, but he wasn’t on the field yet. The volleys from the French centre were crashing into the advancing men of Orkney, Lottum and Schulenburg, the Swiss Mercenaries under Goesbrand being engaged heavily just to the south of the Sars wood.

Blairon Farm defences.

Blairon Farm defences.

The British Cavalry reserve had engaged the French cavalry reserve east of Lainieres wood and a huge cavalry melee had developed. The British Horse put in several spirited charges into the Maison du Roi and were repulsed, only to rally and charge in again!

Troops from Orkney's command advance toward Boufflers men.

Troops from Orkney's command advance toward Boufflers men.

Time passed and the Allied centre held it’s fire mostly until they were into effective range then let the French defenders have the all important first volley. Some got within short range. The French troops suffered casualties at an alarming rate, but the Allies suffered a lot more!

The Prussians assaulted the French line in the Sars wood, the word was coming of firing being heard beyond the wood in the direction of Withers appearance. This lifted the depleted Prussians and they attacked with renewed vigour. To the North East of the Sars wood the horse from Withers began firing into the rear of some of the French infantry, troops from the French centre were hurried across to meet this new threat. The French centre began to weaken and the Allied centre knew it, forward! The order was given and the drums beat, only a few of the British battalions moved off again, their German allies blazing away despite the remonstrations of their Officers and NCO’s.

Boufflers men north of Blairon Farm

Bouffler's men north of Blairon Farm.

The British Troops under Orkney were ordered to move through Lainieres Wood only to be confronted by more of the abatis defending French infantry. Time was ticking by and the Allied casualties were mounting, will they press the attack?

More tomorrow.

I promised Russians today but on reflection, I’ll wait until I have them all completely finished and in action at the Wargames Holiday Centre. Austerlitz is this weekend, so there will be plenty of opportunity here.

Last weekend we re-fought one of the largest Marlburian battles here at the Wargames Holiday Centre, Malplaquet.

The combatants all arrived on the Friday afternoon and chose their sides. As the majority of the players were new to wargaming this would present some refreshing ideas on tactics and strategy, well let’s see.

The opening stages of the battle saw the two armies bombard each other in an attempt to soften up the enemy. The flanks of the Allied army advanced around the Sars Wood and the Lainieres Wood, just after this ended. The Franco Bavarians stayed behind their redoubts and began to use their artillery at range on the advancing troops from Orkneys and Lottum’s force in the centre. Schellenburg moved his troops toward the quiet of the Lainieres Wood. while The Prince of Orange moved his troops toward the centre skirting the Sars wood.

Prussian Infantry engage the French in Lainieres

Prussian Infantry engage the French in Lainieres


The cotton wool denotes troops locked in “Firefight”, this means they need an officer and a class check to get moving forward again.
It wasn’t long before the advancing Prussians encountered the Abatis the French had built within the wood. The Prussians looked to rush the position immediately, however the disruption among the ranks and the staunch defence of the Frenchmen stopped them dead!

More Prussian infantry attack the positions

More Prussian infantry attack the positions.

The allies had a secret flanking force in General Withers, this force comprised of horse and infantry and hopefully would make any defence of the Lainieres Wood impossible.

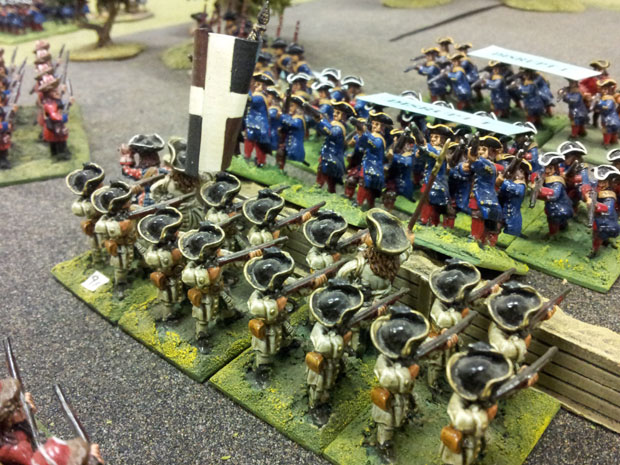
Outside the woods the Swiss Mercenaries were quickly involved.

Outside the woods the Swiss Mercenaries were quickly involved.


The Firefight test failure means the troops have to use their beneficial first volley at the given range where they fail their test. The smoke is just a nice aesthetic to indicate this.
Marlborough positioned himself in the centre, while opposite him Marshal Villars busied himself with the manoeuvre of his battalions to stop the largely British force.

More Mercenaries open fire.

More Swiss Mercenaries open fire to support their Swiss comrades.

The guns in the centre opened began to knock a few figures off but their disruption, despite the efforts of the Generals saw them lessen their fire over the coming turns!

On the far Allied right, the Cavalry of Woods force began to push beyond the Sars wood and saw a huge formation of French horse which had made it’s way over from Malplaquet, the British didn’t hesitate and charged headlong into the French Horse!

Heavy Guns firing on the advancing German troops.

Heavy Guns firing on the advancing German troops in the centre.

I’ll bring you the rest of this after the Christmas holiday’s, so look for my post on the 27th December. So at this point I will wish you all a very Merry Christmas from all here at the Wargames Holiday Centre.

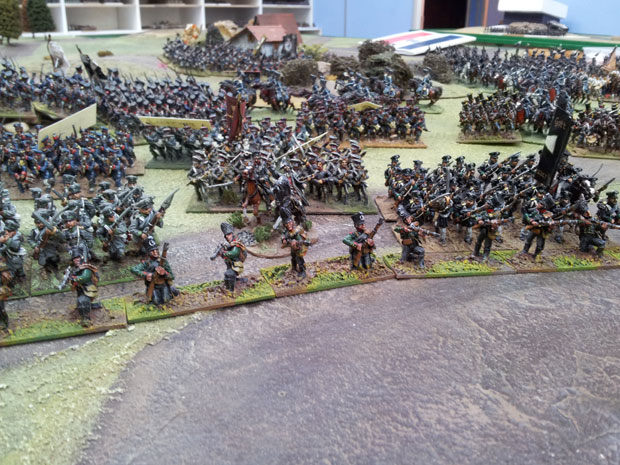
The Russian’s on the Western flank had rallied and buoyed by their General’s pushed forward again into the Suburbs of Dresden. The Young Guard were holding fast, volley’s crashed into the green masses, still, on they came! The French line were the first to give, Voltigeurs of the Young Guard poured scorn on their fleeing comrades.
The Guard Cavalry charged! The Russian Guard Cavalry counter charged! The whirling melee saw the Russian’s come out on top! The Russian Guard got to the Young Guard defences and the grisly work of the bayonet began. Inch by inch the Young Guard stepped back! Every inch became a step, each step turning into a run and they broke!! The casualties had mounted, over half the Russian Guard lay in the huts and garden’s of Dresden and at least half of Rouget’s Division. Grand Duke Constantine rose up in his stirrup’s and shouted his Hurrah’s!!! Which was taken up by every throat to the west of the river until the sound was like rolling thunder!

The Prussians advance!

The Prussians pour forward toward the Pirna gate of the city!

In the Southern sector the Young Guard in the Gross Garten had held until the final hour! The Prussians had pushed into the gardes from the east and the Austrians were now pouring in from the south. The batteries of Victor and St.Cyr still offered a huge killing field for the Austrian’s as they attempted to reach the city, but the writing was on the wall and they knew it!

The Gross Garten Final!

The Gross Garten Final!


The Prussians in the eastern suburbs

The Prussians in the eastern suburbs.

Reorganising for the final push!

Reorganising for the final push!

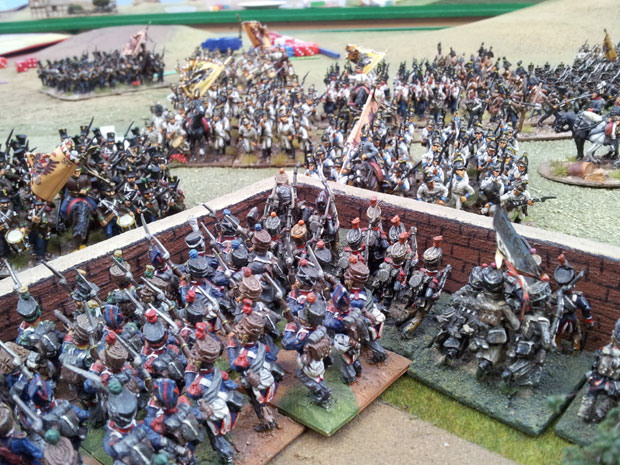
To the east of Dresden the Old Guard were exchanging volleys with the lead elements of the Prussian’s under Kleist! The Prussian artillery had pounded the Grenadiers and their supporting artillery until the guns had to retire. The Grenadiers died were they stood! The Chasseurs of the Old Guard tried to counter attack but two of their battalions were overwhemed all died to a man. Obviously this was were the analogy would have been coined “The Guard does not retreat, it dies where it stands!”

The Prussians hurl ball into the Guard!

The Prussians hurl ball into the Guard!

Napoleon issued the retreat orders and Dresden was lost!

Tomorrow, new Russians!