Our very first live WWII game was played over the last weekend. The scenario was France 1940 with an attempt by a combined force of French and British to cut off the German advance into France.

British infantry advance toward the central main town.

The beginning of the battle.
As you may know we use Flames of War as our rule set of choice with a few tweaks and adjustments to suit our large playing areas. One of the additions is a series of useful Combat unit cards, these provide an immediate oversight to the formations available to the players. The parent unit is the Division, this being A4 in size, with the various regiments that form part of these large formations then broken down into a “Top Trump” kind of card. These smaller cards have images of the units, name and statistic details for that particular unit.

German reconnaisance in the northern town.

German panzer schutzen entering into the northern town.
All this means that the players have the information available to them without having to leaf through long lists of weaponry to find the weapon, or armour value for a particular tank etc. These proved very useful throughout the weekend.

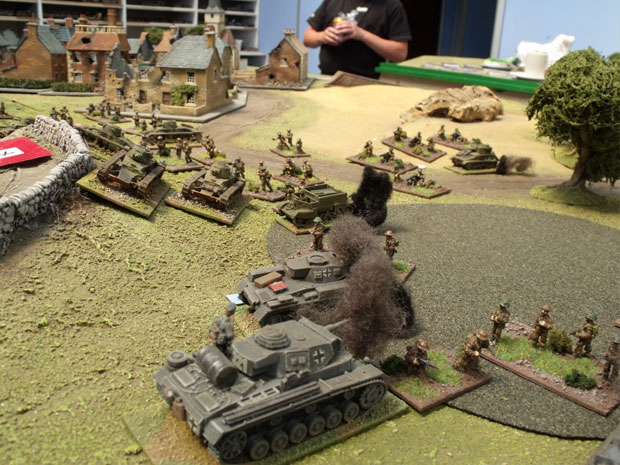
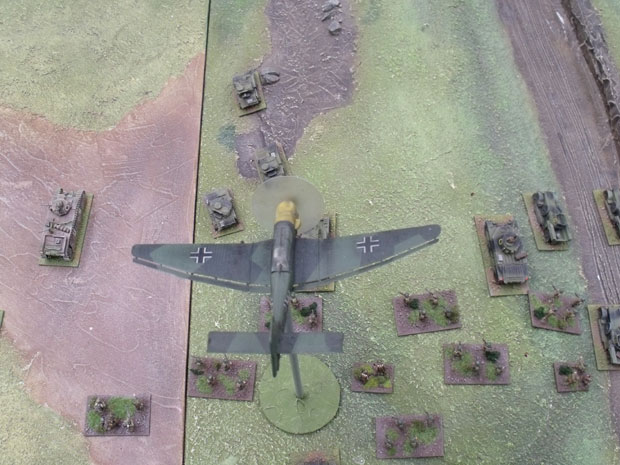
Panzer IV’s moving into position to stop the Allied advance.
As this was our first “live” game using the Flames of War rules I asked my good friend Sid to design the scenario and perform the umpiring through the weekend. Sid has a wealth of experience with the rules, having several armies of various nationalities of his own.

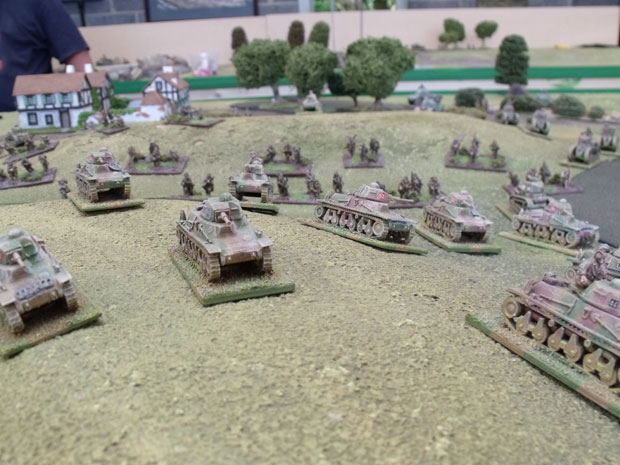
French Hotchkiss tanks attack the German defences of the main town.

French infantry move forward to engage the German infantry in the town north of the main town.

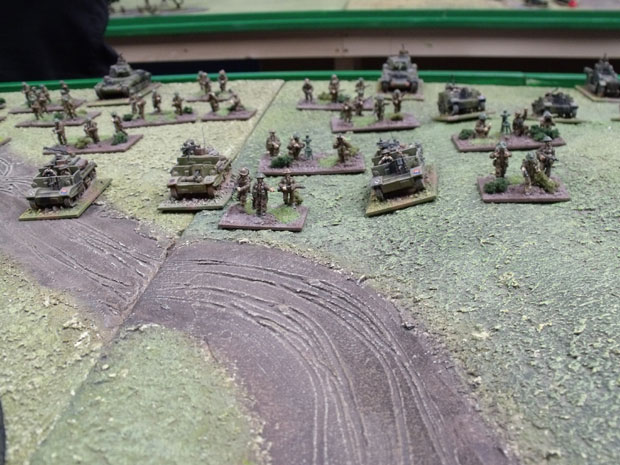
All along the front the allies advance, these British infantry advancing toward the southern town.
He has also run quite a few events such as these within his own club and quite frankly has a knack for creating excellent, exciting scenarios for this period. It’s something of a passion for him.

Panzer IV’s holding awaiting the reinforcements.
On the Friday the players all arrived at around 16.00 and as is usual here at the Wargames Holiday Centre, they chose sides and determined the best strategy for their army.

SS Totenkopf moving into the woodland around the town in the southwest, even after a severe mauling by the British.
As we had the Combat cards available we set up the figures on the table directly. Objective markers were laid out by the Umpire in key positions around the battlefield, these being double sided with differing values for each side.

French Cuirassier division moving forward.
The Germans started with fifty four victory points at the start, while the allies had none. Around the table there was a large town in the centre of the table, with a village to the north of it and two villages to the south of it, one directly south and the other a little more to the southwest.

The view of the Allied advance from the town in the north.
The beginning of the battle saw the British entering the battle through the southwest village and along the southwestern table edge. The French opted for a flank march with one of their Cuirassier Divisions with an attached Mechanised battalion.

The first signs of British infantry entering the southwestern town.
The rest of the French army entering from the Northwest and along the northern half of the western table edge.

French Panhard armoured cars supporting their infantry in the advance to the town in the north.
When this came on with the British army it presented quite a daunting sight for the German forces that were deployed to the east.

German recce falling back to it’s larger brethren.
One of the Panzer divisions was deployed along the eastern table; the HQ and divisional assets were deployed in the town along with a Panzer regiment. There was one battalion on the western table, the infamous SS regiment Totenkopf.

The view to the northwest of the battlefield, the southern town is in the foreground.
To the north there was the rest of the division comprising several Panzer regiments of 38T’s, PzIV and PZIII’s. There were two units of Recce for the Germans on the western table as well, these gave ground rapidly in front of the allied advance.

The view to the northeast of the battlefield, the southwest town is in the foreground.
It looked quite likely that the German division may be overrun in a very short space of time.

The view of the battlefield from the south on Sunday morning before the players arrived.
We needed the 7th Panzer to arrive and quickly, messages were sent via radio and the news was that is was on it’s way. We looked to the southeast and began to dig in, the 88’s were unlimbered and turned toward the advancing threat. Word came in from our air support that a force of tanks and lorries were advancing from the North, so some of the German armour was moved to cover the possible entry points.

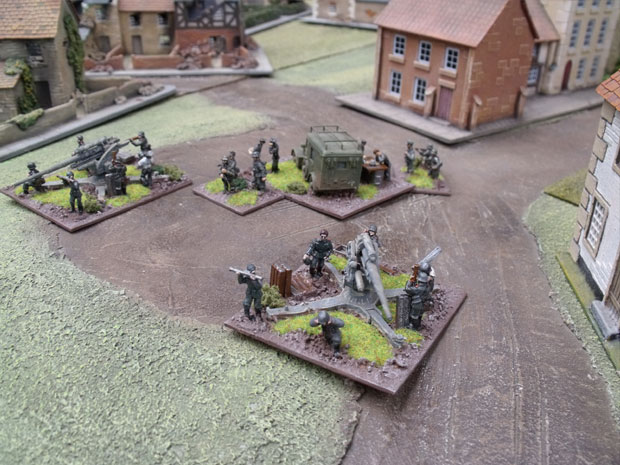
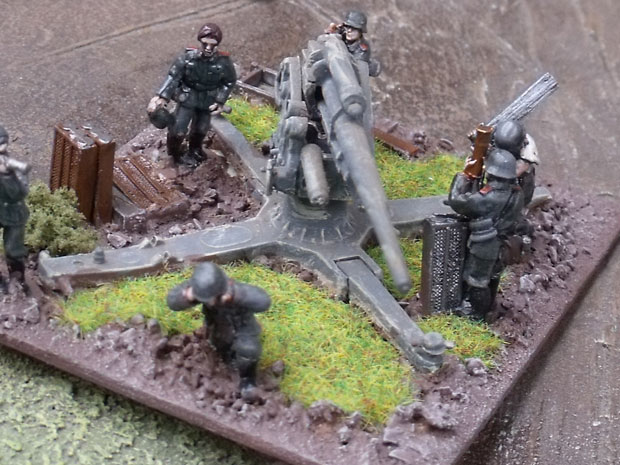
Luftwaffe 88’s unlimered and dug in await the allied armour advance (Figures by SHQ Miniatures).
Still the relentless advance of the allies looked to overwhelm the German defences.

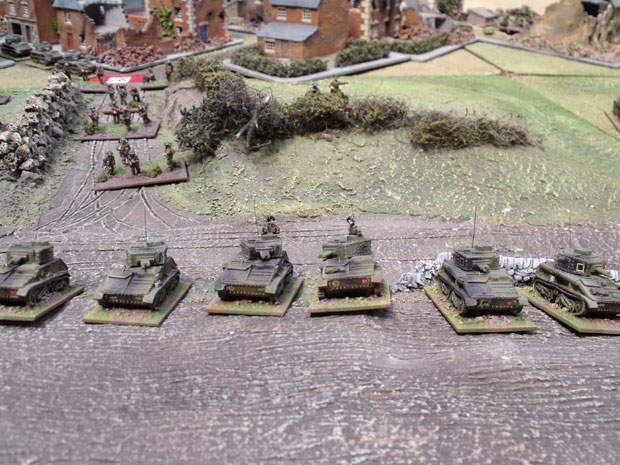
Mk VI light tanks moving up in support of the British Infantry, the southwest town can be seen in the background.
Meanwhile in the middle of the battlefield just west of the main town, the German reconnaissance fell back to it’s main armour. The British linked up with the French advancing from the northwest and pushed east on to the waiting panzers. In the South western town the battle ensued for possession, the Totenkopf needed to hold this key position.

Mk VI light tanks supported by Matilda I’s keep up with their infantry.
The first advance saw a company of them caught advancing in the open by a squadron of Mk VI vickers light tanks. The firing saw more than fifty percent casualties but the fanatical drive of these guys saw them through and they continued into the cover of the woods. Over the next few turns the ferocious hand to hand street fighting in the town saw control sway back and forth however without support for the SS there was only one outcome and the battalion died to a man.

Another view of the Mk VI light tanks moving up in support of the British Infantry, the southwest town can be seen in the background.
The British infantry then pushed on supported by their light tanks.

British anti-tank guns moving into position.
The north of the battlefield had a similar battle developing the French infantry, caught in the open were shelled, machine gunned and then assaulted, two battalions being either wiped out or captured. The arrival of the Char B Cuirassier regiments turning the tide, allowing the remaining French infantry to assault the Germans in the town with some success.

An aerial view of the French advance on the main town.

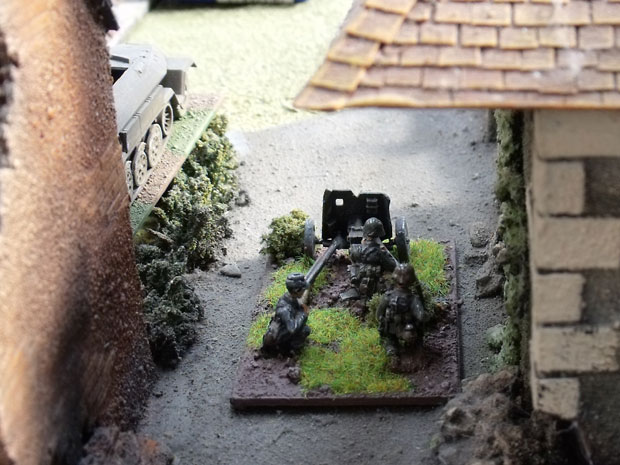
A German anti tank gun and crew take up position in the main town.
One thing of note throughout the battle was the air combat. The allies rarely turned up, when they did it was fairly ineffective and the Germans, turned up and rarely took out their armoured targets.

French Fighters returning after engaging three flights of Stuka’s, somewhat unsuccessfully this time.
There were approximately six to eight allied tanks destroyed all game in this way. The artillery was only marginally better, however the whole feeling of dread that these arms of the forces created a realistic reaction of the formations trying to space themselves out and thus avoid the dreaded bombardments.

French infantry digging in, awaiting the expected German counter attack .
The air combat preceding the ground attack worked very well, with the French aircraft engaging, hitting and sometimes destroying their German opponents.

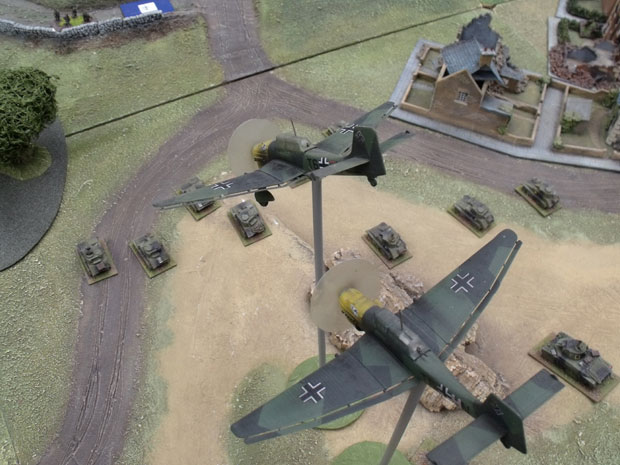
a lone Stuka flight bears down on the unsuspecting allied troops.
After several turns awaiting the imminent attack from the French in the North it arrived, a battalion of Somua tanks would take some stopping with their mechanised infantry support. The Germans were ready though and three battalions of 38t’s and PzII’s and a battery of 88’s were waiting. Everything was thrown at this threat, eventually they were stopped however at what cost though. Vital armour had been pulled out of the German front line and now the Allied forces were bypassing the Northern town and pressing the outskirts of the main town. The 88’s outside the main town picked off a couple of Matilda’s and some Char B’s but it didn’t look to be enough to stop the Allied forces.
At last the German reserves began to arrive, coming in from the south and southeast the leading Panzer regiments turned to deal with the British pushing through the village in the southeast, while the next regiments pushed on to assist and look to drive back the British forces to the north of this village.

Panzer III’s accompanied by panzer II’s attempted to assault the anti tank and infantry.
Several turns were spent with the Germans drawing back out of range of the allied artillery and regrouping, then once the reserves were in place the Germans counter attacked. The attack to the north pushed on first, spearheaded by PZIV and PZIII’s the British stood firm and dug in.

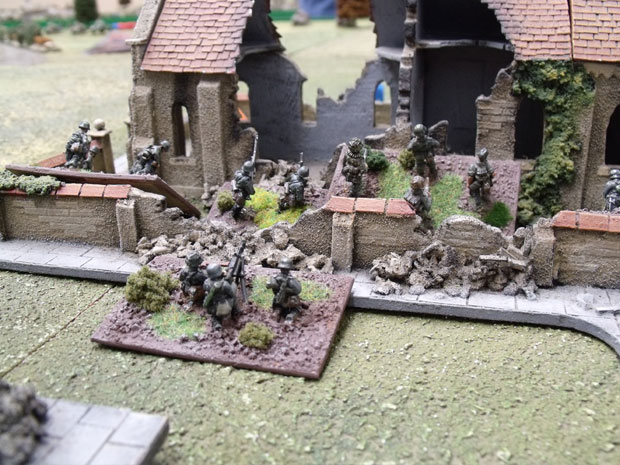
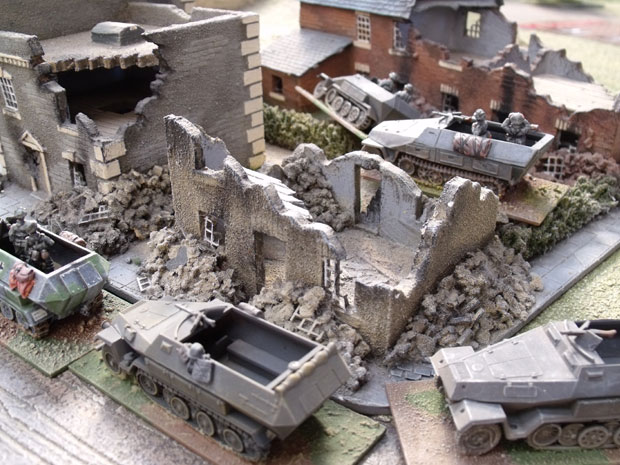
Panzerschutzen moving into position in the main town, preparing for the allied assault.
The Germans in front of the southeastern town also pushed in supported by flights of Luftwaffe and artillery.

German assault engineers (Pioneer) troops moving through the town to the south.
The British began to pull back and regroup. The fighting to the north of the south eastern town intensified with German armour being pounded by the batteries of 25 pdr artillery and anti tank fire from the woodland in the area. The damage was such that the entire regiment was reduced to fifty percent strength in a matter of three to four turns, for the loss of an anti tank battery and a battalion of infantry.

British infantry dug in and regrouping.
There was some local success with a detachment of PZIII’s punching right through, nearly capturing the Divisional HQ.
The town in the southeast was contested but the drive of the PZIII’s into the infantry and MkVI’s proved to much and the British fell back, thus allowing the Germans to capture the town again. In the Northern sector of the battlefield the French were pushing on, the Germans falling back.
By the end of Sunday the allies had won the battle, the Germans having to fall back and look to get around the allied forces. The VP’s were 31 to the allies and 23 to the Germans, if the push to the Divisional HQ had succeeded and re-capturedor the German counter attack had been better co-ordinated it could have been a draw. A marginal victory for the Allies then.


