The War of the Spanish Succession

Starting in 1700 this war came about due to the the expansionism of Louis XIV of France and a desire of Austria to retain their Spanish inheritance, (the last King of Spain, Charles II being of the House of Habsburg) and other European powers seeking to contain Frances expansion.

So the alliances stood much like this on the side of Austria you have Great Britain, Prussia, Spain loyal to the Austrian Empire, the Duchy of Savoy, the Kingdom of Portugal and the Dutch Republic.

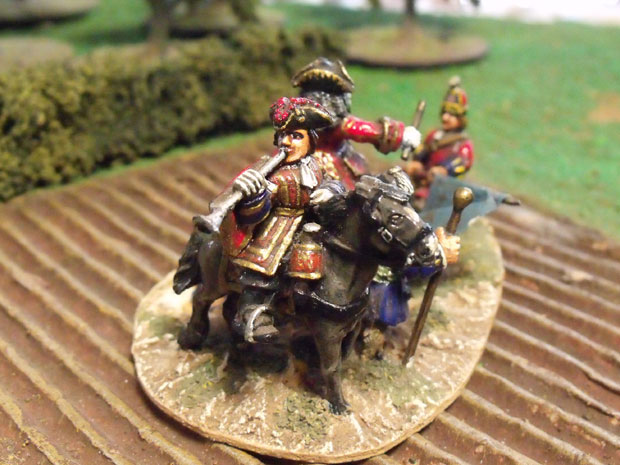
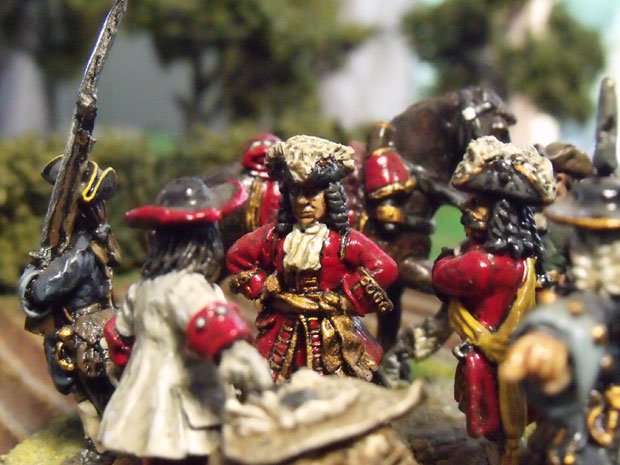
Duke of Marlborough

Sir John Churchill Duke of Marlborough

On the other side we had the Kingdom of Spain under Philip V, Grandson of the now dead Charles II of Spain and younger son of the Dauphin of France, The Electorate of Bavaria, looking to get as much territory out of the conflict and of course France.

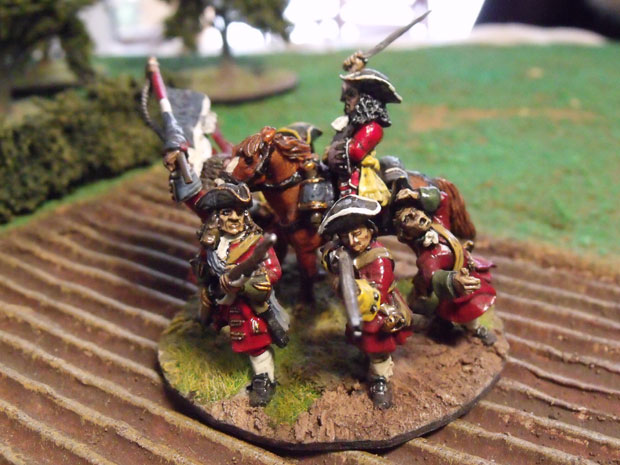
Reverse Angle of Marlborough

Sir John Churchill Duke of Marlborough, reverse angle.

At the Wargames Holiday Centre we have all the protagonists. In the next few months I will be posting more on our collection, Cavalry, Artillery, Infantry and more command stands.

Initially I have these beauties.

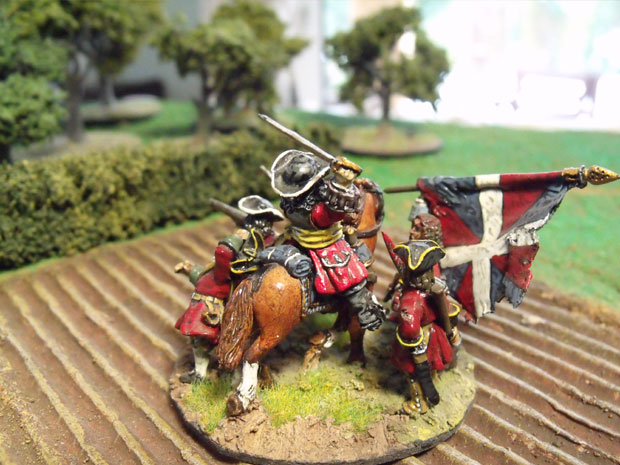
British Commander

British Commander

I have to be honest, that I do not know the manufacturer of these figures. I have to say that I do like them though. Any ideas people?

Reverse Angle of British Command

British Commander, reverse angle

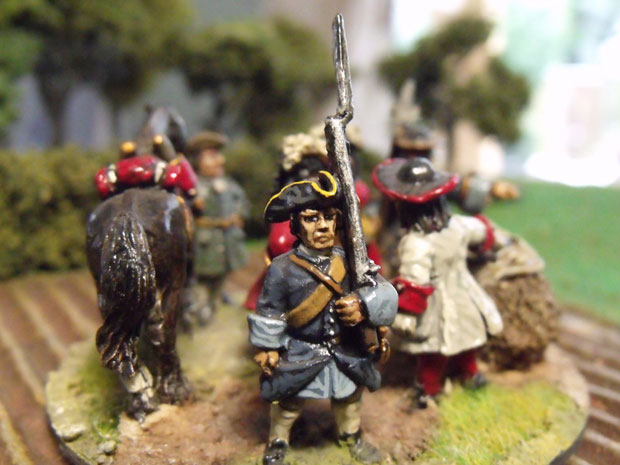
Marlburian Command stand on foot

Command stand on foot, the Dutch General Overkirk

Close up Gen. Overkirk

Close up of the Dutch General Overkirk

Overhead view of the General Overkirk command stand

Overhead angled shot of Dutch General Overkirk

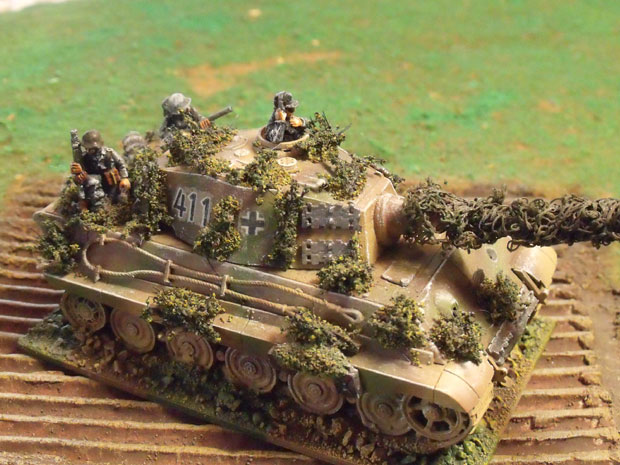
Okay, so there wasn’t enough of the Tigers in my last post, so I thought I’d let you see just one of our Tiger II’s. We have ten of these little babies. Ready for the Battle of the Bulge….once our Americans are done.

Tiger II

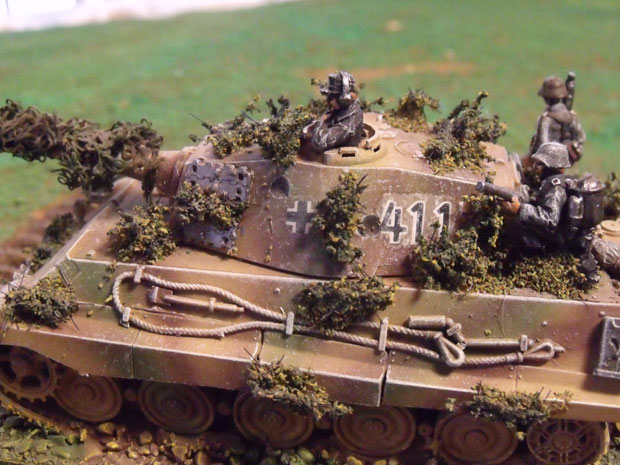
Tiger II side view

The intention is to provide some late war events in our 2012 calendar where these will see more action.

Tiger II closeup of the front of the turret.

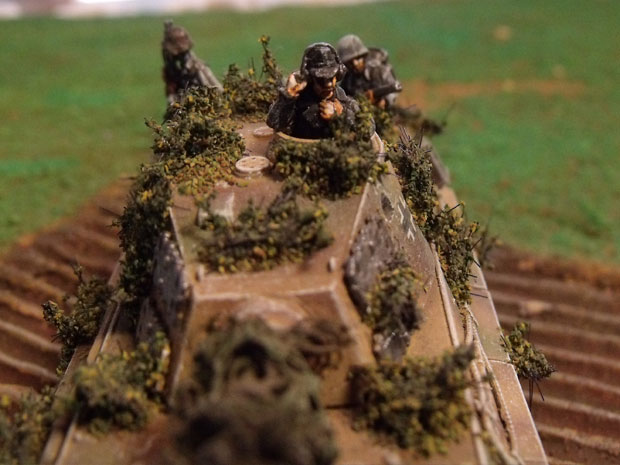
Tiger II front view of the tank commander

Tiger II turret view with commander.

Tiger II side view of the turret with the tank commander

A view of the Tiger II from further back.

A better view of the turret with the crew

The turret from the reverse.

The reverse angle on the Turret of the Tiger II

I have posted more images of these and other German armour on to the blog section.

I hope you enjoy them.

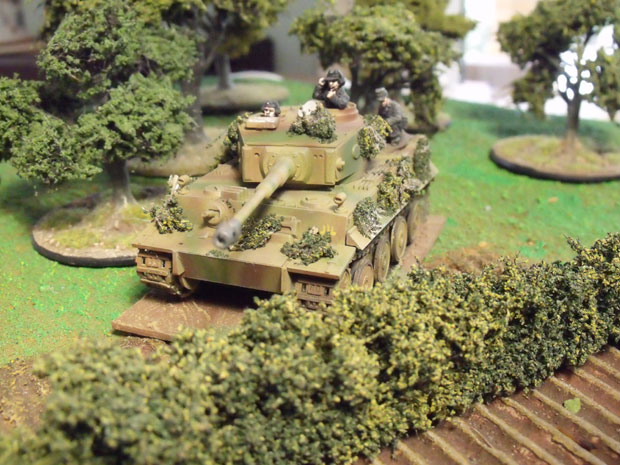
I have been busy the last few days cleaning the armour from our German WWII collection, well they have got a little dusty. While I was cleaning these it struck me just how much I admired the look of the Tiger I. It really has something about it, perhaps it’s the size, shape, the knowledge of it’s armour or it’s superb fire power. In short, since I was a small kid I have loved the look of these beasts of war.

Close up of Tiger I

One of our many Tiger I tanks, close up

A couple out of a platoon

A couple of our many Tiger I tanks, close up

Tiger on the edge.....

Another one of our many Tiger I tanks, on the edge….

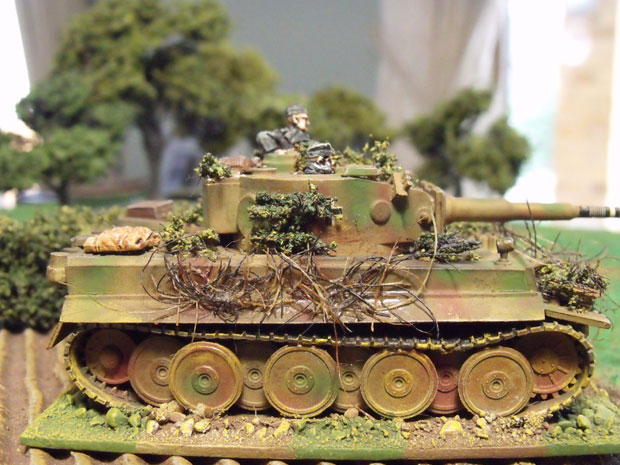
A nice side shot.

A nice side shot, if you’re this close, otherwise don’t bother!

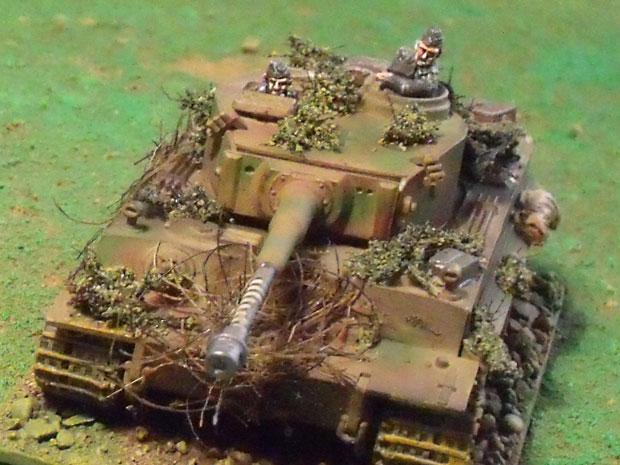
Tiger I angled view

A nice oblique shot, must stop using this word…view…that’s better.

A good friend of mine painted these, he doesn’t want me to put his name up here, because he has more work than he wants at the mo’ as soon as his backlog clears I’ll let you know. He’s not cheap, but he does a great job. See more of his work here, with the Hanomags.

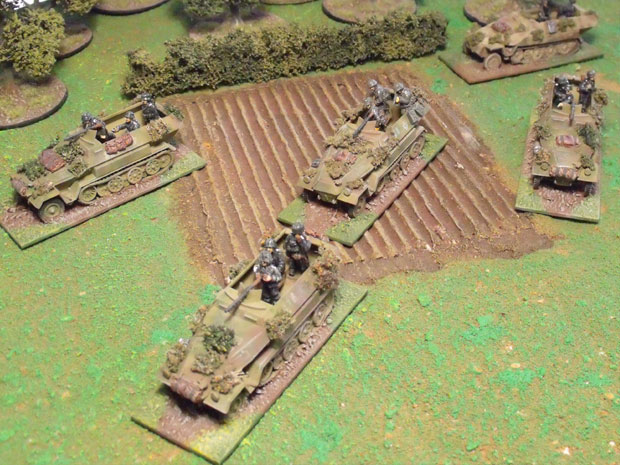
I have been working on the combat platoons for these brutes as well, so included in this blog are the Gepanzert squads.

Platoon advance, with mortar support

A Gepanzert Platoon moves out.

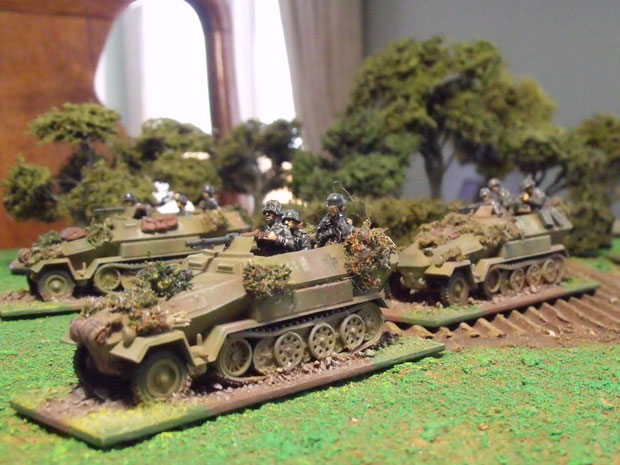
A nice platoon of Sd Kfz 251/1's

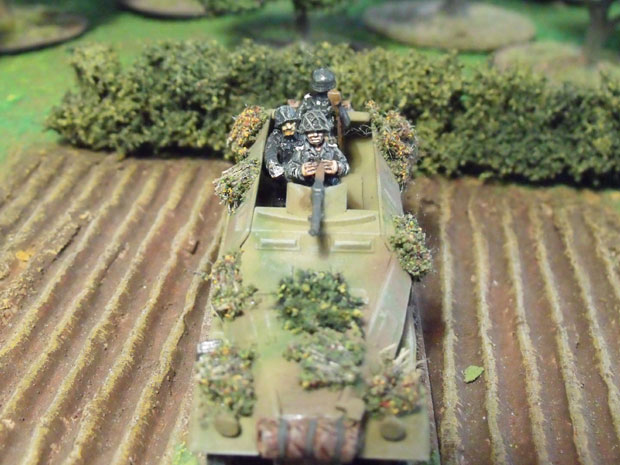
A Gepanzert Platoon moves out, a close front view.

Sd Kfz 250/1 Command Hanomag

A Gepanzert Platoon command halftrack.

I also thought I’d include some of the support platoons, such as this SdKfz 251/2 with it’s 8cm mortar.

Sd Kfz 251/2

Sd Kfz 250/2

Sd Kfz 231

A nice front view…got it right this time…of one of our Puma Armoured cars. Sd Kfz 231

Included in the clean up were these Panzers for our early war events. We have over two hundred early war tanks and vehicles, not including the artillery.

Panzer I

Panzer I

Panzer II

Panzer II

Pz II Command tank

a view of one of our Panzer II command tanks.

Close up of the PzII Command tank

Panzer II Command Tank close up.

One of our Panzer III’s

Panzer IV

Panzer IV rear view

Panzer IV

Panzer IV front view

Another view of the Pz III

Another view of one of our Pz III’s

I thought I’d throw in a few shots of our Pz 38(t)’s as well.

38T's rear view

38(t’s) Czech bought, or borrowed I think is the correct phrase

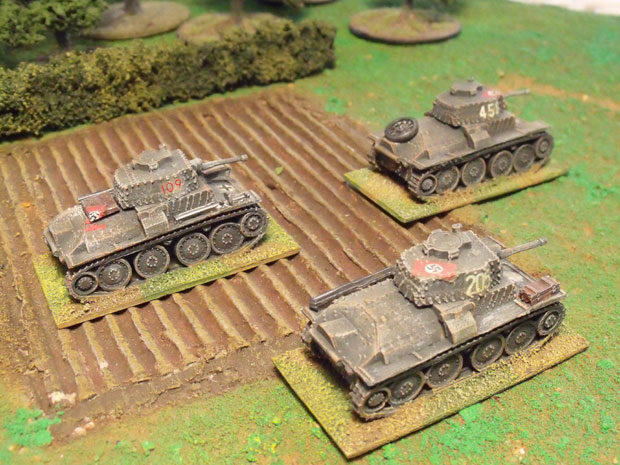
38 T's Arriving

38(t’s) Arriving to drive back the French Armour

Talking of the French, I will be including more of an early war blog later this week. Stay tuned. (These photos have been staged in my home, so they are not “in game” as I normally like to do.)

I hope you like them.

It’s all very well posting things about WWII, Napoleonics, ACW and Marlburian! It’s fine to tell us where it is and how much it will cost! Someone has asked “What about if I have never been before, what can I expect?”

Well that’s a good question, it starts with you deciding which events you want to attend. Then you can either call us or e-mail us to reserve your booking. Send a deposit for 20% of the event cost then await the date of the game.

There's not much room in the house!

British Infantry occupy a building while the tanks move up to support

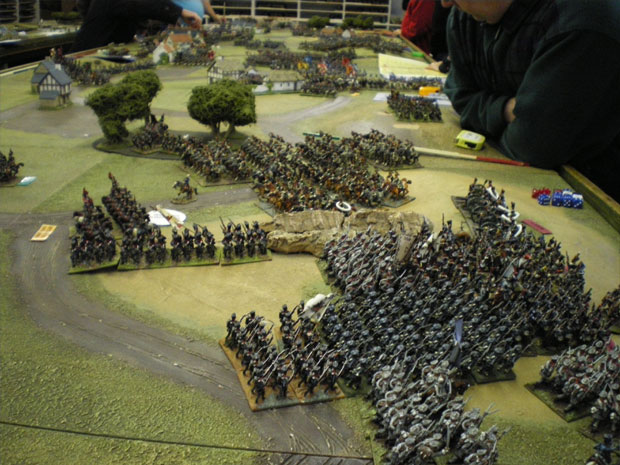
The itinerary for an event will be to turn up at the Wargames Holiday Centre at around 14:00, there you can take in the enormity of the battlefield and the troops available. Once everyone has turned up there will be a choosing of sides, deciding which troops you would like to control for the battle. Then it’s on to writing your force on to tiles. This means putting up to two battalions onto a tile with up to twelve skirmishers, two to six squadrons of cavalry, these are in their regiments or one battery of artillery. The umpire explains any special rules for the particular battle and outlines the deployment boundaries to the respective sides. Everyone then gets in to their respective groups, pores over the map and decides what division is going where! The overall battle plan is then agreed and you deploy the tiles on to their respective positions.
You will command the division or Corps that has been assigned to you, sometimes this can be more than one, it all depends on the number of players and the amount of figures. Whatever the case you’ll certainly have far more figures to command than you have ever done before.
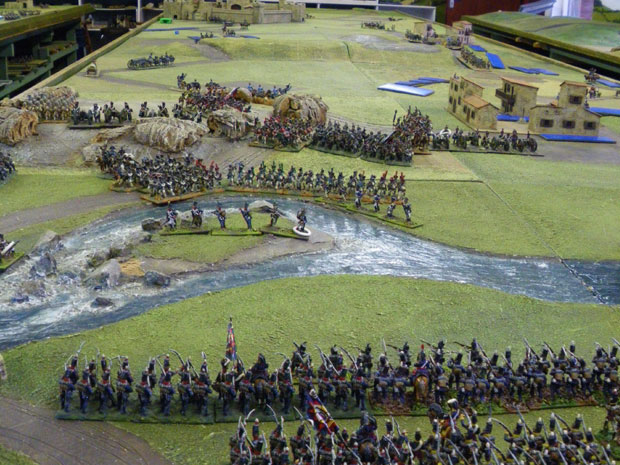
Portuguese line out to hold the crossing.

Portuguese Infantry line out to hold the crossing. You can see the use of Tiles here, in the distance. As they are out of range.

Once all tiles are on the table top, the first move is undertaken, then any figures that are visible are placed on the table, within 54” and line of sight. All the firing is done and casualties recorded.

After this it’s off to the George & Horn Pub to book in for your bedrooms and breakfast. An evening of military history and tactics will follow, regaling your colleagues of what you have done in past events or listening to others relay theirs.

In the morning after your breakfast, turn up at the centre for a 09:30 start. Again, starting where you left off the night before, there will be tea, coffee and soft drinks available throughout the day. There will be elevenses of cake or biscuits, then lunch at around 13:00 comprising of filled rolls, there will also be fresh fruit available. After lunch it’s back to the game, again there will be refreshments available to you throughout the afternoon. Then around 18:00 we will stop and it’s back to the Pub for the evening. It’s worth noting that there are several decent pubs in Kingsclere and quite a few great places to eat, so there is always plenty to choose from. You can have fast food, pub grub, or go up market in some of the more swish restaurants. There is even an American diner, which I understand is very good.
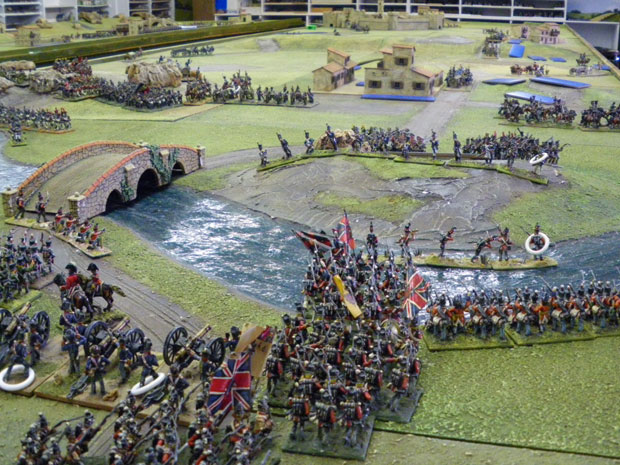
Two Battalions force over the River crossing.

British Infantry force the river crossing!

After a good nights rest, it’s breakfast in the Pub then back to the Centre. We generally finish the turn at a convenient point the night before, so we can pick straight up again the next day. On the Sunday, there will be a general update on the position regarding the battle. Then each side gets 5 minutes to review the battle and discuss any tactics they want to employ. It’s then on to the rest of the battle. We provide elevenses again, there’s refreshments available throughout the day, with lunch again at about 13:00 comprising of sandwiches or filled rolls. The rest of the afternoon comprises the final action. At around 16:00 there is a winding up and clearing of the table with a final summary and awarding of Marshals batons!

Finally, we say our goodbyes and wish you all the best for your journey home around 17:30

I’ll let you know what the Week entails in a later post.
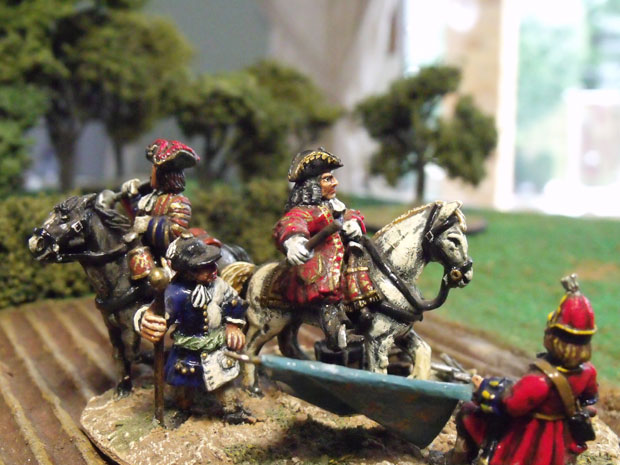
I thought I would write a brief overview on the way we play our games.

There are plenty of useful tools that we use, such as the measuring sticks. These are for our artillery, six pound, eight/nine pound and 12 pound as well as the range sticks for Musket and Rifle.

They are all colour coded depicting, short, effective and long range for the small arms and Canister, effective and long for the artillery. They each have their own colour as well, which helps in remembering the right ones to use (There’s always the want to use the longest available, to reach your target). As an example, twelve pound sticks are dark blue in their long range band and six pound are red.

Musket Measuring stick

The use of Musket measuring sticks

In addition to these useful tools we also have a large amount of “labels”. These are small laminated and again colour coded pieces of information that you can physically place next to unit in order to help you remember what they are actually doing during their compulsive movements. (i.e. the part of the move that you have no control over the units actual behaviour, such as retreating or becoming unformed)

Quick play rulesets and other tools

The use of Quickplay rulesets and other useful items

We also have an angle indicator that allows you to get a more precise idea on how many bases are in the correct angle for firing. It also comes in handy for determining the correct angle of wheel before charging.

Various Labels on display with some hoops

The use of labels and some white hoops to denote cavalry casualties

To denote casualties, artillery and cavalry have white curtain rings placed over the casualty figure, a red hoop denotes an officer casualty. Infantry are tracked on one of our roster sheets, these are handily boxed so no matter what size your battalions you can just cross them off as you take the hits to the troops. First volley, officer casualty and solid shot damage to villages are also recorded on this sheet. There is the obvious use of tape measures for movement.
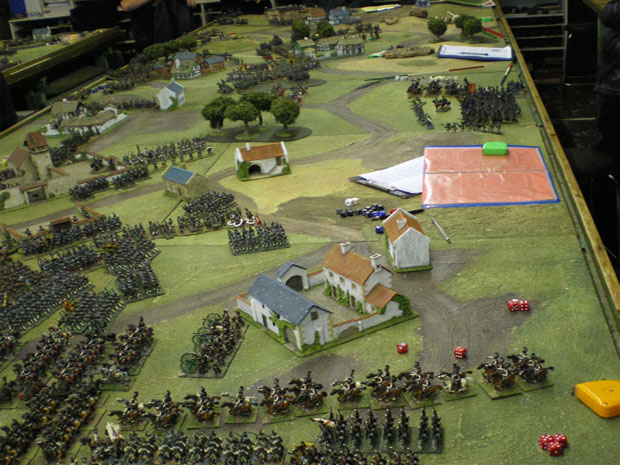
It’s worth mentioning that we use colour co-ordinated tiles, blue for French and Red for allies. These allow us to record, one or two battalions of infantry with up to twelve skirmishers, two squadrons and up to a regiment of cavalry, or a battery of artillery on a single tile. These provide a feel for “The fog of War” as it were. The first turn will be deployed using these tiles and the first move is then conducted using these. Once the turn has ended anything within 54” and line of sight, (which also happens to be the maximum range for the twelve pound stick) replaces the tile in the formation reflected in it’s previous turns movement, or as the owner dictates if they remained stationary. Any tile that is behind a feature, such as a wood, slope, village or in a village and outside of 4” visibility remains on the tile. This can work to your advantage, as the troops, while appearing to be there will not be clearly identified. (unless of course the tile is in a village, then the only troop it can be is infantry, the mystery will be it’s number and quality.

I have always liked the idea of re-enacting the Battle of Waterloo and the battles encompassed in the Hundred Days, probably because there has been so much written about it. Personal accounts are my favourites, for instance the Highland Sergeant Major getting cornered at the Battle of Quatre Bras by a troop of lancers, with nothing but his claymore he took them on! He was wounded multiple times several of them mortal according to the tales he would regale his guests with at dinner….some forty years later, goodness these people were tough. Another of my favourites is the British Staff officer, seeing the predicament of an allied infantry battalion threatened by swarms of Cuirassier, galloped to the head of a body of Allied Cavalry and ordered the advance. It was only when he was charging that he was pulled up by a member of his staff and to his astonishment realised that they had not followed him! They had not understood a single word of his English oration before hand and it turns out, had thought he was typically a mad Englishman, galloping off into the enemy cavalry in such a fashion with only his staff!

Hougoumont looking east along the battle line

A view of the Battlefield of Waterloo, in the foreground is the Chateau of Hougomont

Well at the Wargames Holiday Centre they host this battle as one of their weekend games. The terrain is something incredible to behold, when you first see it laid out before you without any troops you really can identify with all the key terrain features. There’s the Château of Hougoumont, with its chapel, walled garden and orchard. The villages of Papelotte, on the Allied armies ridge and Plancenoit, the key defence for the French Young Guard and a solitary battalion of Chasseurs-à-Pied de la Garde who delayed the advance of the Prussian army for hours.

It’s worth a moment to relay a tale of Wargaming history here, while at the Wargames Centre over 25 years ago Peter Gilder told me the story of his model of the Château of Hougomont. The first model had been made as a request from a film company as part of a set for the film “Callan” starring Edward Woodward. Peter was paid for the model and that was it as far as he was concerned. At the end of filming the set was due to be destroyed and Peter was asked if he wanted it back. Of course he did, it’s a fantastic looking piece of terrain. Well, during the making of the film, Mr. Woodward had become enamoured with the concept of wargaming and he then asked Peter if he could purchase this model from him, Peter agreed. Over the next couple of years Peter made another model, a replica, or as near as possible anyway and began to play games using it. At some point after this Mr. Woodward contacted Peter and offered the model back to him and due to current circumstances it was for free. So Peter had this model again, a reserve should anything happen to the one he had made in the meantime. Well time passed and another gentleman, I believe from the USA offered to buy the original “Callum” set model from Peter and Peter in cordial fashion agreed. A fantastic story perhaps, but to have sold the model three times is an amazing story I think! Still it’s only a story, but I liked it!

A view from just south of Hougomont

Looking east along the sunken road at the Battle of Waterloo

Lastly, standing out like a bastion in the centre of the allied line is the farmhouse of LA Haye Sainte (Sacred Hedge). This brilliant white fortress was a thorn in the side of the advancing French columns in the early stages of the battle, During the doomed cavalry charges in the afternoon they also added their support in firing into them.
It eventually fell to the French in the evening, predominantly due to the ammunition for the Kings German Legion Light infantry’s rifles running out.

So how does this play out as a wargame? Well there are a wide range of options for you the gamer. As the French there is the option of taking Papelotte first and making the ridge untenable, or flanking Hougoumont, pushing wide and around the supposed fortress and pushing on to the reserves behind the ridge. As the allied player the choices are in the disposition of your divisions. The Guards may be better held on the left of the allied position, with the Brunswickers holding the Chateau. La Haye could hold out longer perhaps with a Veteran British Line battalion in it.

The choices are far and wide.