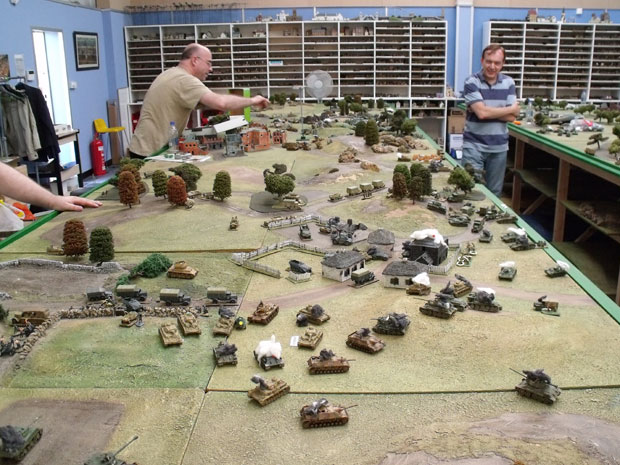
A few weeks ago a group of wargamers from the Reigate club and fellow “In the Grand Manner” gamers from London got together to refight Waterloo at the Wargames Holiday Centre. A gentleman from Austria who is a WHC regular also joined us as the main Prussian player, giving 4 players a side.
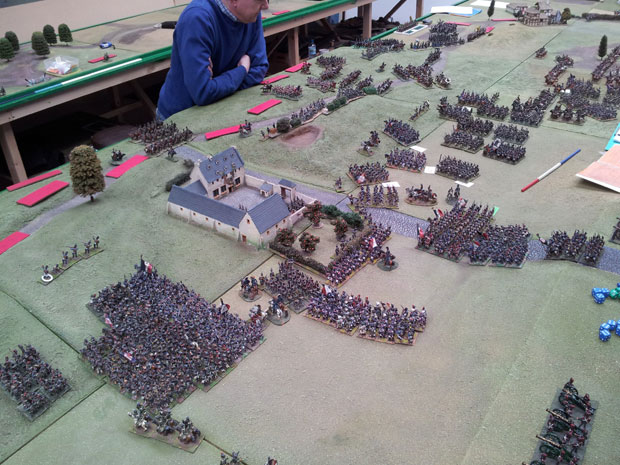
Overview of the attack on the farmhouse
We chose Waterloo as we were aware Mark Freeth had changed the old familiar set up to give a better and more realistic game. We were intrigued!

The start of the Battle with most of the protagonists.
Starting at 4pm on Friday, sides were allocated, plans discussed and agreed and initial dispositions made, together with the first few moves.
Intriguingly, the way the Anglo-Allied side went about the planning was reminiscent of history. The Allied plan was very much the product of the player taking the Duke of Wellington role. He presented the plan and the other two Allied players accepted it. Don’t worry the Allied players knew each other well; this is just how they had agreed to proceed at the outset.
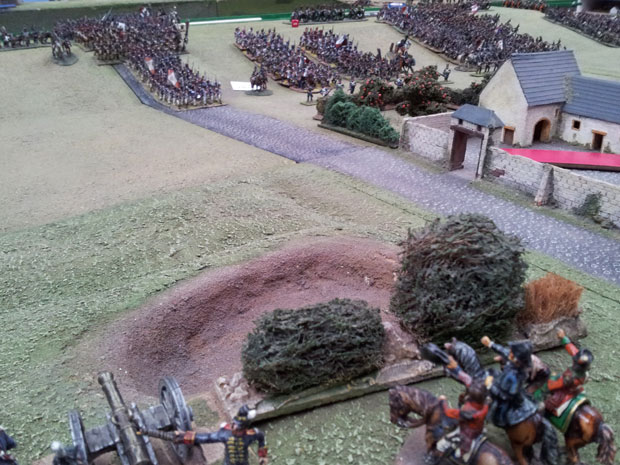
Wellington in the foreground La Haye Sainte in the middle and the French in the distance.
The Duke decided to maintain the Corps integrity of the army as that gave some useful command plusses. However, it did mean the Duke of Orange would be unleashed! In the special game rules he can be useful but there is a chance his influence would be malign. The Duke decided to take the risk!
The Anglo Allied plan saw the ridge as the important defensive position to be held at all costs. The strongest formations would be here. If an attack on either or both flanks, which was feared, did actually materialise then the reserves from the centre could easily be deployed to meet those thrusts.
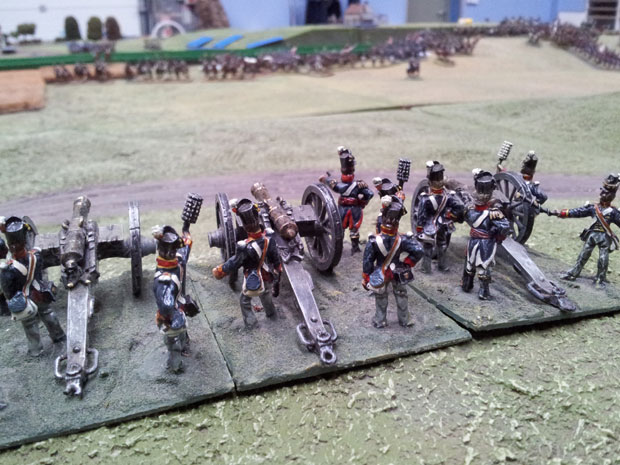
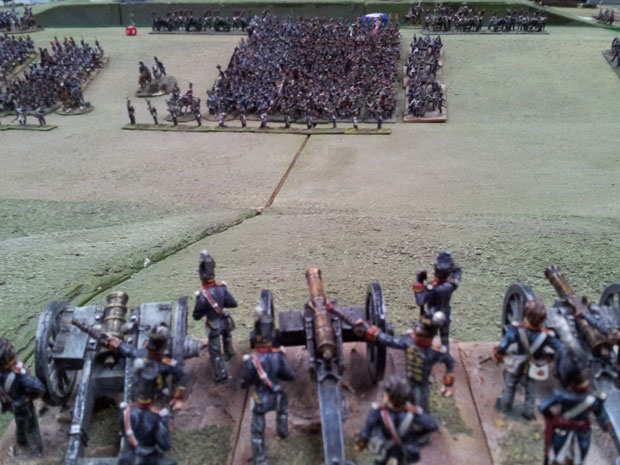
The Royal Artillery prepare to meet the onslaught.
1st Corps commanded by the Prince of Orange was on the Allied right with the Dutch Belgian (DB) Division of Chasse holding the Hougomont area, Cooke’s 1st Division containing the British Guards was next in the line covering the gap between Hougomont and the ridge proper. Perponcher’s D B Division and Alten’s Anglo Allied Division completed the deployment to the La Haye Sainte area. KGL Light troops garrisoned La Haye Sainte as they did in the actual battle. Trip’s Dutch Belgian cavalry division was held in reserve on the extreme right.
The eastern half of the ridge from the La Haye Sainte was held by 2nd Corps Lt Gen Lord Hill consisting of Clinton’s and Mitchells Anglo Allied Divisions supported by Vandeleur’s Cavalry Brigade and the Cumberland Hussars (more of them later!).
Behind these formations Picton’s 5th and Lambert’s 6th Anglo Allied Divisions together with the Household and Union Brigades were held in reserve.
The Allied left from the ridge to Papelotte was garrisoned by the Brunswick Corps and Nassau contingent. These formations were supported by Dornberg’s and Vivian’s Cavalry Brigades.
All the Allied artillery was put into the front line and none held in reserve.
On the French side planning was a bit more orthodox with input from all players. With the entire Guard, Lobau VI’s Corps and Domon’s Cavalry Division held in reserve until released by the umpire, their plan needed some flexibility.
In the event Napoleon decided to concentrate all his available infantry forces on taking the ridge head on. Reille’s II Corps was deployed on the French left but was ordered to ignore Hougomont and the adjacent orchard. Head for the ridge was the order of the day!
D’Erlon’s I Corps was deployed on the French right, directly facing the ridge with Milhaud’s IV Heavy Cavalry Corps covering its flank in the Papelotte area.
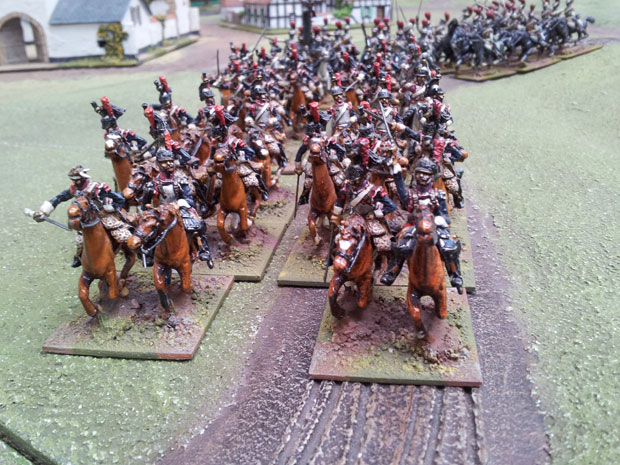
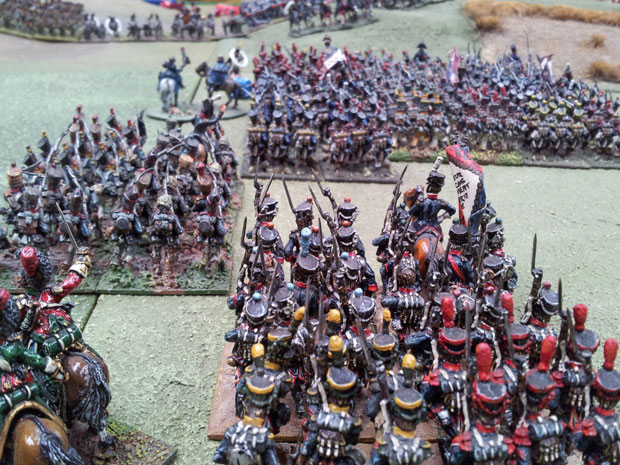
Milhauds Cuirassier move into position.
Crucially, at this stage it was decided to despatch the army’s strongest heavy cavalry formation Kellerman’s III Cavalry Corps to secure the Plancenoit and Frischermont areas immediately and delay any future Prussian advance here.
The game started in earnest on Saturday. Kellerman easily moved his heavy cavalry into the empty spaces around Plancenoit and Frischermont. No Prussians were to be found.

The massed Cavalry of Kellermann and Milhaud early in the battle.
Blucher was already fighting for the Allies in his absence, diverting French troops from the ridge!
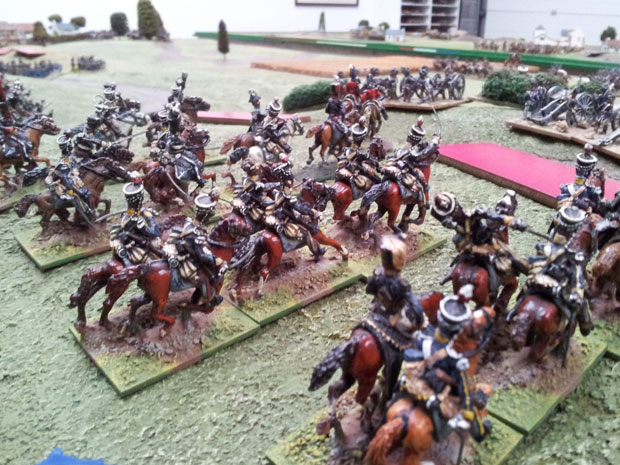
British Light cavalry move forward to the ridge to counter the French advance.
Enterprisingly, the Allies despatched Vivian’s Cavalry Brigade to delay this deployment. This formation roughly handled a regiment of French Dragoons north of Frischermont. However they withdrew as French cavalry reinforcements arrived.

Vivians Light Cavalry advance to scout for the French right wing.
In the centre a terrible cannonade opened up. The French artillery, including two Guard batteries engaged in counter battery fire, whilst the Allied guns pounded the advancing French columns. All Allied infantry and cavalry formations remained sheltered behind the ridge. The exception to this was the poor KGL Light battalion in La Haye Sainte which was under severe volley fire.
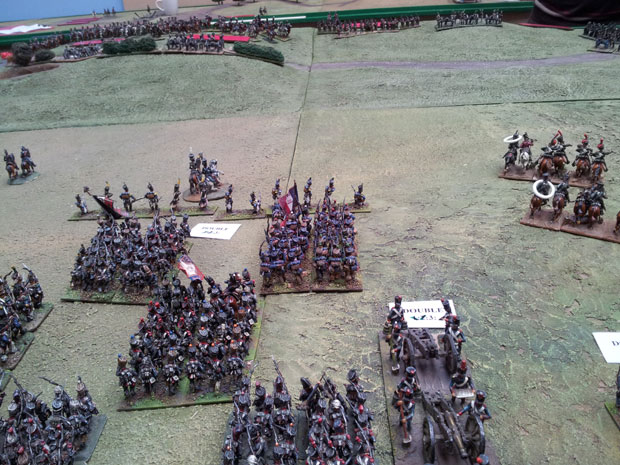
The valley floor.
As the French columns made it to the valley floor and began to climb the ridge, Napoleon joined the units around La Haye Sainte, perhaps to encourage them forward, who knows? This action nearly changed the history of Europe. A volley from the KGL Light Battalion was fired in the direction of the French infantry he was with. Now Mark Freeth has rules for generals in “danger zones”. The dice was thrown and yes Napoleon was hit. (Double six rolled in the firingphase on any target results in a potential General casualty for any within 6″) Ed. Another dice needed to be thrown to see if he was slightly/badly wounded or killed. Hearts in mouth time for the French! A 6 on a D6 roll would be fatal! A hush fell, the dice was thrown and…. Napoleon’s horse went down and he just lost influence for one turn, whilst his escort provided a remount, otherwise he was unharmed. General Donzelot was also unhorsed at the same time.
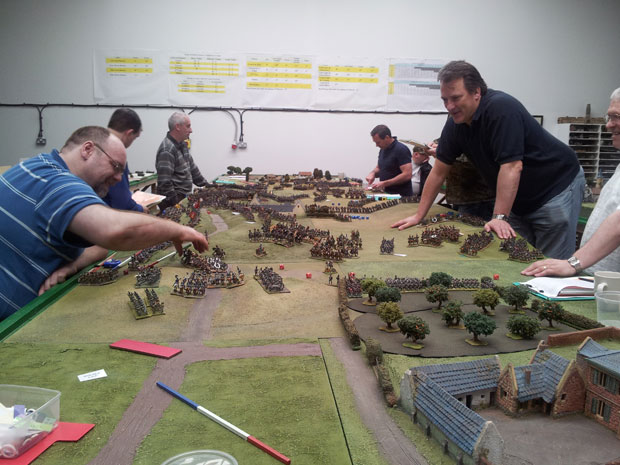
The view from the Hougomont end of the ridge.
Allied joy was short lived as the sheer weight of numbers pressing in on La Haye Sainte meant the KGL were forced to abandon the farm.
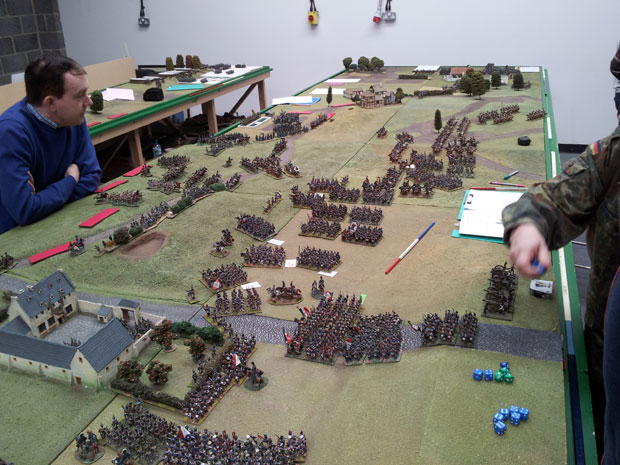
The attack develops around La Haye Sainte.
Eventually, the Allied gun batteries were silenced or forced to withdraw and the French closed up to the ridge. Meanwhile, the advance units of Bulow’s Corps were arriving and advancing on Placenoit. The Prussian cavalry encountered stiff opposition from the French heavies. The French superiority in cavalry numbers and quality on this flank would make life difficult for the Prussians for the remainder of the game. Still the Allies on the ridge were pleased they were not fighting this excellent French cavalry!
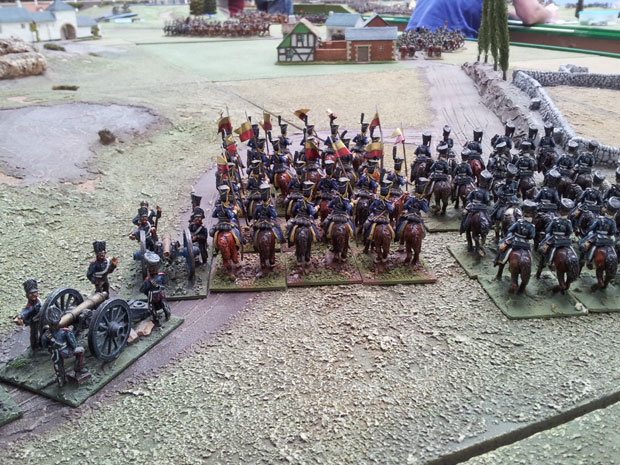
The advance elements of Bulows Prussian Corps arrive.
As Bulow’s infantry Brigades arrived, Lobau’s VI Corps together with Domon’s light cavalry were released to deal with the Prussians
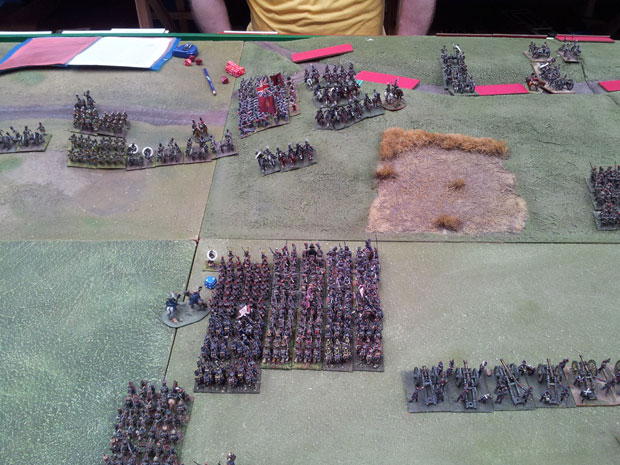
The assault between La Haye Sainte and Papelotte.
The battle now entered a new phase with French infantry moving up to cross the sunken road and take the ridge.
The French attack through the centre
Taking the action from the far French left, Reille’s Corps, obeying orders, ignored Hougomont and the Orchard. The Prince of Orange ordered the Dutch Belgian (DB) units holding orchard to re-deploy so as to be able to fire into the exposed French flank.

The fighting on the slope.
The French Corps light cavalry guarding the extreme flank of the French infantry moved away from this threat and were engaged in inconclusive melees by the D B cavalry of Trip’s Division. Jerome’s Division was also delayed by the DB light cavalry and once clear of them launched themselves against Bijleveld’s DB battery. However a battalion of British Guards had moved up and their deadly volleys forced the Frenchmen back. Meanwhile Foy’s division pressed on up the ridge.

A French attempt to deploy artillery on the ridge met with disaster as KGL and British volleys ripped into the deploying French artillery crews. Foy’s division then deployed to make an attack but once again met stiff opposition from the British and KGL infantry and a fire fight ensued across the sunken road which the French eventually lost.
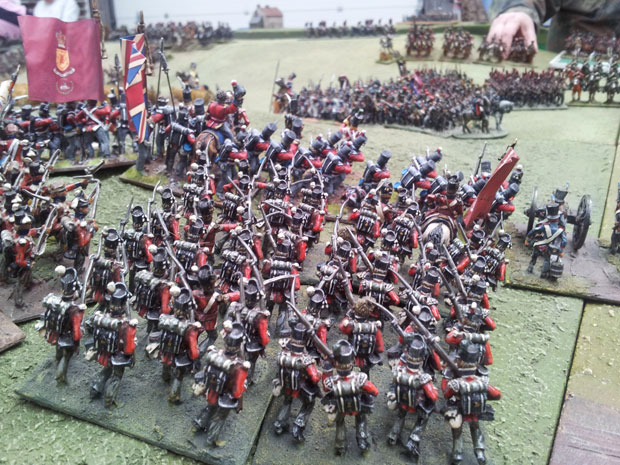
The British Guards
The coup de grace in this area was administered by the British Guards advancing onto the French flank and the French started to fall back. Into the confusion charged some DB cavalry and routed 2 French battalions, meanwhile the raw DB infantry, not to be outdone saw off a further attack on Lux’s DB foot battery which was one of the few Allied artillery units still clinging to the ridge. Foy’s first attack was over.

The sunken road.
However, Bachelu’s division took La Haye Sainte easily, expelling the KGL garrison in short order. The division proceeded up the ridge and once again a fire fight developed over the sunken road. This time the French managed to maintain their position, neither side giving ground. As one unit faltered it was replaced by another.
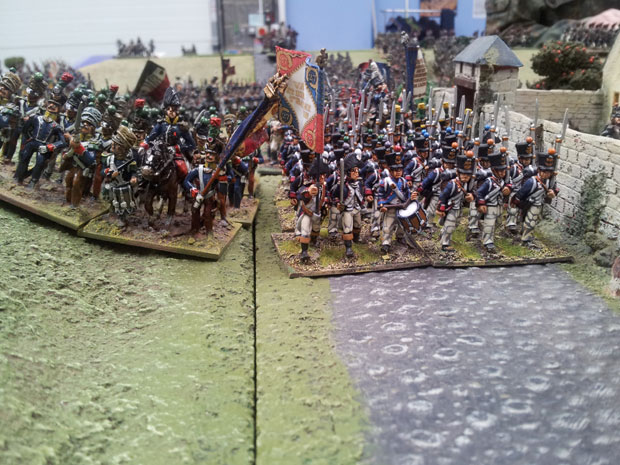
French move past La Haye Sainte.
Moving to the east of La Haye Sainte a similar battle was occurring on the ridge, across the sunken road, volleys were exchanged and units were replaced as they retired. Gradually good British units were replaced by Hanoverians and the French pressure began to tell, especially, in the area of the Brussels road near the sand pit.

Fight for the Sandpit east of La Haye Sainte.
At this point the Cumberland Hussars must get an honourable mention, despite the attendant morale minuses they had, they stayed on the battlefield and completed a number of charges against French infantry in this area, holding the French back whilst the Duke reorganised his defence. Would this be the breakthrough? You’ll need to read on!
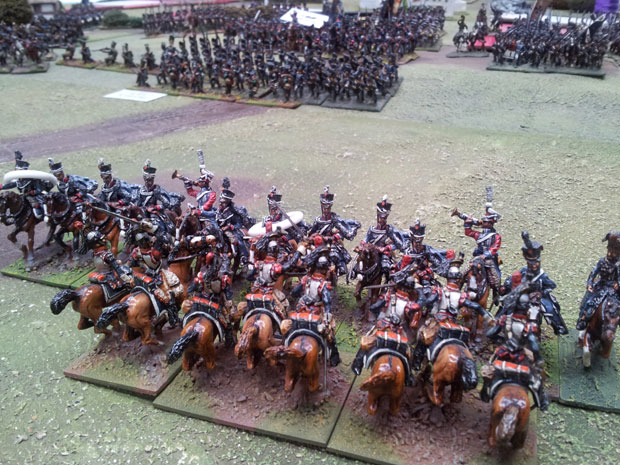
British Hussars from Vivians Brigade charge the French heavies.
On the Allied left realising much of the French “battle” cavalry was fighting the Prussians the Allied commander here requested permission from the Duke to release Dornberg’s KGL cavalry brigade.

British Lights engage French Cuirassier.
The Duke agreed and further supported this attack with Vandeleur’s strong British Light Cavalry Brigade. The massed light cavalry charged into the French Cuirassiers and were also supported also by the remnants of Vivian’s Brigade. The melees went well for Dornberg’s cavalry with several cuirassier squadrons being routed, by the KGL troopers. The British cavalry fared less well and were roughly handled.
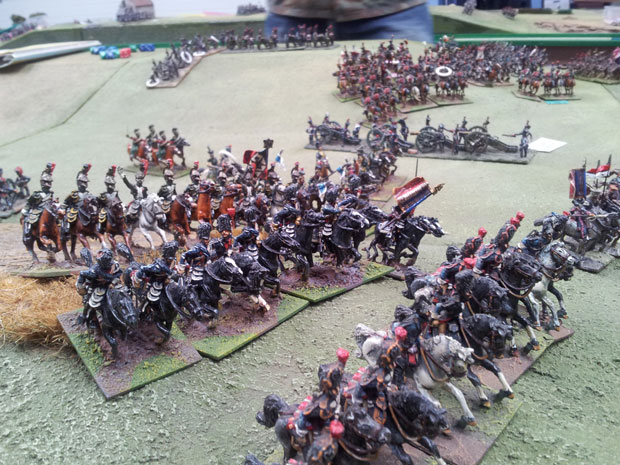

Into one of the luckless batteries
However in the confusion, two Nassau infantry battalions caught some French Cuirassiers napping when they had advanced too close to Papelotte, the Nassauers emptying some Cuirassier saddles! The net effect here was to neutralise the French cavalry for a few turns, allowing the Brunswick and Nassau troops to advance towards the flank of D’Erlons infantry attack on the ridge. Unfortunately this advance was slowed as the French deployed artillery batteries and all the routed French cuirassiers rallied!
Meanwhile the Prussians were now arriving in force around Smohain, but these reinforcements were mainly infantry and were slow to get into action through the sea of French heavy cavalry on this flank. Both the French Reserve Cavalry Corps were now deployed to slow the Prussian/Brunswick advance. Lobau tightened his grip around Plancenoit. The Prussians waited trying to amass sufficient troops to assault the town. At this point the Young Guard were released from reserve and headed straight for the ridge down the Brussels road. This ended the activity on Saturday and we reconvened at 9.30 on Sunday morning for the climax of the battle.
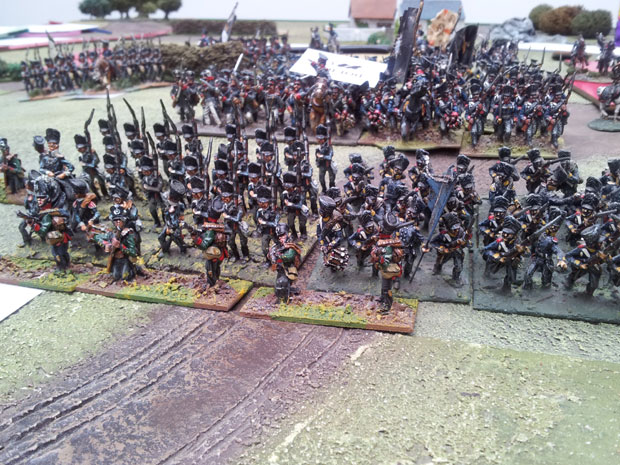
Prussian Line infantry of Bulow's Corps.
The battle now entered the third and final phase and we will return to the Allied right near Hougomont first.
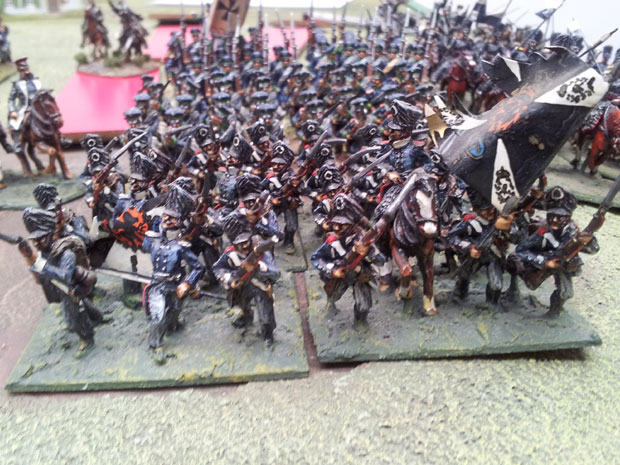
Prussians stream advance into the fortress of Plancenoit.
Here the Prince of Orange, defying all the odds, was putting on a very competent display of generalship. Mark Freeth has a table of actions for the young princeling which mean he can force some inadvisable actions upon his troops. The French had reinforced this area with the Guard Cavalry to prevent the Allies turning the flank. Here they made short work of the remaining DB cavalry and finally destroyed Bijleveld’s battery. However, the steady British Guards and flanking fire from the Orchard snuffed out any chance of the French exploiting this success. With Hougomont and Orchard safe Wellington began to move elements of 2nd and 3rd DB Divisions towards his threatened centre.
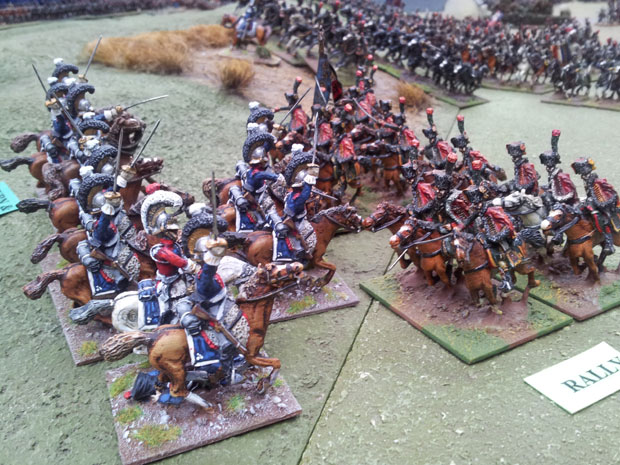
The Dutch Heavies mix it with the French Guard Light Cavalry.
The Carabinier are painted ans based by the master Dave Docherty(One man and His Brushes fame) while the Chasseure are from the stable of Doug Mason. All figures are Connoisseur.
Meanwhile Foy’s division had rallied and made another attack on the ridge and together with Bachelu’s division first engaged the depleted KGL infantry in a fire fight across the sunken road and slowly the KGL yielded ground. Luckily for the allies the two British battalions in Alten’s Division filled the gap and the position stabilised. The French made no further progress on this western flank.
The Brussels road and area east of La Haye Sainte now became the critical area for the French. D’Erlon’s divisions were still trading volleys with Clinton’s and Mitchell’s Divisions across the sunken road. The 95th Rifles held back the French until reduced to a shadow of their strength. Gradually the remaining British and KGL battalions weakened and some Hanoverian formations entered the line. Similarly the French battalions suffered grievous losses and some retreated and routed.

Young Guard approach the sunken road.

Hanoverian Militia assaulted by the Young Guard.
This caused a major problem to the Young Guard behind as they tried to press on through the dense mass of line battalions to their front. This lack of space was to bedevil the French for the remainder of the game. Eventually a brigade of Young Guard made it through the mass in the area of the Brussels road and the Allies yielded ground. Would this be the breakthrough?
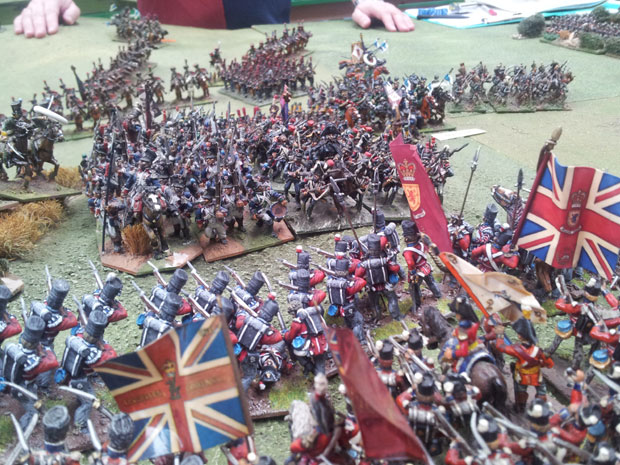
British Guards pour fire into the advancing French infantry
Further east, along the ridge, the Allies were holding firm and were developing a limited counterattack. The Brunswickers had moved from the Papelotte area and were now moving almost at right angles to the ridge driving into the French flank. The French fell back with several line battalions retreating and routing into the valley floor.
The Prussians had now arrived in force with Ziethen’s Corps Cavalry in the lead. The Prussian infantry lagged behind and would play no part in the battle. This gave the Allied commander here the cavalry numbers to unleash a series of charges onto the remaining French Cuirassier and artillery batteries guarding this flank. The results were mixed but overall confusion was sown in the French ranks as batteries retreated through each other and an infantry battalion was routed by the Brunswick Lancers. As darkness fell, the French strove to retire in order to limit the damage.
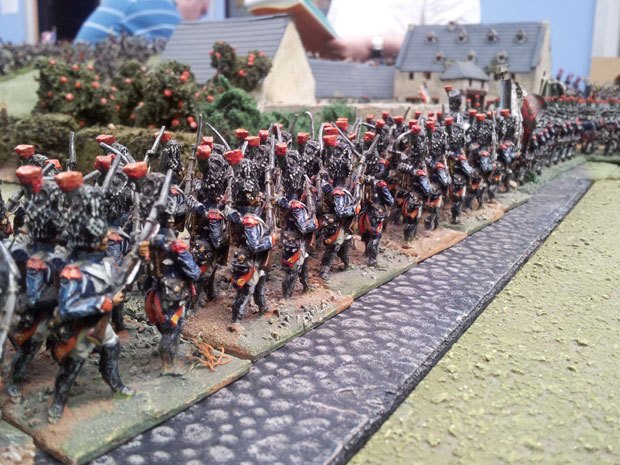
The French Guard advance past the Farmhouse.
The eastern flank of the battlefield was now filled with Prussian infantry, however, only a small proportion of these units were able to get within fighting range of the French. The sight was impressive but the actual threat was not as great as it appeared. The French had allocated more than sufficient troops to hold Plancenoit and as night fell their grip on the town was unchallenged. It should be noted, however, that there was little to halt the Prussian infantry advancing between Frischermont and Papelotte.

The Brunswickers Advancing to support the Prussians arriving from the East.
So we must now return to the “main event” around the Brussels road on the ridge. The Old Guard had by now been sent forward by Napoleon down the Brussels road. The Young Guard on the ridge now advanced and crossed the sunken road, the only French units to do this all day. Wellington had in reserve to counter this threat Picton’s 5th Division and Lambert’s 6th Division along with the Household and Union Brigades. Initially Allied routing units from the ridge disorganised these formations but the French had no cavalry to exploit this. The crisis passed and with a few charges from the British heavy cavalry delaying the Young Guard the Allied line was reformed as darkness fell.
What happened to the Old Guard? The press of French troops around the Brussels road meant it had no room to manoeuvre in. Indeed French units routed through it four times, each time pinning it for a move. The Guard, of course, brushed these inferior units aside but the delay meant it never got into action.
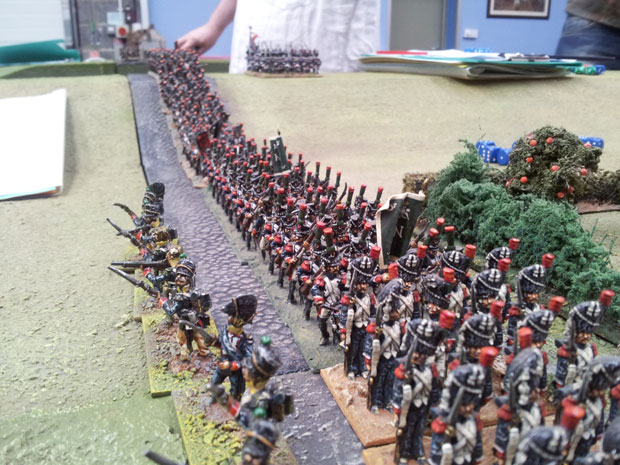
The Guard move down the Brussels road unopposed
The figures are Bicorne Miniatures all painted by Doug Mason.
So what was the result, after 22 moves of hard pounding? Both sides could claim positive results.
The French held the ridge in the area of the Brussels road. Napoleon’s ultimate reserve the Old Guard was intact, although the rest of the French army had suffered heavy losses. The French line of retreat or communication, depending on your view, was secure as Plancenoit was held. The Army of the North was still a viable fighting force.

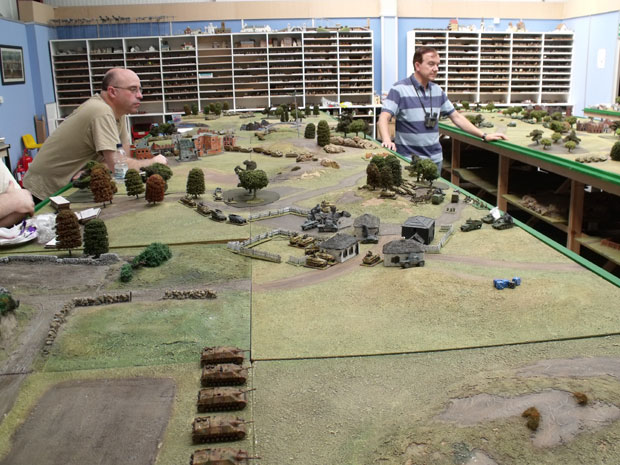
The combatants.
From an Allied perspective the rest of the ridge was in Allied hands with counterattacking forces moving in from the flanks to squeeze the French penetration. The Anglo Allied Army was intact and a continuous line maintained, although bowed in the centre. Strong reserves in the shape of 5th and 6th British Divisions and all the British heavy cavalry were still available to Wellington.
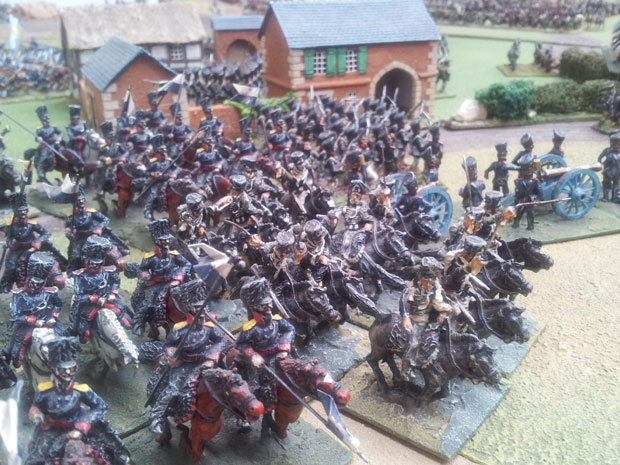
The Prussian Army although, neutralised in the battle was massing and had linked up with the Anglo Allied Army.
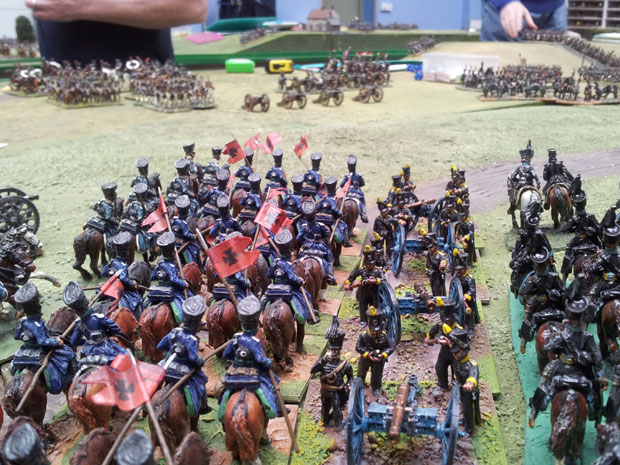
The Prussians advance to link with the Allied right.
Putting the battle into the context of the overall strategic situation there is some justification for claiming an Allied victory although not as emphatic as the historical result. The Anglo Allied and Prussian armies were still intact and had joined forces. Napoleon’s plan from the outset was to keep them separate and destroy both or at least one. At our Waterloo he failed to destroy the Anglo Allied Army and prevent junction with Prussians.
But think about this, with both armies still viable fighting forces what would have happened in the next few days? The French army would probably retire but would Grouchy have been able to intervene and could Napoleon then turn the tables as the Allies pursued? Another idea for a new battle at the Wargames Holiday Centre, come on Mark you know you want to!
After all the post mortems each side had their regrets. The French I think would acknowledge they despatched too many troops to deal with the Prussians. The immediate allocation of the strongest French Cavalry Corps to this flank, before any Prussians appeared, robbed the French formations attacking the Anglo Allied Army of valuable cavalry. Secondly, the failure to at least contest the Orchard at Hougomont meant the French attack on this front was pushed east to avoid flanking fire from the orchard.
Both the above caused the French attack on the ridge to become cramped with little room for the troops to manoeuvre and may have fatally delayed the Guard units from intervening decisively.
As an Allied player, I can say our tactics were conservative (how very appropriate for the Duke though!) and served us well, however, with hindsight we wish we had been a bit more adventurous. With less held in reserve, especially the British Heavy Cavalry our counterattack on the eastern side of the ridge could have been far more dangerous and perhaps given us a decisive victory. In rugby terms our defence was sound but the attack perhaps could do with an improvement!
Finally and most importantly did we enjoy ourselves? The answer must be a resounding yes!
Both sides left claiming that they could do better as French or Allied and that is the beauty of Waterloo my friends. You always think it will be the same but it never is and after each game you think, if only I’d done that or if I’d been in charge of the opposition I’d have done something different. Waterloo casts it’s spell again, a strange old world!

