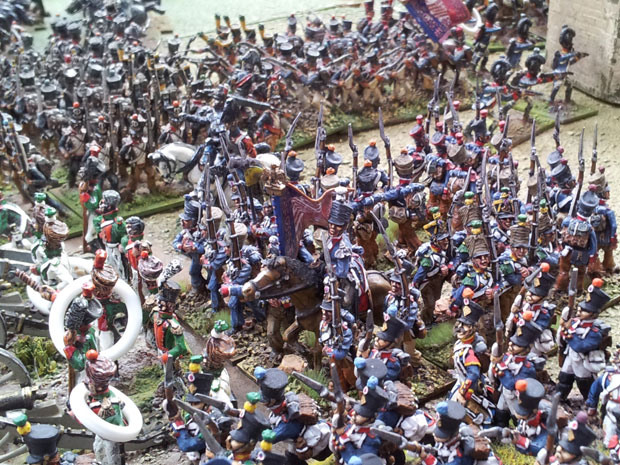
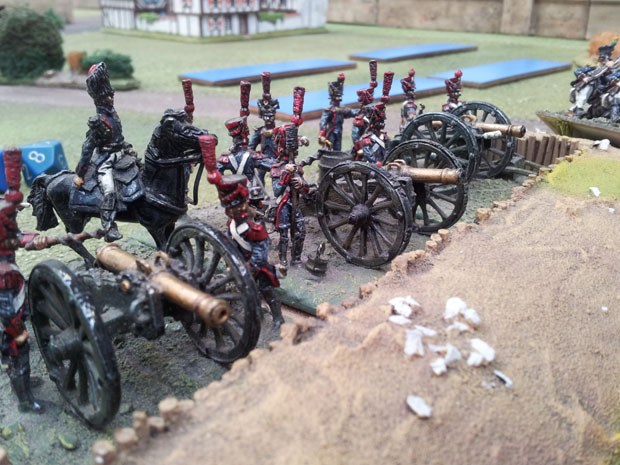
A few weeks ago a group of us met up at the Wargames Holiday Centre (WHC) to refight the battle of Dresden. The battle was fought over two and a half days from Friday afternoon to late Sunday afternoon.
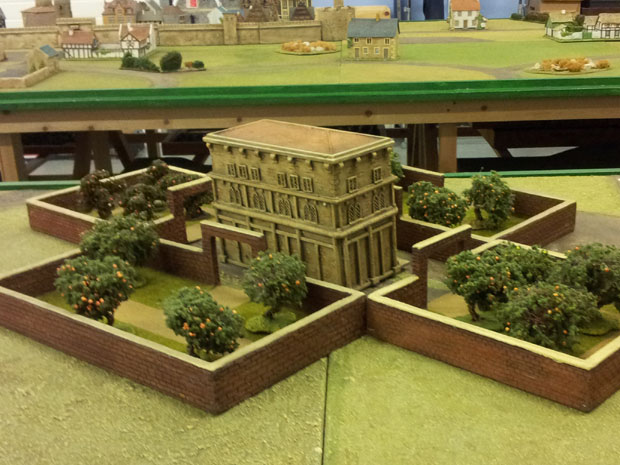
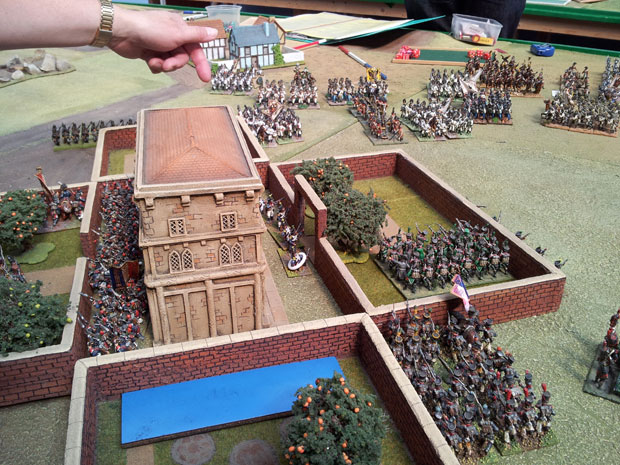
The Gross Garten in all it's finery, the calm before the storm.
The WHC battle starts with the Allies in an “L” shape round Dresden. The Allied line stretched from the western side of the Weisseritz river, then moved east across the front of Dresden and finally turning north to the river Elbe. The French are within this “L” defending the west bank of the Weisseritz River, Dresden and the outer suburbs including the Great Garden. The French Guard and other reinforcements have already arrived when the battle starts.
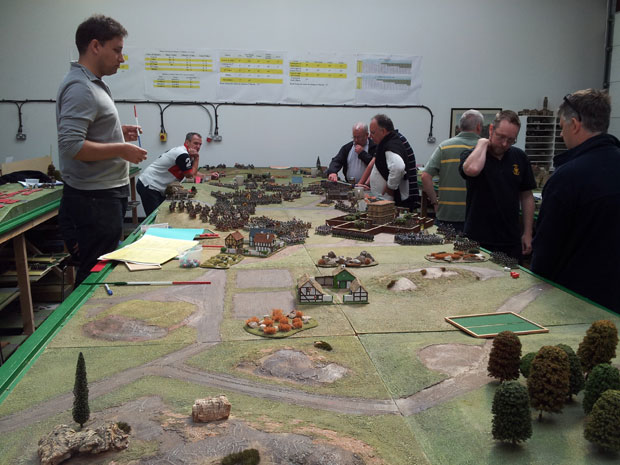
The combatants.
As time was short both sides hurried to make their plans. The French plan was essentially defensive. They would await developments, holding a strong reserve that could be deployed once it was clear what the allied plan was.

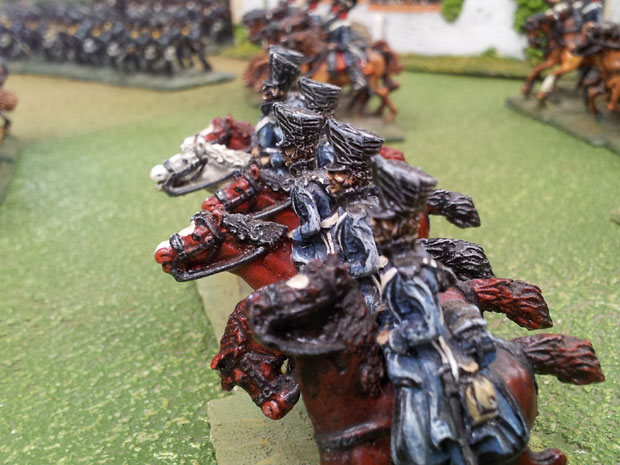
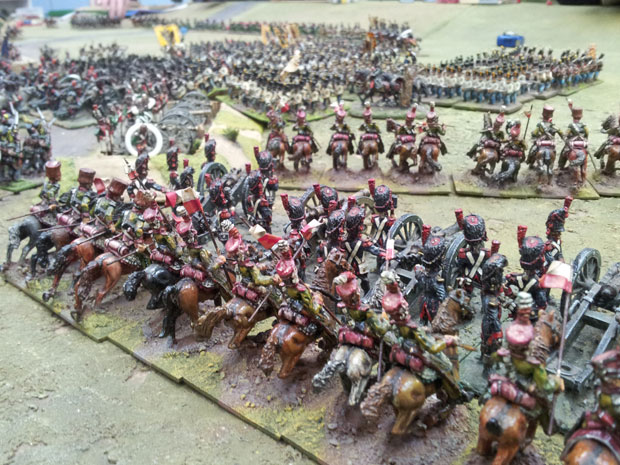
The Prussian Dragoons move up to the front.
West of the Weisseritz River Victor’s II Corps supported by Latour Maubourg’s powerful I Cavalry Corps were ordered to hold this ground but if the Allies were weak here, they were to attack.
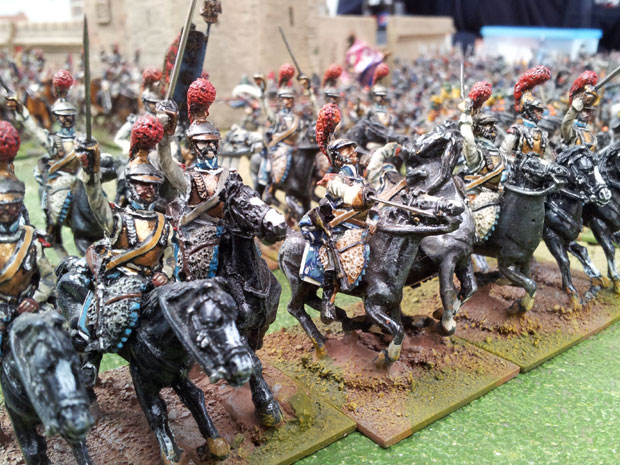
French Carabinier
Connoisseur Miniatures Carabinier painted by Doug Mason
In the centre within the Dresden suburbs Marmonts VI Corps was deployed, supported on the left by two batteries of Guard 12 pounders and a Guard Horse Battery. This along with the garrison artillery in the two redoubts (L3 & L4) gave the French massive firepower in this sector. The Great Garden was entrusted to the 2nd Young Guard Division. Behind Marmont and the Great Garden the 1st Young Guard Division, Old Guard infantry and Guard Cavalry were all held in reserve. A small garrison of Westphalians remained in Dresden.

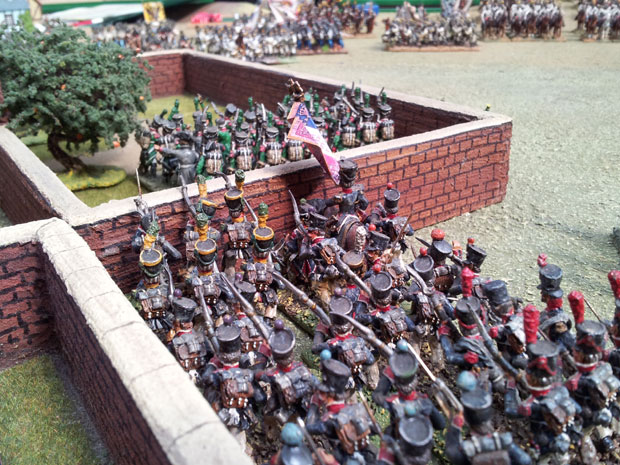
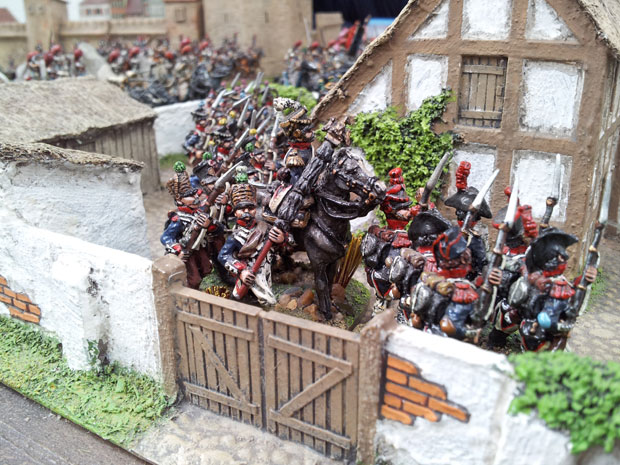
Young Guard behind the Gross Garten
.
Turning north St Cyr’s XVI Corps supported by Pajol’s II Cavalry Corps held the line to the river Elbe.
The Allies were more positive in their plans. The Russian army commanded by Barclay de Tolly was placed to the west of the Weisseritz River; this formation was supported by the Russian Guard Cavalry division. Their orders were to push forward and try to turn the French flank, otherwise just to tie down as many French troops as possible.
The Austrians were deployed in the centre, west to east, Colloredo’s I Corps, Gyulai’s III Corps and opposite the Great Garden the Austrian Reserve Corps commanded by Chasteler. Their role was to assault the Dresden suburbs and Great Garden frontally.
The Russian Guard Infantry and Grenadiers were held in the rear ready to exploit once the Austrians had done the dirty work!
Three infantry divisions of Prussians supported by their cavalry reserve and the Prussian Guard completed the line to the river Elbe. Specifically, the Prussian 2nd Division was tasked with attacking the eastern flank of the Great Garden as the Austrian Grenadiers attacked the southern side. The remaining Prussians were to press in on the French held villages protecting the approaches east of Dresden.
Before proceeding further the weather rules need to be explained. Throughout the historical battle it rained and this had a decisive result preventing infantry firing and in these circumstances the French cavalry under Murat inflicted horrendous losses on particularly the Austrians. To simulate this a D6 was rolled each turn and this gave the weather, it could be fine, light rain falling or at the extreme end heavy rain. The weather chart meant the change was gradual e.g. light rain could turn to heavy or cease and fine weather result etc.

Austrian (Hungarian) Infantry await the charge of cavalry.
Rain had an adverse effect on artillery fire, musketry and visibility. However, the ability of cavalry to break infantry improved in the rain, although cavalry charge ranges decreased as rain became heavier.
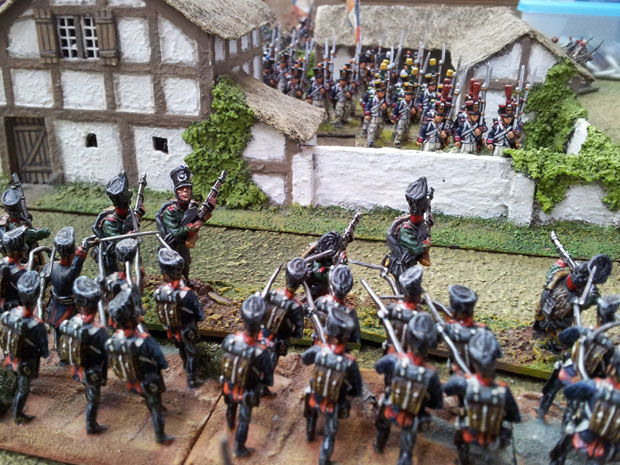
Prussian troops move into the suburbs of Dresden
So the battle started, the Austrian Corps of Colloredo and Gyulai in their attack columns poured off the Racknitz Heights in huge numbers, with limbered artillery between the columns. The columns moved apart and the artillery unlimbered. Whilst this was happening, Marmont had thrown out a screen of light cavalry to hinder the enemy advance. These cavalry had engaged some Austrian light cavalry and suddenly 2 squadrons found themselves in front of the Austrian artillery, picking on one battery they charged on. The Austrian canister fire was poor and the cavalry charged into the battery slaughtering many gunners and routing the battery. The Austrian commander shrugged off this unexpected reverse and continued the advance.
To their right the Austrian Reserve Corps was more circumspect in the advance on the Great Garden the columns were more widely spaced to facilitate a change of formation to line. Austrian heavy artillery moved up in support. The Austrians would try to take the Great Garden by firepower.

Austrian Infantry moving forward.
To the west of the Weisseritz River the Russians advanced their batteries onto the high ground and their cavalry moved up on the far left of the allied line. The infantry sheltered behind the ridge. The French observed this movement and pulled their forces out of artillery range. The French player taking care to hide as much of his force as possible behind terrain and the rain! Here the game would be one of move and countermove, with Victor and Barclay each seeking to outwit the other in movement before committing their forces. Crucially the French prevented any serious Allied reconnaissance on this flank.
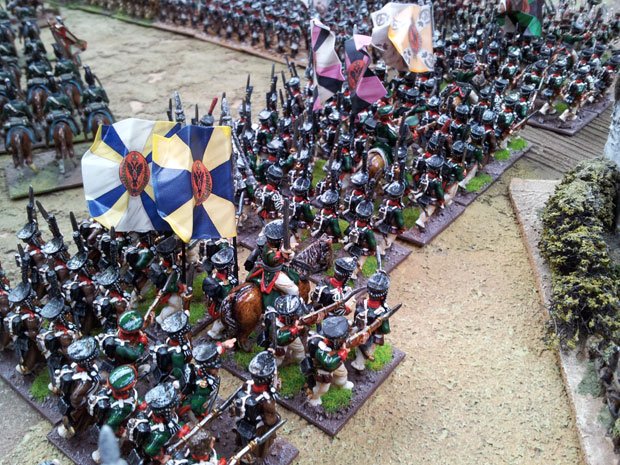
Russian Infantry awaiting the off!
Figures by Front Rank and painted by Reinforcements by Post, flags by GMB Designs
On the other flank the Prussians were in full attack, seeking revenge for years of occupation and the humiliations of 1806! However, this part of the battlefield had significant obstacles in addition to the Landgraben drainage ditch and the co-ordinated advance soon broke up as units struggled through the terrain. St Cyr occupied the villages and awaited the Prussians. Pajol’s cavalry lurked in the clear gaps ready to exploit any rash Prussian moves.
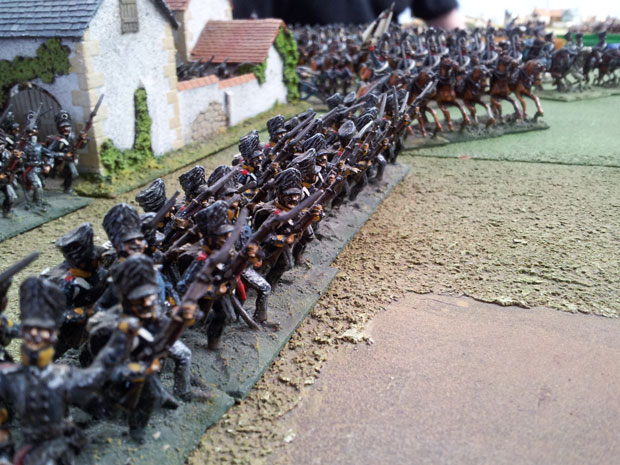
Figures by Connoisseur Miniatures
The eastern flank of the Great Garden had clearer terrain and the Prussian 2nd Division was able to make a more organised advance in this area. The Prussian commander threw out light cavalry and landwehr cavalry to scout the Great Garden. The French were hiding safely behind the outer stone wall and vegetation within, eventually the commander here, Marshal Ney, acted in character and lost patience ordering 2 battalions to open fire to drive the harmless cavalry off. The Prussian now knew what was there and the infantry columns closed in.
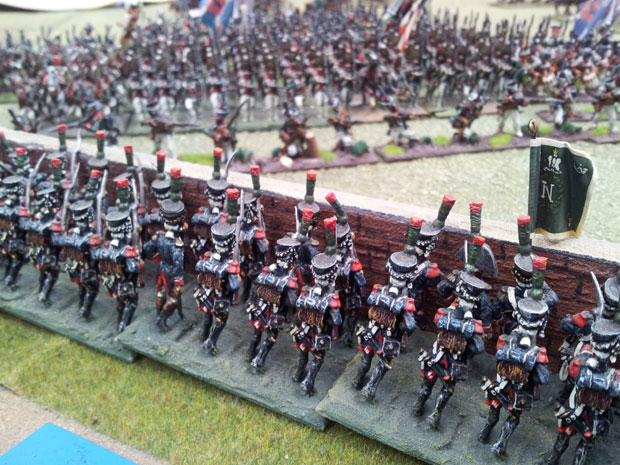
The Guard moved into the Garden later and conducted a terrific defence.
Figures by Bicorne Miniatures Painted by Doug Mason
Figures by Bicorne Miniatures Painted by Doug Mason
Moving back to the centre Marmont’s corps was now heavily engaged with Colloredo’s and Gyulai’s Corps. The garrison 12 pounders in the redoubts and Corps 6 pounders pounded the advancing Austrians and the French infantry waited in line for the assault.
The lead Austrian units “peeled off” to allow fresher battalions through and they charged. The defenders stood, volleyed or fired canister. The Austrian charges continued through this hail of fire and hard fought melees resulted. The Austrians gained the upper hand and the redoubt (L4) was taken and the French lines broke. Only the infantry battalions on Marmont’s left flank held firm behind a wall. Sensing the danger, Napoleon had already moved into the area and part of the Old Guard was ordered up to support the units behind the wall. As all this was happening, the weather veered from fine to light rain then heavy and back again to fine. This had little effect on the close hand to hand fighting, however further east it was of more significance.
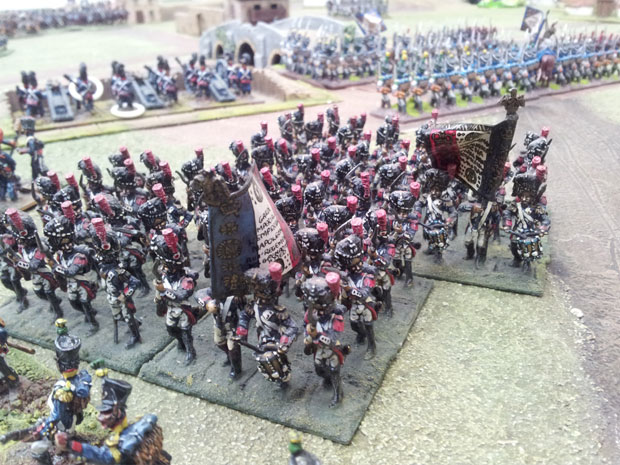
Figures by Bicorne Miniatures, painted by Doug Mason
The Austrian Reserve Corps had advanced slowly, with its commander trying to work out the best way of taking the Great Garden, whilst preventing huge casualties from the French Grand Battery. The solution was eventually for the Austrian Grenadiers to form line, move the heavy Austrian batteries forward and then engage in a fire fight. To prevent the French Guard 12 pounders firing on this methodical attack the Austrian cavalry was ordered to move to charge range in front of the gun batteries in preparation to charge them. Due to some erratic staff work and conflicting advice from nearby “advisors” the Austrian heavies found themselves in the front line and needed to move directly into canister range before charging, a suicidal position. The French batteries dealt out death and destruction.
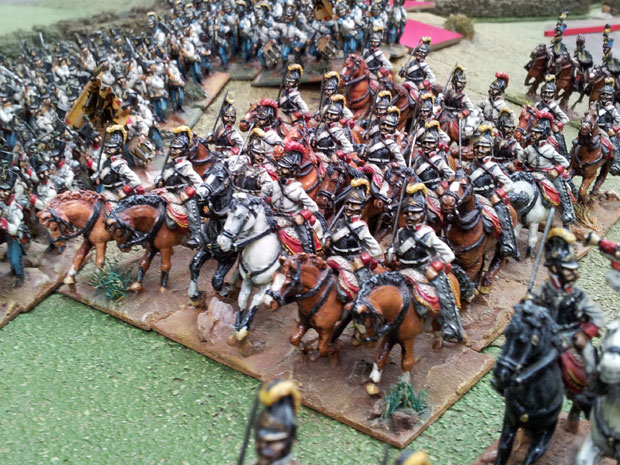
Figures by Elite Miniatures painted by Doug Mason
Luckily, the weather intervened and heavy rain fell enabling the Austrians to withdraw and reorganise. Additional light cavalry was brought forward to support the remaining heavies and crucially some infantry was now in support, presenting the French artillery commander with a headache, what to fire at? The methodical attack on the Great Garden could now proceed relatively unmolested by French artillery. Austrian Grenadiers and Jager moved up in line, near enough to see the French behind the walls. The French had to fire now and revealed themselves. The Austrians fired back and were supported by their heavy artillery now at close range.
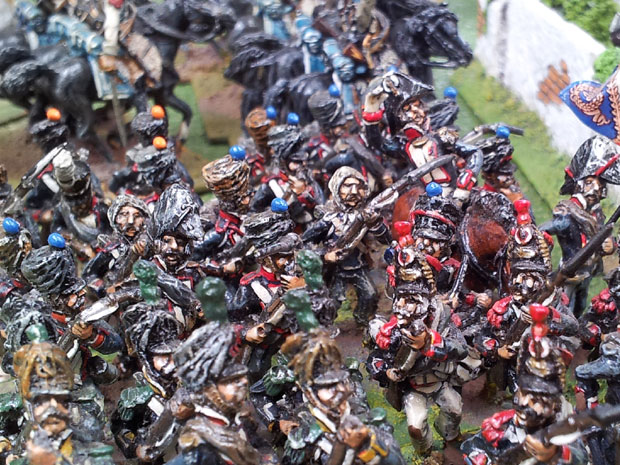
Figures by Connoisseur Miniatures
The fire fight continued but the greater Austrian numbers enabled them to recycle their infantry and the weakened Young Guard units were forced back, despite the encouragement of Marshal Ney!
On the eastern flank of the Great Garden the Prussian cavalry having moved away left the way clear for a brigade of Prussian infantry to charge. The French defenders fired but the Prussians charged home and a fierce melee developed, the Young Guard eventually suffering more casualties but just holding on. The Prussians had to retire, reorganise and lick their wounds.
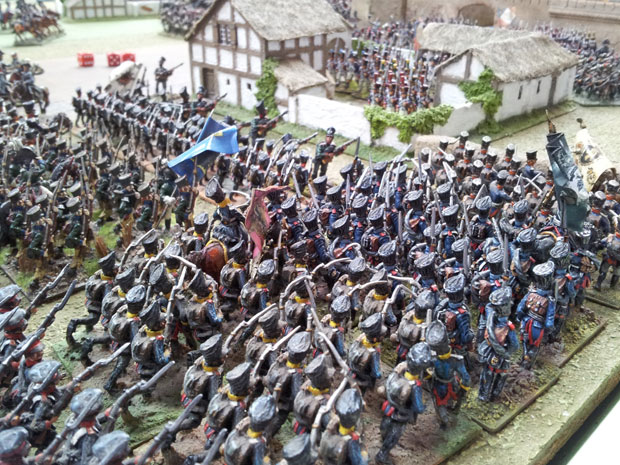
Prussians attacking close to the Great Garden.
The Young Guard desperately needed time to reorganise before the next attack and relief came from an unexpected quarter.
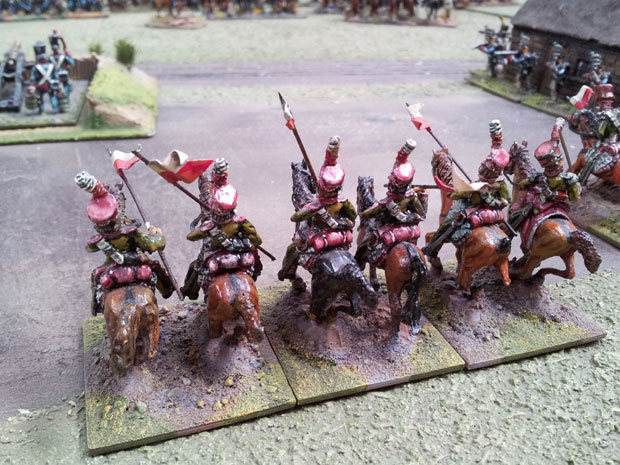
Further round on this flank the Prussians by sheer weight of numbers forced St Cyr back behind the villages guarding this flank. However in the small area of clear ground to the north of the Great Garden a cavalry melee had developed between the some cuirassiers of Pajol’s Corps and Prussian heavies. The French won but could not rally, however, into the gap stepped a regiment of French lancers, they swept away the remaining Prussian cavalry and charged the Prussian infantry which were in the process of coming forward again to charge the Great Garden.
Figures by Elite Miniatures
Unfortunately for the French they were beaten off by the infantry but they gave the Young Guard valuable extra time to get a fresh unit to the wall to resist the second attack. Despite this the second Prussian attack was more successful and the Young Guard battalion routed, after a hard fought melee. The other weakened units saw this and had to test morale, it was here that Marshal Ney earned his money and the potential routs were limited to a few retreats that were rallied. The remaining fresh units of 2nd Young Guard Division formed a new line to the rear of the Great Garden.
Elsewhere the Prussian attack ground relentlessly forward. The village adjacent to the Landgraben was the first to fall. The fight over the village on the banks of the Elbe was protracted, the village changing hands twice, before the Prussian prevailed. However the French line reformed and established a firm grip on the outer Dresden suburbs and fortifications. The Prussians would need to regroup before pressing on.
On the Allied left flank the game of “cat and mouse” persisted between Victor and Barclay. Rumours abounded in the Russian camp that in addition to the French light cavalry and lancers seen, the superb Saxon heavy cavalry and more importantly the entire Guard cavalry were hidden away from view behind Victor. As we shall see later they were only partially correct. The upshot was that Russian movement became even more careful. Victor sent Testes division back to the French centre and deployed some troops to cover his left flank if Marmont should collapse.
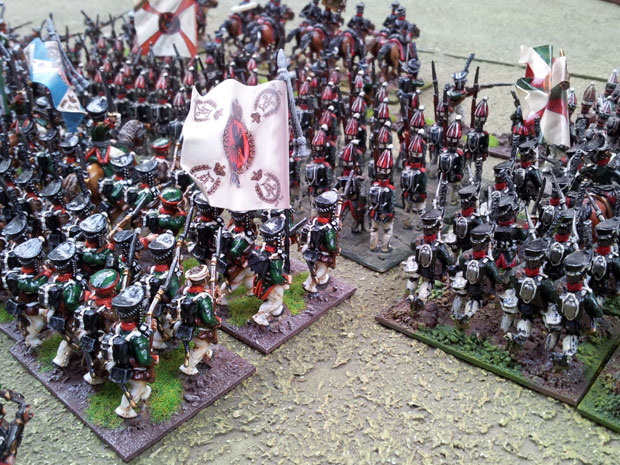
Russian Infantry moving to the attack.
Figures by Front Rank (painted by Reinforcements by post) Pavlov Grendiers by Connoisseur Miniatures.
We must now return to the centre for the dénouement of our battle. You will remember the Austrians had pierced the centre of Marmont’s frontline but his left (behind a wall) and right had held firm. Napoleon arrived and set about rallying the routing and retreating French units. 3 Battalions of Old Guard were placed so if the French line units failed to rally they could move into the area. The other 3 Guard battalions moved to bolster Marmonts remaining brigade behind the wall.
Whilst this was going on the Allies deployed the Russian Guard 12 pounder battery in a successful bid to drive away the French Guard Horse Battery, two turns later with 50% casualties the horse battery was pulled back! Behind the gap Napoleon placed the Lancers of Berg.
Figures by Connoisseur Miniatures painted by Doug Mason
Now the Austrians scented victory with one redoubt captured and Marmont in disarray. The second redoubt was now targeted together with Marmont’s adjacent brigade behind the wall. The Austrian columns charged the wall and despite good firing from the French they yet again charged home and a hotly contested melee ensued, which was only resolved in favour of the French by the intervention of an Old Guard battalion. Meanwhile the Austrian attack on the redoubt had wavered with the attacking column retreating.
One of the redoubts defended by an early uniformed Guard Foot artillery battery
Figures from Bicorne Miniatures. Painted and based by Doug Mason
In the meantime Napoleon had brought forward the Guard Lancers to support the Lancers of Berg, sensing that an opportunity to counterattack the Austrian columns may present itself. The Guard Lights were in support further back and the Guard Heavies moved to behind Marmont in case of need.
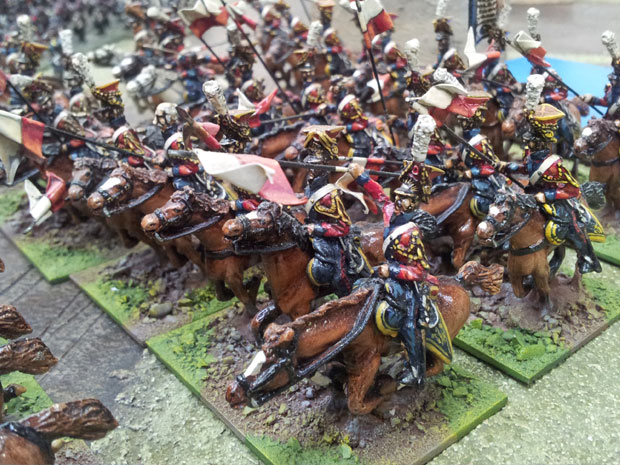
Dutch Guard Lancers charge into the throng.
The repulse of the attack on redoubt now presented the French with a chance to charge the supporting columns, providing they could clear away two lone squadrons of Austrian Hussars. The Lancers of Berg charged, both sides failed dismally to inflict any but minor casualties and Napoleon was forced to commit a precious squadron of Guard Lancers to ensure success. The Austrians were cut down to a man. The French winners failed to rally and so returned to their own lines. This now left the field clear for the remaining Guard Lancers to charge.
The second squadron went in, the Austrians panicked, fired with little effect but the lancers could not break the column. The third squadron tried and the Austrians fired much better this time, but as is the way of things, the lancers were successful this time routing the Austrian column. On Marmonts right the rallied French units were putting up a good fight and holding the Austrians.
Lanciers de Berg moving through one of the Guard 12pdr Batteries.
With this action in the centre we ran out of time and our battle ended. The result, well obviously, there was still much to play for but some points can be made.
The Austrian attack had been held with lead units thrown back but only by committing some of the Imperial Guard. Could this now be released back into reserve to combat the Russian Guard now moving down from the Racknitz Heights?

French infantry defending one of the many suburbs of Dresden.
The Great Garden front wall had been lost but half of the 2nd Young Guard Division was fresh and holding the rear walls. Could the Austrian Grenadiers now move through and continue the attack successfully?
The Prussian 2nd Division was now moving along the eastern flank of the Great Garden, forming, with Austrian Grenadiers success, a difficult right angle for the French to defend. However the fresh 1st Young Guard division could interfere here.
The remaining Prussians were pressing St Cyr hard as they were slowly emerging from the worst terrain, as the Prussian commander put it afterwards, “squeezing and squeezing the defenders”.
But perhaps the biggest question is political one! What would the normally hesitant Austrians make of the slow methodical Russian game of “cat and mouse” on the Allied left. Whilst Austrians had been dying in droves the Russians seemed to be conserving their strength. Was this a cunning plan of the Czar? Historically, there was no love lost between the Austrians and Russians, both having conflicting aims during this period, only the greater fear of Napoleon kept them together. Would the apparent Russian inaction sunder the fragile coalition?
There you are Mark yet another idea for a game!
All in all a great game played over a playing area of some 28 feet by 15 feet with in excess of 7500 figures. If you have not experienced this size of game it is great experience. The players were a mix ranging from those new to the rules to old campaigners. The game was played in good spirit with newer players being helped by those old sweats, although sometimes getting conflicting advice from the so called experts! After 2 days of hard pounding everyone left tired but happy. As usual Mark Freeth was an excellent host ensuring everyone fully participated.
Paul Goodwin

