The wargames holiday centre is all about large scale wargames, the sort of wargames you dream of but very rarely have, even at the biggest wargames clubs… well we have them every weekend!

Just look through a few of the pictures below and you will an idea of what we mean by large scale.

A view down the valley

The view down the valley from Hougoumont

Battle around Hougoumont

The attack to the east of Hougoumont

The British point of view

The view from the British ridge between La Haye Sainte and Papelotte

French view of the ridge line

The French view up the hill to the east of La Haye Sainte

A view down the ridge

Another view down the valley from the west of La Haye Sainte

French guard cavalry advancing

The French Guard cavalry advancing

the eastern end of the valley

Another look at the French guard cavalry and Papelotte in the distance

Pressure at Papelotte

The French around Papelotte

The French have advanced across the valley and are pressuring the allied lines everywhere.

Pressure at Papelotte

The impressicve sight of the French marching across the valley, in the distance you can see La Haye Sainte

The fierce fighting around La Haye Sainte continued with the attackers being slowed by the artillery on the ridge and firing from La Haye. But they still managed to keep advancing and prepared to charge the farm.

Pressure at Papelotte

La Haye Sainte is under attack now and the volley fire from the buildins hasn’t stopped the French attack!

The French Guard cavalry had continued its advance across the valley floor and was now in front of the guns on the ridge between La Haye Sainte and Papelotte.

Pressure at Papelotte

Hordes of French guard cavalry prepare to attack the thin line of British guns on the ridge

Pressure at Papelotte

All across the line the allied guns are under pressure, these guns on the ridge to the west of La Haye Sainte where charged by cavalry and came out second best!

News came to the French that Grouchy had intercepted a Prussian force lead by Ziethen, is this a sign that the Prussian army is arriving to releave the pressure!

The position of the outbuildings at Papelotte means that things get hot quite early, so with the French pushing hard things can get tricky. The key for the French is to effectively clear the skirmisher buildings then they are free to move onto the main assault.

Sometimes its best to try and shoot the skirmishers out of the buildings but if you are in a hurry you might want to risk an assault…

Pressure at Papelotte

You need to get the range right, if you are too close unpleasent things can happen!

But you need to make sure that you place your guns in the right place, if they are too close to buildings and other artillery you tend to get a nasty pasting… these guns where just too close and took hits from lots of happy allied gunners…

Pressure at Papelotte

if we can’t shoot them out we will charge them out!!

If you choose to charge your battalions into the buildings you only fight with the maximum occupancy of the building, so in this case 6 skirmishers against 6 Frenchmen… with the occupants getting an advantage on the dice rolls, so it can be risky!

Pressure at Papelotte

The French attacks on the skirmisher buildings outside Papelotte are repulsed…

Pressure at Papelotte

the allies breathe again as the French bounce off all of the skirmisher buildings…

Well first blood to the allies, the first attacks on Papelottte are repulsed but I’m sure they will be back!

Over the next couple of turns the French continued to advance across the valley into the allied guns…

Continued advance

The French continue to advance over turns 2 and 3 to the east of Hougoumont

Continued advance

The French advance on La Haye Sainte

Continued advance

The French Guard cavalry moving across the open ground to the west of Papelotte

Continued advance

French Infantry prepare to attack Papelotte bringing up infantry and guns… the guns in the distance look a little close, that may hurt if they have got the range wrong!!!!

Continued advance

The view from the allied ridge between La Haye Sainte and Papelotte… here come the French Guard!

A brief introduction for those who haven’t been to the Wargames Holiday Centre.

Initially troop formations are added to tiles and the first move of the battles are done using these tiles, rather than adding the figures to the table straight away. The first move is made on these tiles to prevent players reacting to the troops placed in front of them.

So this is how both sides lined up… the markers represent troop types at corp level. The white arrows are the initial moves, in this case made by the French.

Waterloo Turn One

Napoleons, “tomorrow night Brussels”…
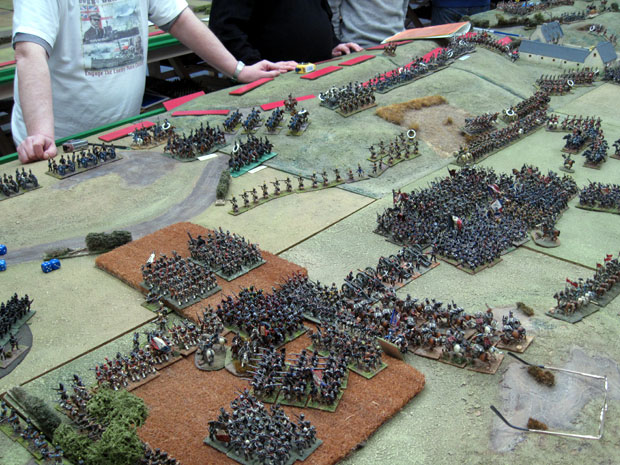
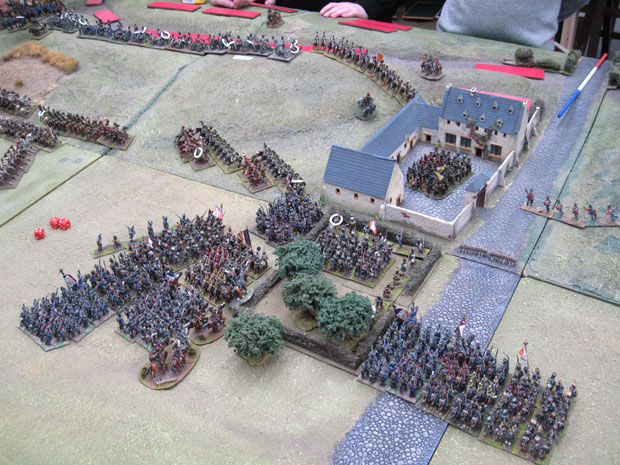
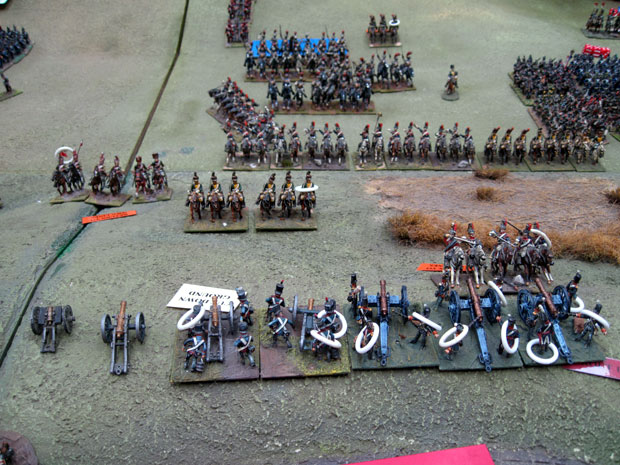
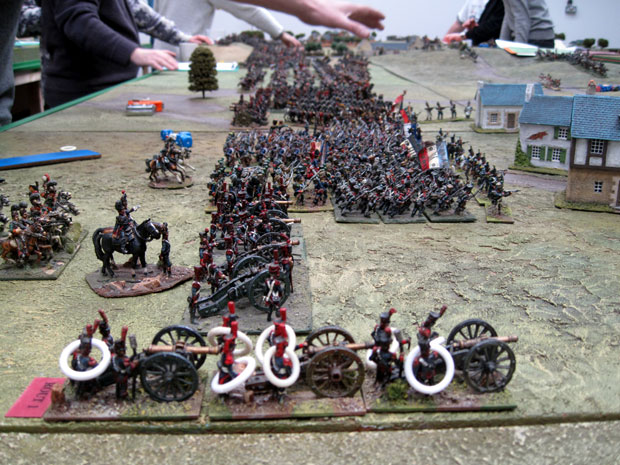
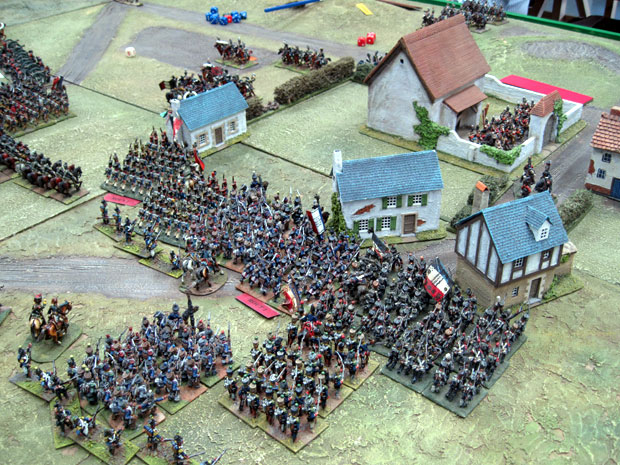
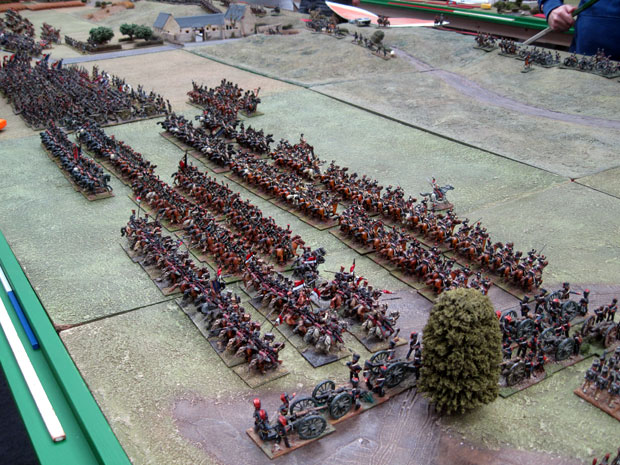
The French have deployed Reille’s corp to the west before Hougoumont with Kellerman’s cavalry corp to his right. Behind Kellerman’s cavalry the forward elements of what looks like the Old Guard can be seen in reserve. To the east of Kellerman a guard 12 pounder foot battery is being unlimbered, ready to fire on La Haye Sainte. D’erlon’s corp is positioned in front of and to the east of La Haye Sainte. The impressive sight of the Guard cavalry corp flanks them in the open ground between La Haye Sainte and Papelotte with Milhaud’s cavalry with them. Again it looks like more guard infantry, possibly Milhaud corp behind them. Another guard gun battery is deployed next alongside Lobau’s corp which is deployed in front of Plancenoit, with Duhesme and the young guard positioned in Plancenoit.

Wellington, Gentlemen, “Today’s Fox”…
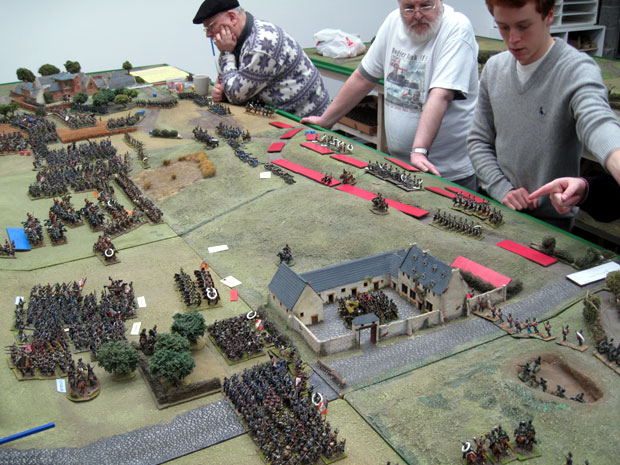
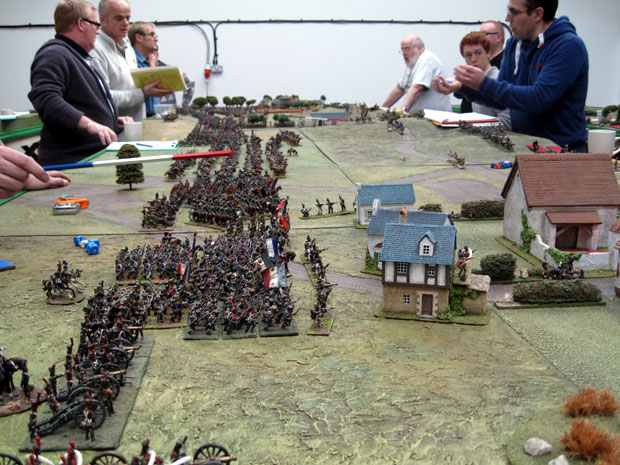
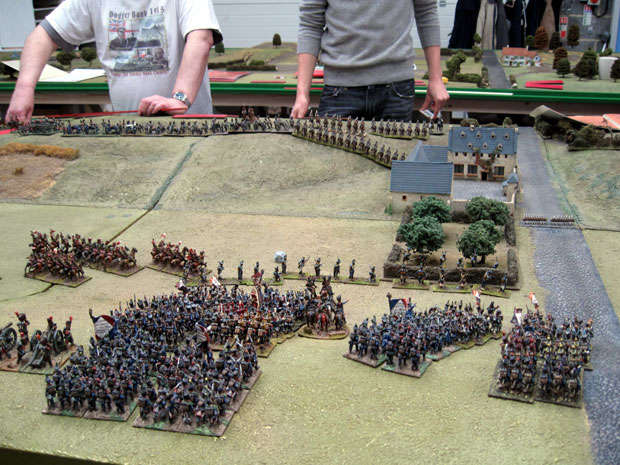
The Brunswick division is positioned around Hougoumont, supported by Clinton’s British division. On the ridge to the west of La Haye Sainte are 2 Dutch Belgium divisions. Picton’ scotts and Cook’s guard are defending the ridge to east of La Haye Sainte. While Allen & Coles 3rd and 6th divisions are defending the ground around Papelotte.

The Allied cavalry is positioned in reserve to support where they are needed most!

Wellington is apparently enjoying a “Full English”…

Waterloo Turn One

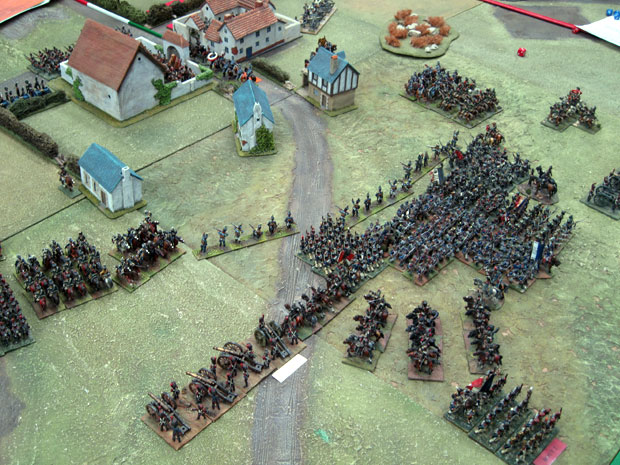
First move on tiles, the french lines looking from Hougoumont.

Napoleon Thinks...

Napoleon reflects on the first turn from Hougoumont.

Waterloo Turn One - the French advancing

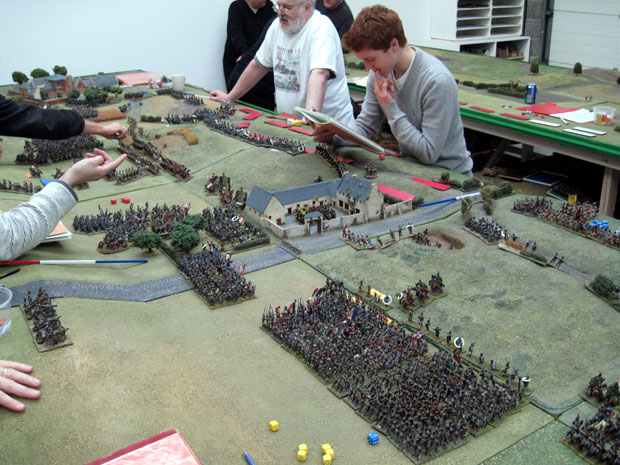
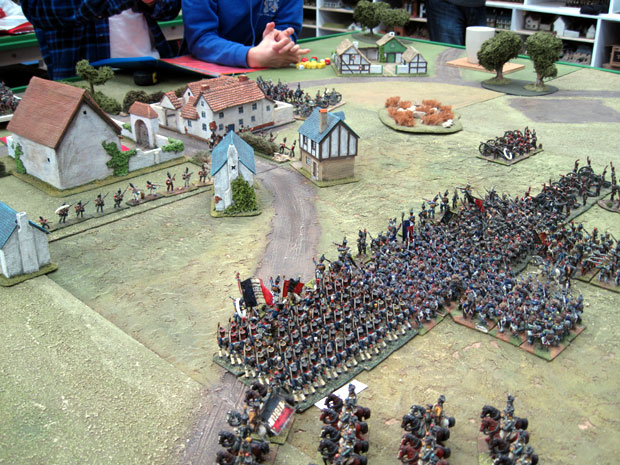
The French advance with figures now on the table.

OK so here are the basic initial deployment areas for the battle of Waterloo. The French are preparing to attack the British, who are positioned opposite them on the ridge the other side of the valley.

Initial Deployment areas

There are several large buildings, the largest “Chateau Hougoumont”, is to the west as the French look out over the valley. Towards the centre of the British ridge is a large farm called “La Haye Sainte” and to the east is the small village of Papelotte.

We will try and show you the current positions for infantry and cavalry from both sides and where they are advancing, or not! The French troops are shown in blue and the Allies are shown in red, a cross is infantry and a slash represents cavalry.

Along with basic movements we will also try and capture a feel of who is doing what to who and how effectively they are doing it!!!