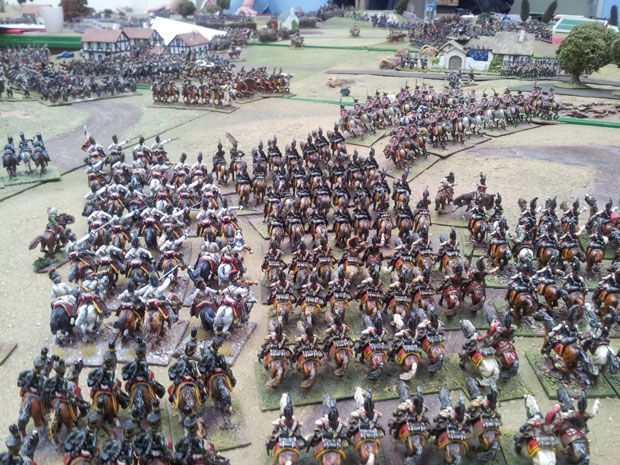
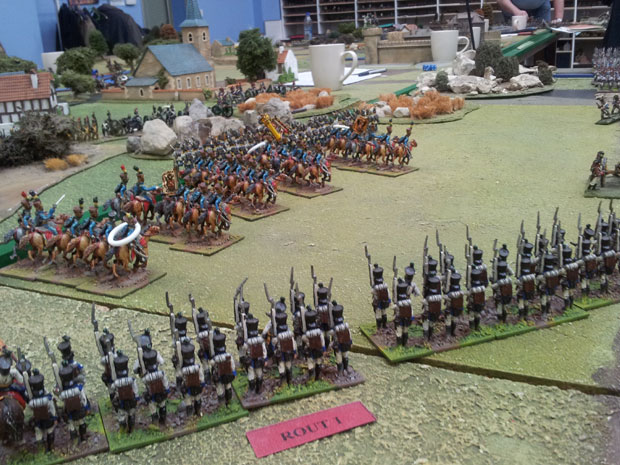
Please note I will not be hosting any Public events from 31st January 2023. Nothing too drastic from our side, just need a break.

I’ll be providing updates when we’re back, here and on my social media platforms.

Thank you for all the custom and friendship this has brought me to date.

I look forward to seeing you all again soon, both new and old customers.

The French were crossing the stream and smashing the Spanish after some frantic melee’s, Bradford and Pack looked as if they may be flanked to their left, the Divisions of Sarrut.
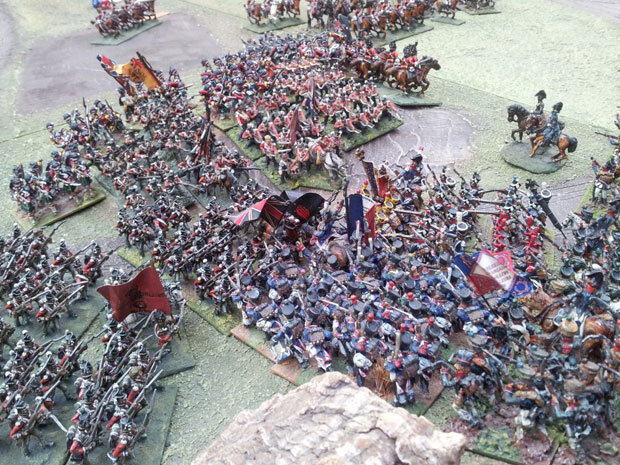
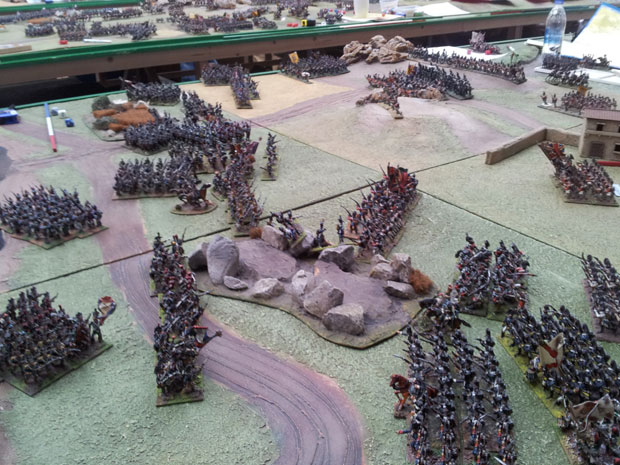
The fight for the Greater Arapile

The fight for the Greater Arapile.

The Apex

The Light division had just come into view and began to deploy when the Spanish broke! The confusion in the ranks looked to be a major problem, however for our games we only deduct for friends retreating when British troops witness Spanish routs. Otherwise the Light division may have been carried away!
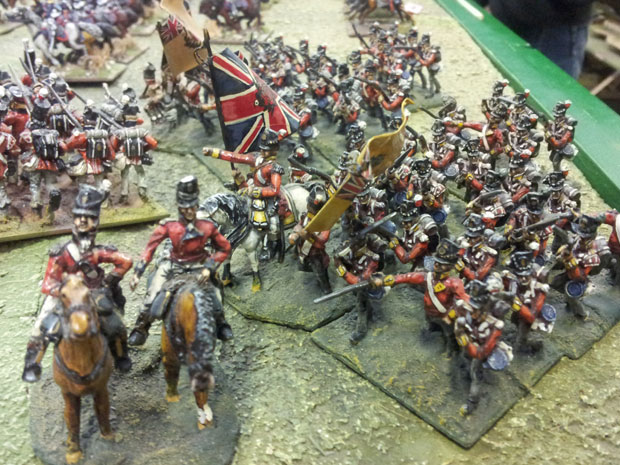
Leith's division

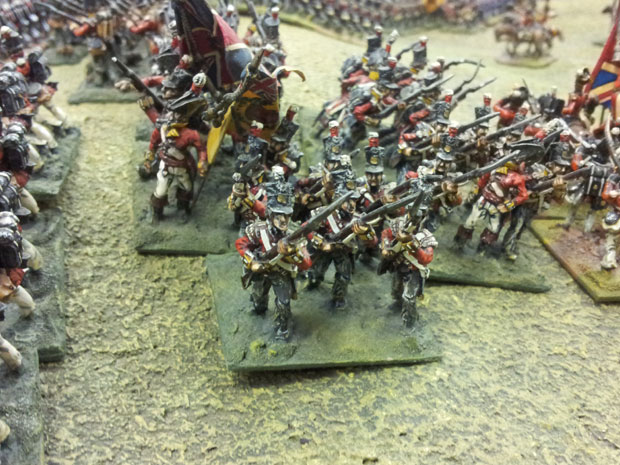
Troops from Leith's division.

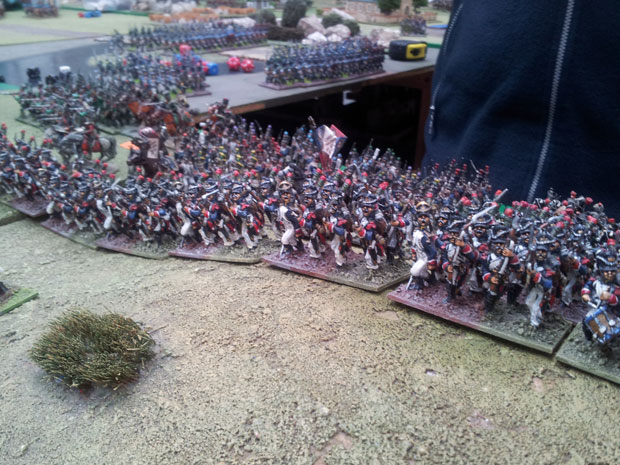
The French volley Leith's division

The French volley Leith's division.

The British in square.

The British in square, avoiding Boyer's Dragoons.

At the apex of the “L”, Leith’s division was supported by Cole. The French pressure began to tell though as the Portuguese began to waiver, Leith bore the brunt of French volleys and close range Horse artillery support, the latter blasting large holes in the British Lines. Counter battery fire from the R.A. soon saw the Horse off though and they in turn began to pound the French.
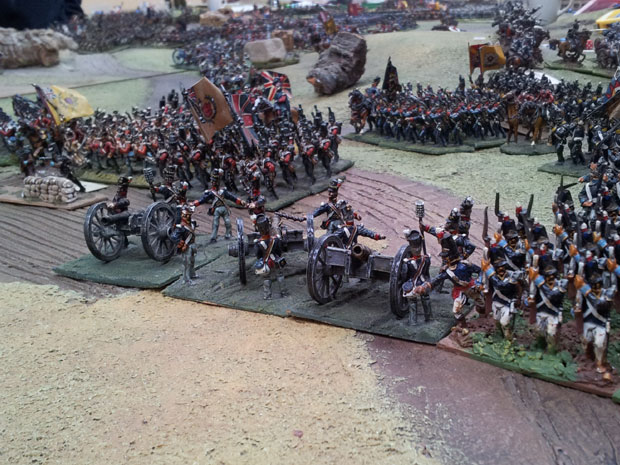
Battling for the Apex

Battling for the Apex.

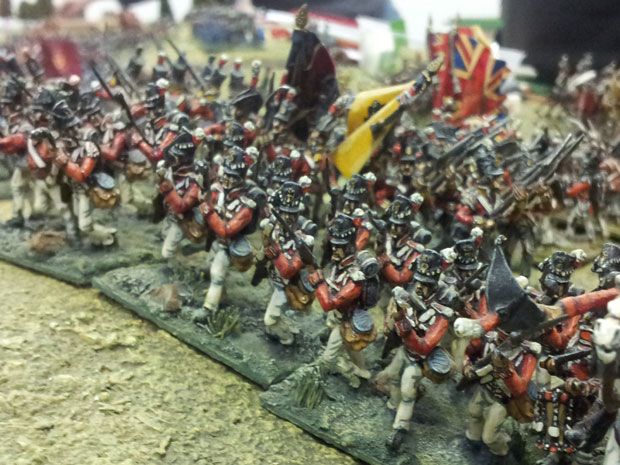
More of Leith's division

The British Line, repeated volleys from both sides wrought carnage!

Along the long side of the “L” the British line advanced, the French Cavalry from Boyer’s Dragoon division charged the Lines, forcing some of the British into square. The British 1st Division under Campbell led the assault, the Highlanders engaging the French head on. The two battalions of Guards supporting the brave Scots.

Up the Greater Arapile the division advanced, into the teeth of Bonnet’s division, short range volleys were not enough to stop them however and a great melee ensued. Back and forth the fight rolled, first one side giving ground then the other. Finally the casualties were too much and the Guards began to fall back.

Heavy Dragoons

The charge of the British Heavies.

Further along to the west, The head of the French column was dug in behind it’s chosen ground, awaiting Pakenham. The rest of the Line exchanging volleys at effective range!

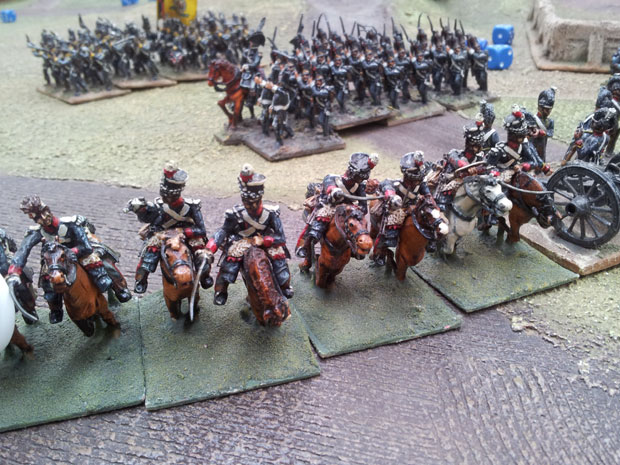
The long side of the "L" gets embroiled in effective range duels
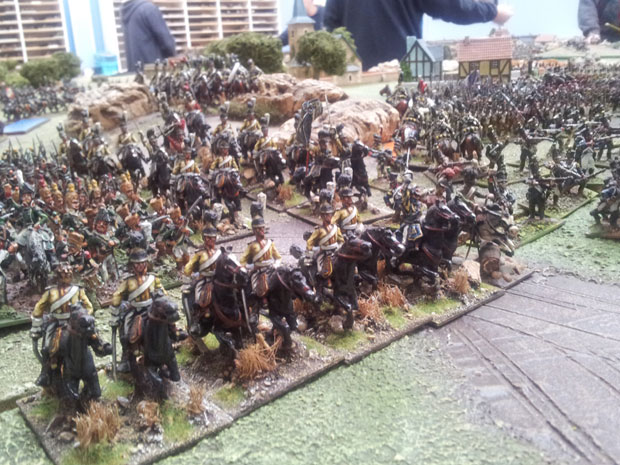
British Light Dragoons

The British Light Dragoons charging in support of Leith's division.

The strength of the British Line may tell here though, the French were grimly hanging on due to the volume of casualties. The plan was working though, pressure at the apex and along the short side of the “L” was working, the Portuguese finally gave up and broke, pinning the support for Leith.
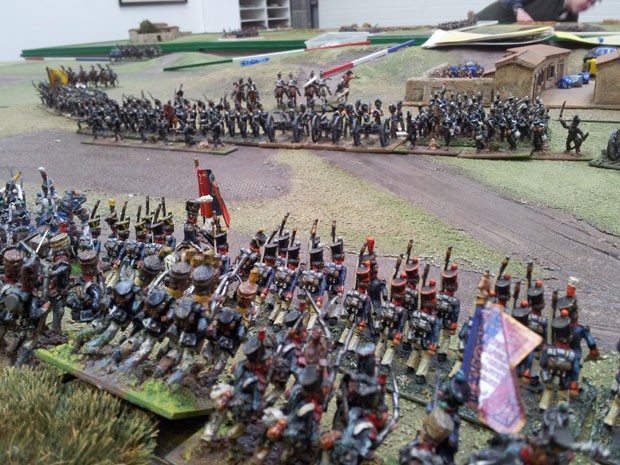
The Apex

The Apex picks up a pace! The French begin to apply more pressure.

The French under Sarrut and Clausel poured over the ridge that had been the defence line for Pack and Bradford and thus threatened the rear of Leith and Cole. The British began to look to their rear and the French sensed it, throwing forward their heavy cavalry once again! In an attempt to stop them the British Heavy Cavalry charged in, the resulting melee saw both sides return to own lines.
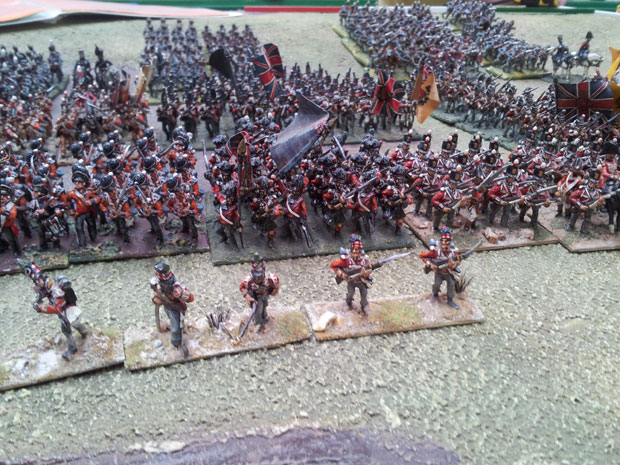
The long side of the "L"

All the routs from the Allied left mean’t that pressing forward was the only option, however the British were going up against a veritable wall of French fire power and the butchers bill was high.
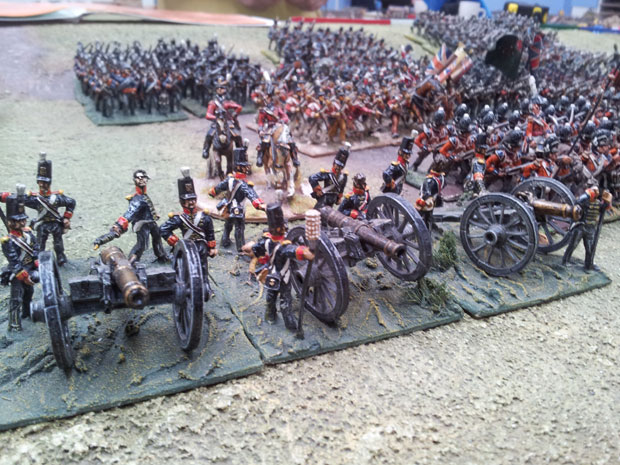
Counter Battery from Leith's

Leith's battery counters the French Horse Battery.

The British line began to collapse, starting on their left, the line crumbled. The British 1st Division along with Pakenham and Von Alten’s Light division forming a rearguard.
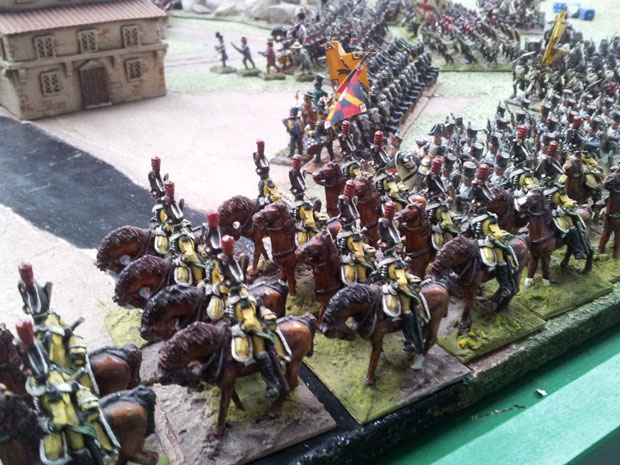
Villaviciosa Dragoons

Villaviciosa Dragoons earlier in the battle try to counter the French attack.

The Battle of Salamanca had been won by the French!

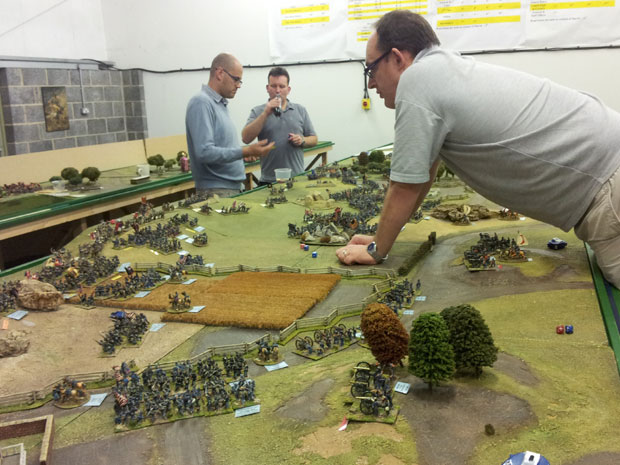
A couple of weeks ago I had a group of guys take on the task of re-playing the Battle of Salamanca.

clausel's battery

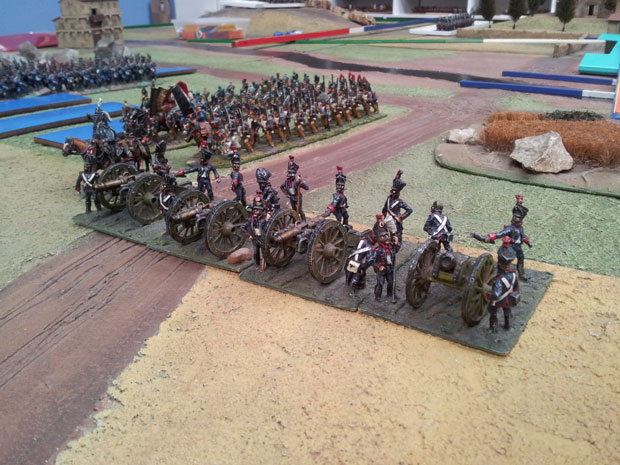
Clausel's battery unlimbers in effective range.

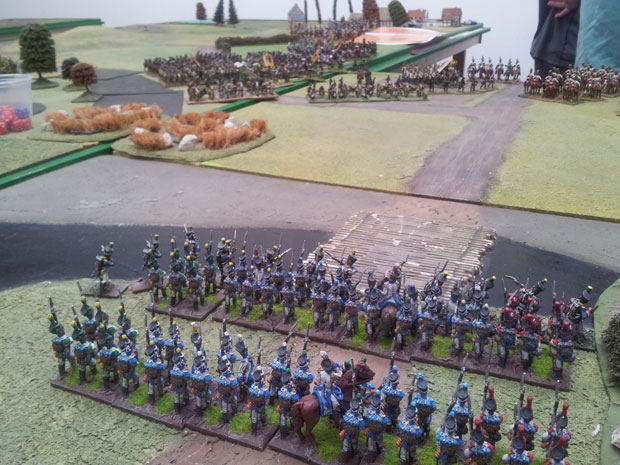
The initial dispositions were fairly historical, the Portuguese divisions under Pack and Bradford, supported by the Spanish Division of De Espana were deployed west of the Aigapete stream and North of the British line, which mirrored the French formations heading west in attempt to cut Wellington off in essentially an “L” shape.

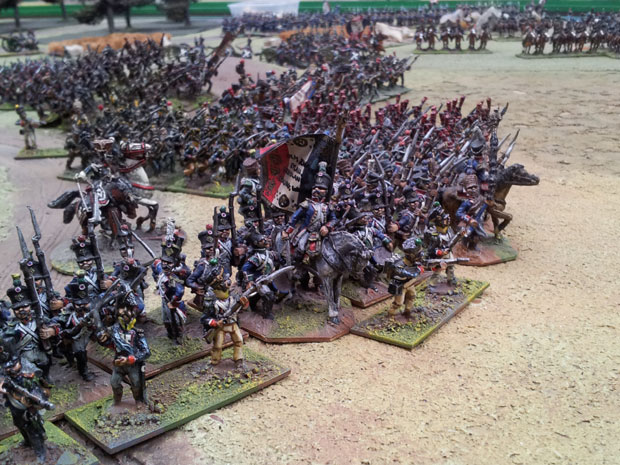
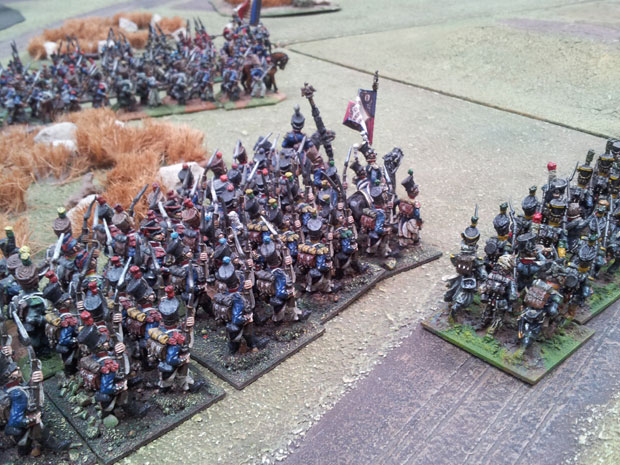
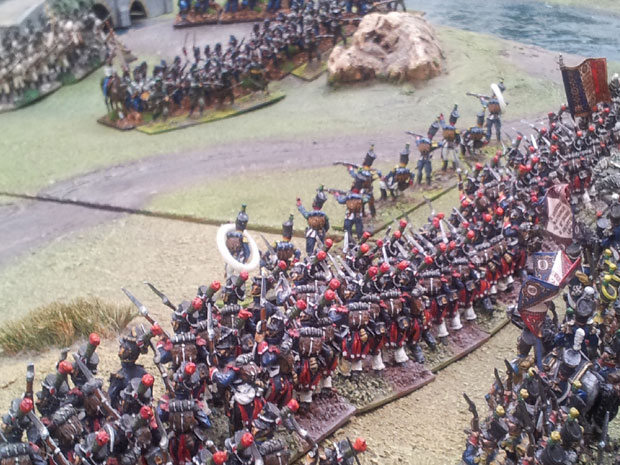
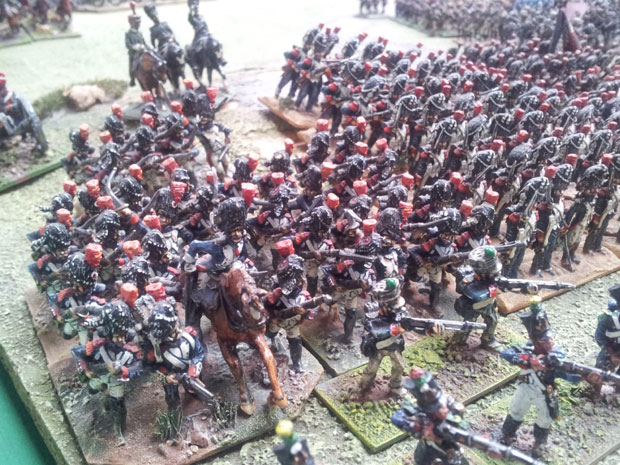
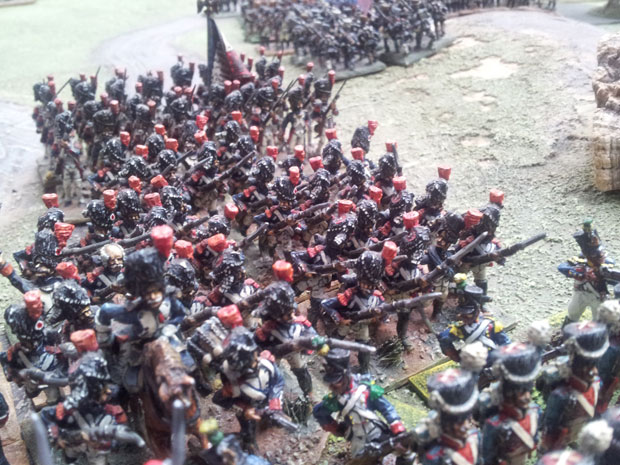
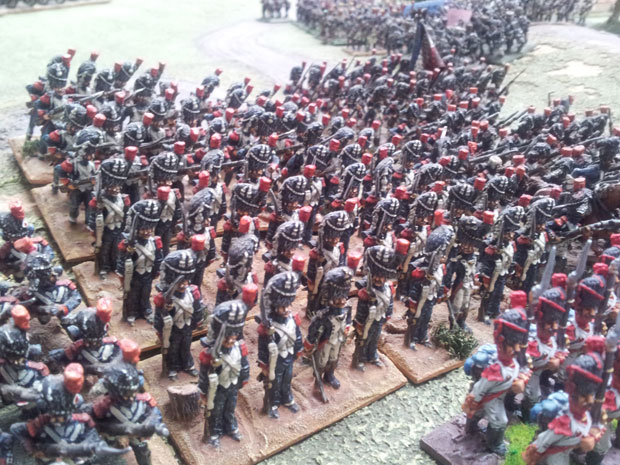
French troops from Bonnet's division.

French troops from Bonnet's division.

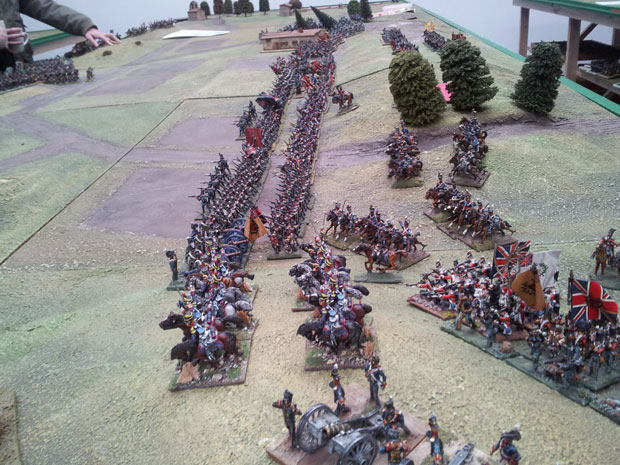
The British attacked aggressively, sweeping down from the long ridge that formed the long side of the “L” shaped British position. At the Apex of the “L” the British had Leith’s division with Cole’s in support. The Light division was in reserve and Pakenham’s was to perform the flanking manoeuvre on the lead elements of the French force.

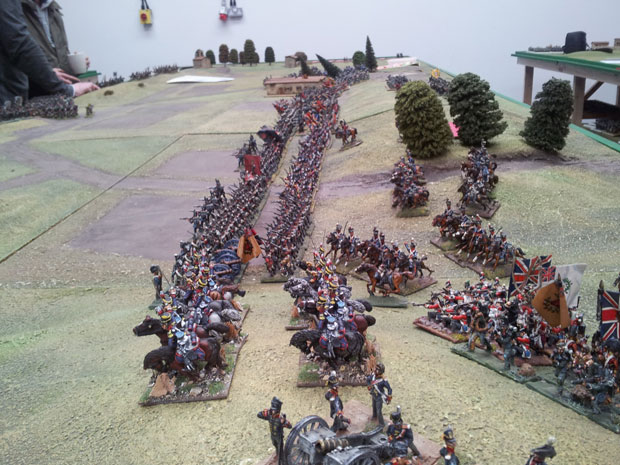
The line sweeps forward.

The British long side of the L.

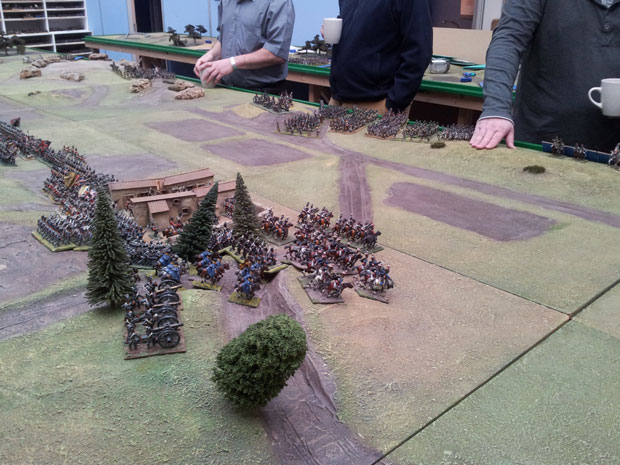
The French however had other plans. The leading division heading west was ordered to hold it’s position while the rest of the formation counter-attacked. The short side of the “L” saw Sarrut and Clausel forcing their way across the river and attacking Pack and Bradford. Sarrut initially underestimated the Spanish troops under De Espana and got his foot battery caught while unlimbering onto a hill, the battery was cut down but the rest of the division stood firm and countered the Spanish bold move by routing the entire Spanish division in short order!

Awaiting the impact

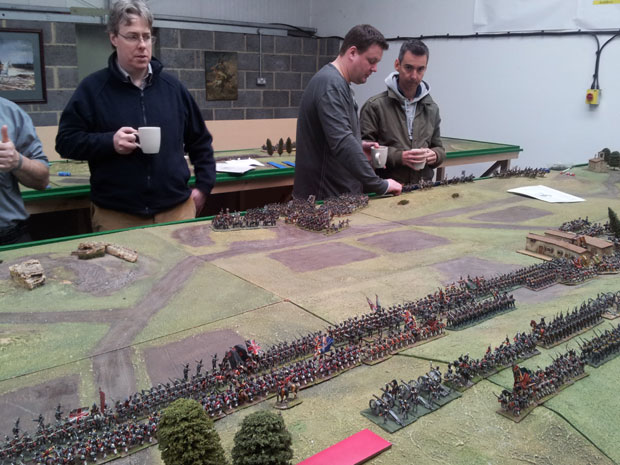
The French players ponder their position, early on Saturday.

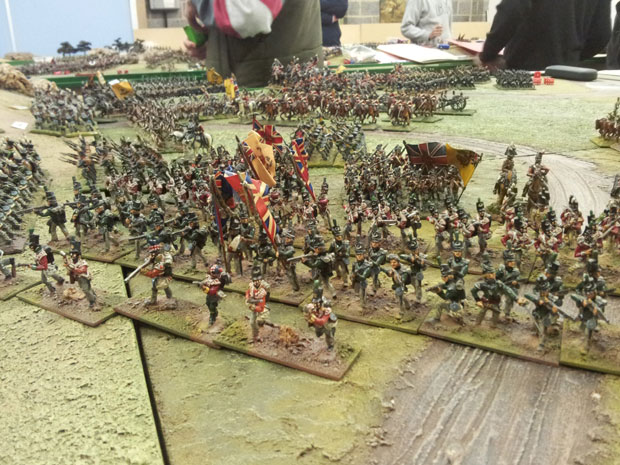
The British line looking West.

The British line looking West.


Clausel advanced on Pack unlimbering his battery at close range and mercilessly pounding the Portuguese! How long they would take this punishment was anyone’s guess. The division of Bonnet attacked Leith at the apex of the “L”, exchanges of volleys seeing casualties mounting on both sides. The rest of the British line advanced resolutely on to the remaining French forces. At the top of the “L” Pakenham was trying to outmanoeuvre the French who had now begun to deploy behind a low ridge.

The view from the western end of the line.

The view from the western end of the British line.

Seeing the attack on the short side of the “L”, the British deployed the Light division to support the Portuguese. They began to move east in an attempt to stop any break through.

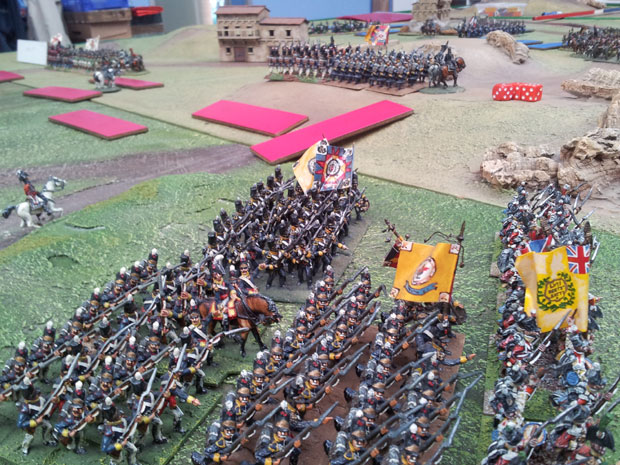
British Light Division

The Light division moving in support of Pack's division.

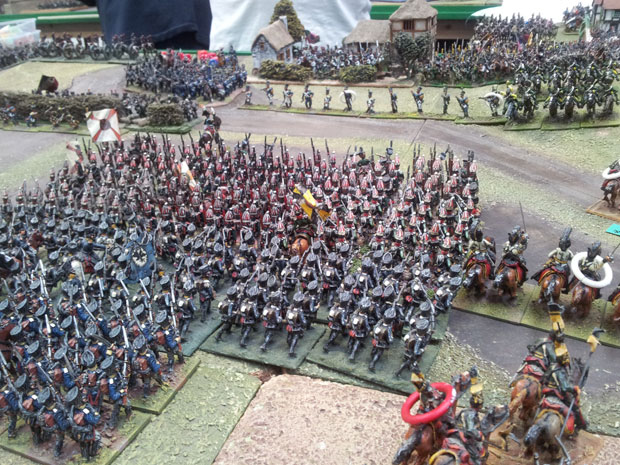
Portuguese from Leith's Division.

Portuguese from Leith's Division.

More tomorrow.

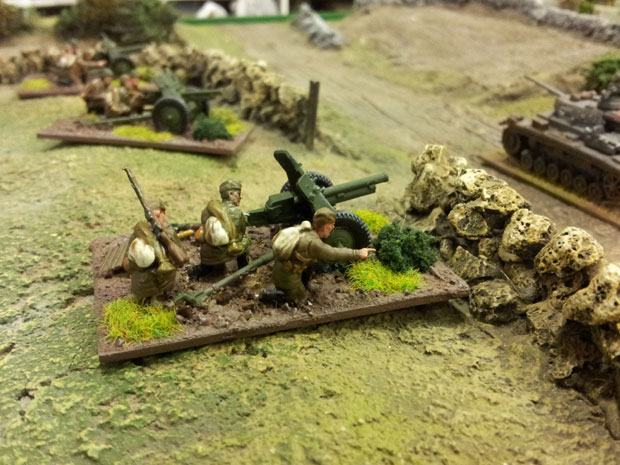
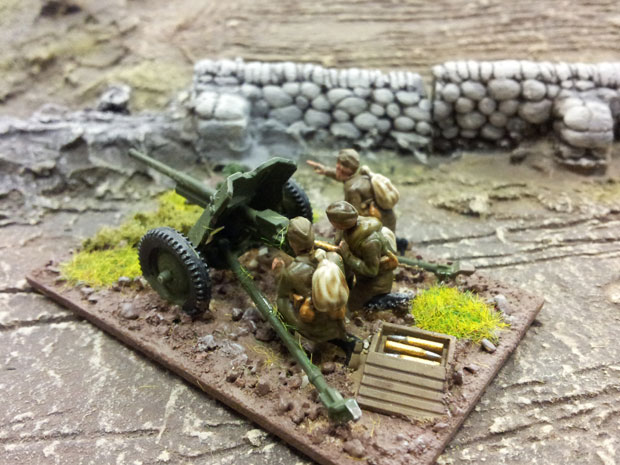
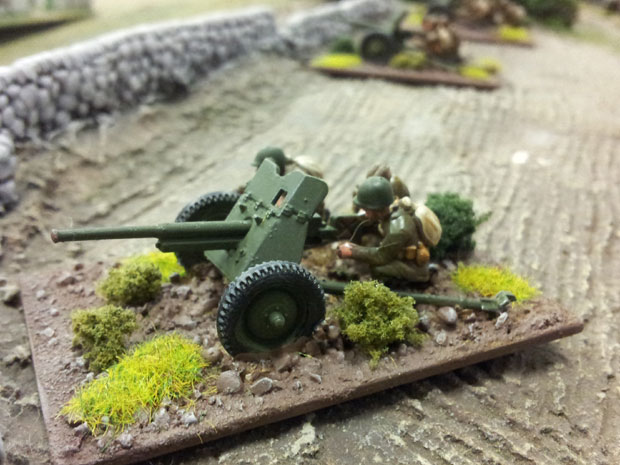
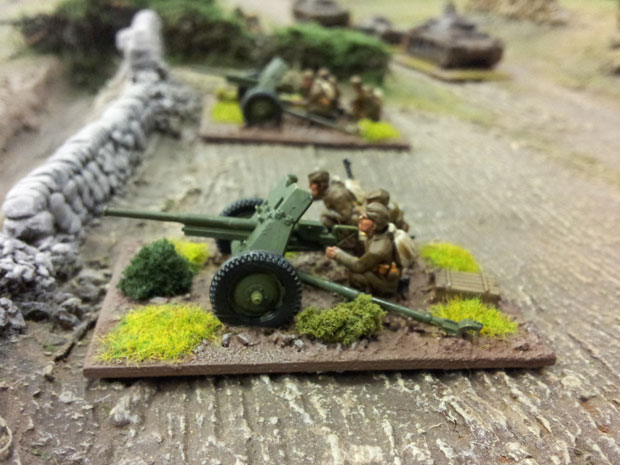
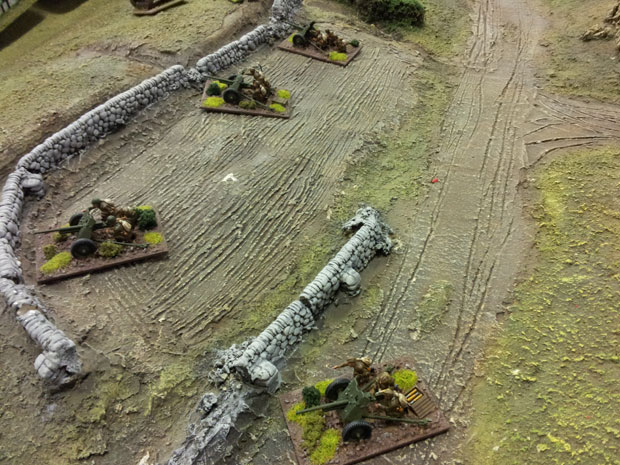
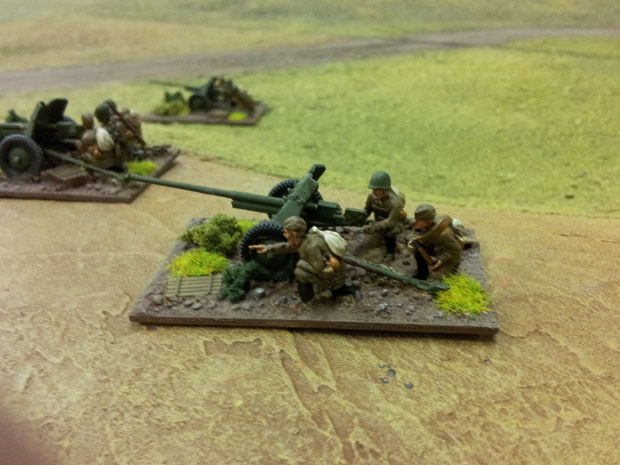
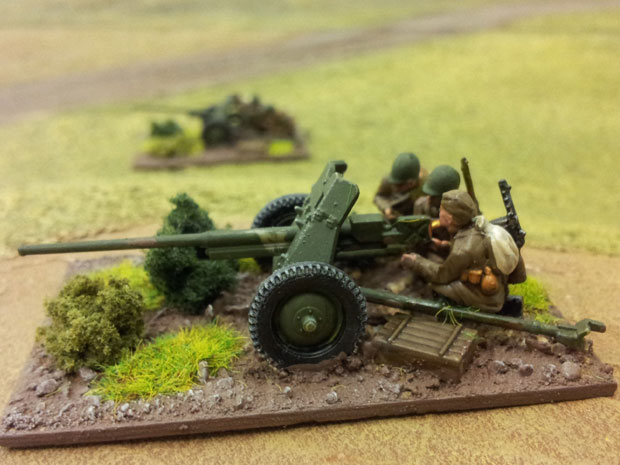
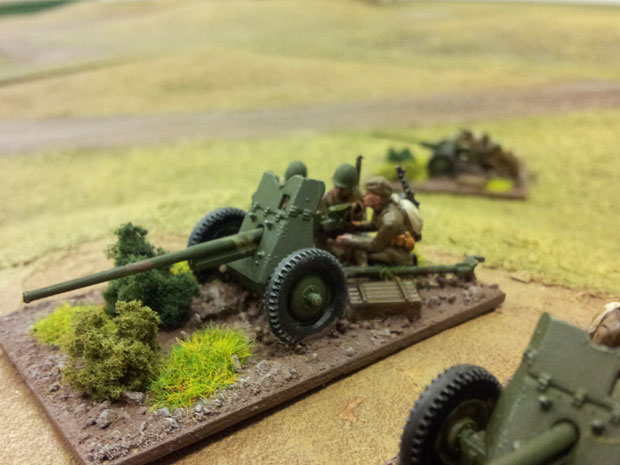
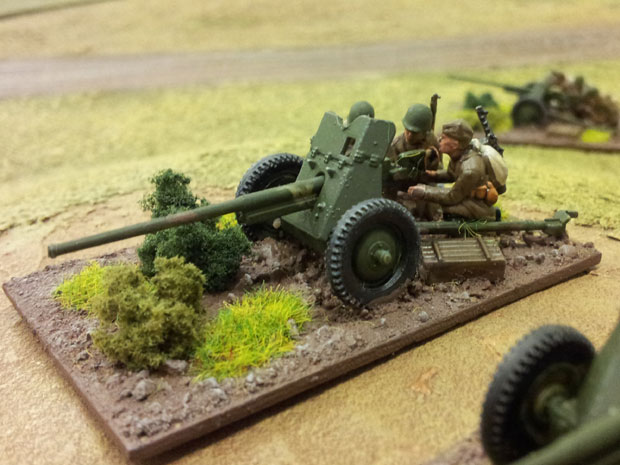
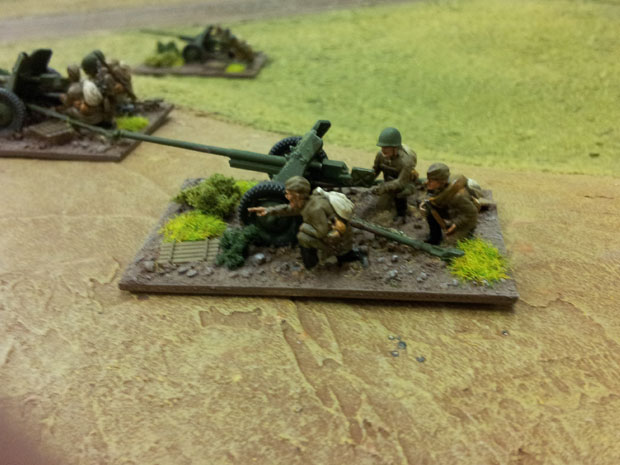
A couple of months ago I took stock of the Russian anti-tank box set from the Plastic Soldier Company. I didn’t know quite what to expect, the 1/72 scale figures come in useful sets of four guns to a box. Let me tell you I was amazed at the value for money!

47mm

The 47mm M1937 variant of the gun selection.

47mm

Another of the 47mm M1937 guns.

57mm

A 47mm M1942 variant from the same box set.

45mm M1942

45mm M1942

45mm M1942section

Not only did I get a choice of three different types of Gun, I got five crew per gun, as I only need three, that gave me the opportunity to mix the look of my gun crews on their bases. Each sprue has complete shells, empty casings, ammo crates both open and closed and a variety of weapons for the crews, which can be left on the base or fitted neatly to the figures.

76mm M1943

The first image of the 76mm M1943 variant.

76mm M1943

76mm M1943

76mm M1943

The next challenge, how would they take the paint? Again, great results, followed the instructions on the box, washed the sprues in warm water with a fairy liquid type soap. Then applied the acrylic paints. The painting guides also provide you with a useful list of the Vallejo codes to get the best results for a summer uniform. I must admit I went for the darker winter look for the jacket and trousers as it’s more in keeping with the rest of our Russians.

47mm

The 45mm M1937 variant of the gun selection.

I think you’ll agree guys….the models look pretty good, even with my average painting and basing techniques.

The range is looking to expand, American’s are on the horizon for 1/72 along with additional kits for the Russians and Germans! I look forward to putting the infantry, support weapons and T34’s to the test.

A close up of the 76mm

The variety on each base is great for the games, no gun base looks alike.

76mm M1943

76mm M1943
I’ll be back to give you an update on our recent Salamanca game tomorrow.

I was looking through the figures donated to the Centre by the big guy from Ulster and I came upon this little beauty. I decided to put it out for use as a command stand, temporarily though, as it’s nearly four inches wide at it’s widest point.

D'mounted Dragoons

The dismounted Dragoon vignette.

Close up

A lovely piece

That would be just unfair, a command stand increasing your command range by an extra 2″!

The fighting intensifies!

This is fully converted from Bicorne and Connoisseur Miniature figures.

Still it is a lovely piece and my thanks go to Paul for the loan.

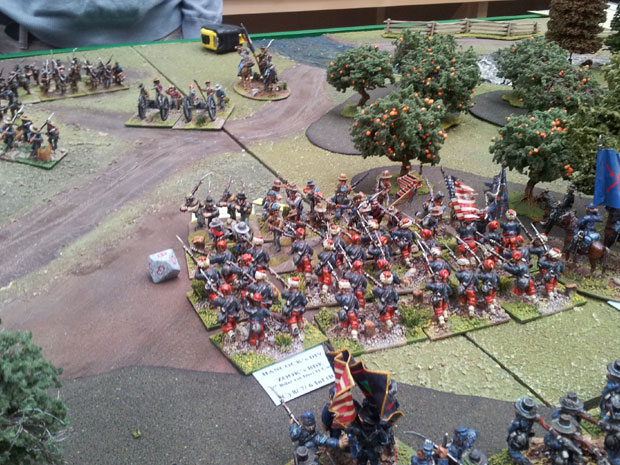
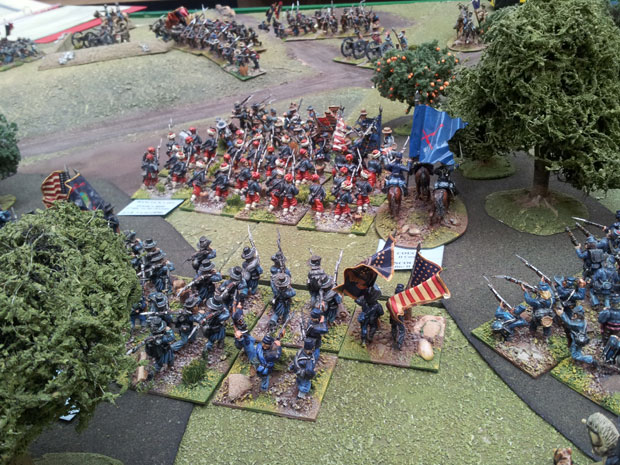
At the end of last month local gamer Paul Jenkins invited a few of his friends along for his birthday bash on the 31st October. So half dozen guys rolled upa nd took on the role as either Confederate or Union commanders for a theoretical ACW battle.

I thought I would share some of their images with you.

If you fancy booking for a mid week game, just give me a call and let me know how many guys you want to come along.

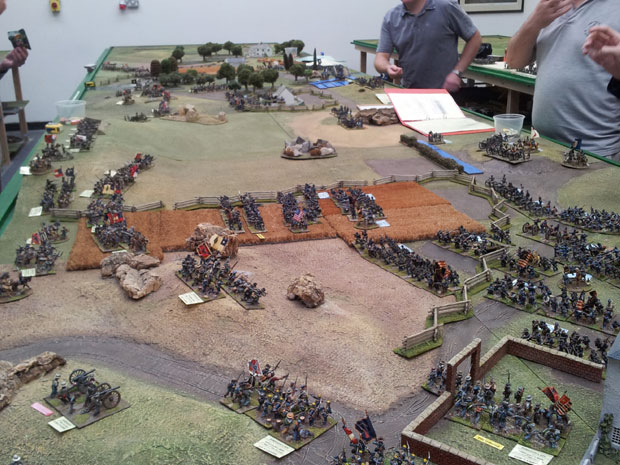
Here is the game in it’s glory.

ACW Zoo-zoo's

The Zouaves attack the main line.

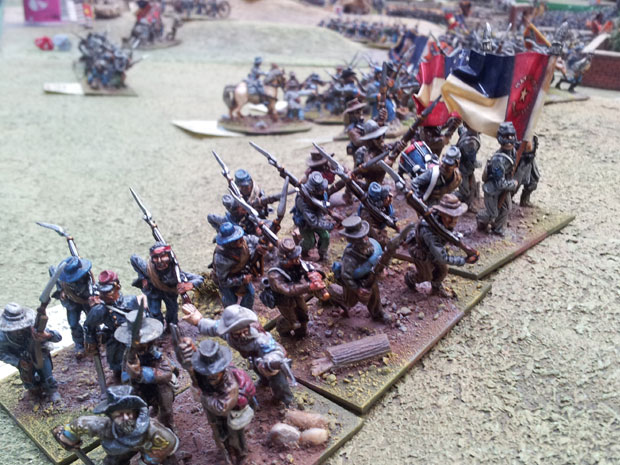
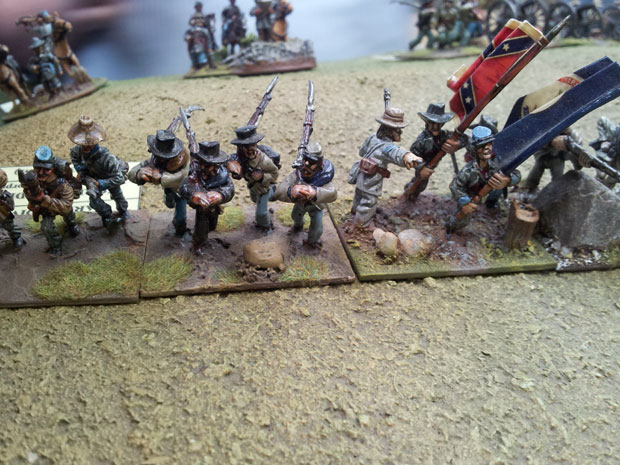
Confederate

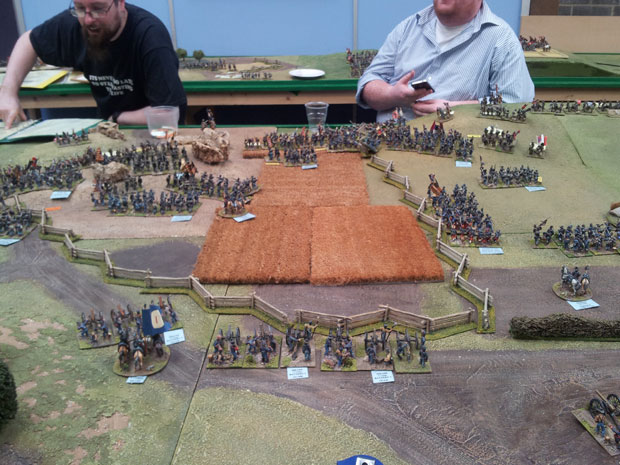
Overall view

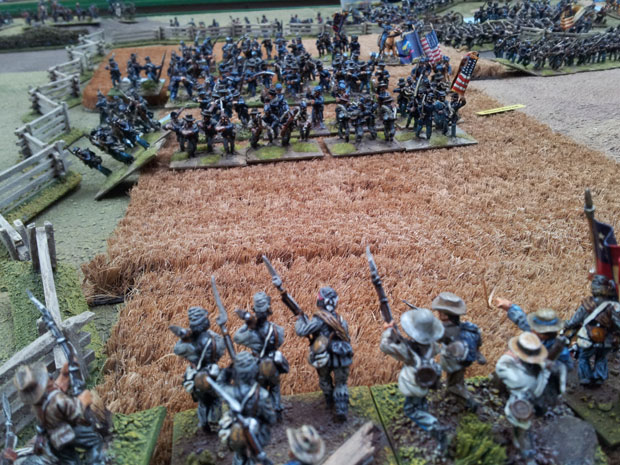
Across the wheatfield

Before the wheatfield

More of an overall view

Through the woods, Union troops meet the Confederates.

More rebs

After the troops had been re-located where necessary and the troops brought back into strategically sensible positions, i.e. not under the guns of the opposition, the battle commenced.

The combatants on the second day.

An overview of the battle early on the 18th October.

This time the Corps of Macdonald was put into the North east of the city to stop the Army of Poland, Victor and Sebastiani would hold the South-east, Poniatowski’s Poles would defend North of Cracowitz, Lauriston and Bertrand the southern central area while one of the Young Guard divisions bolstered the Poles defence. The troops of Reynier moved to support Macdonald, these were all Saxon and deemed extremely unreliable, each battalion had two six sided dice rolled at the end of a turn, on a twelve that battalion was removed as defecting, subsequent rolls then needed an eleven, then ten and so on.

Russians of Sacken's Corps

Russians of Sacken's Corps to the North West of Leipzig.

Over on the causeway the second Young Guard battalion deployed in support of the Westphalian observation Corps. Marmont and Souham, backed up by the Imperial Guard would attack The Army of Silesia in the North-west. The Allies had troops pouring in from the South-East and North-East meaning that the French were becoming outnumbered by over two to one!

The Causeway

Westphalians await the Austrians on the Causeway.

The Causeway

The Causeway and the Westphalians, all these chaps are from Elite Miniatures..


The French defended all around the perimeter of Leipzig except in the North-West where Marmont, Souham and Delmas renewed their attack on Blucher and the Army of Silesia. The drums began to beat and the French columns advanced.

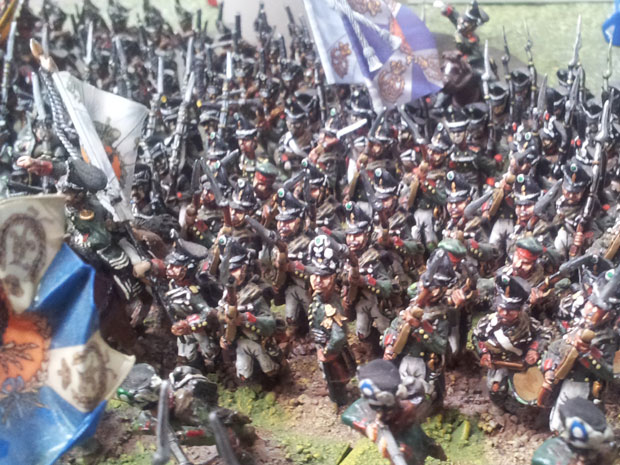
Russian Guard

The advance of the Russian Guard.

To the South the Russian Guard renewed it’s attack on the village of Zuckelhausen, Lauriston began to enhance the defences, Pajol brought his heavy cavalry forward and tried to stem the flow. Russian and French cavalry clashed and a huge cavalry melee developed. The Army of the North poured in from the North-East and began to engage Macdonald’s troops, the seconf turn of the new day and the first Saxon defected, quickly followed by the second. Reynier’s VII Corps of Saxons engaged the Swedes and Russians the two Corps locking horns Prussians exchanged volleys with Macdonalds Marie Louise’s.

Young Guard divisions

Elite Miniatures middle guard serving as some of the Young Guard facing to the South of Leipzig.

The Middle Guard doubling up as Young Guard, in the distance the Grenadiers of the Austrian reserve can be seen to the North of the village of Cracowitz..


All the middle guard shown here are from the Elite Miniatures range.
On the Causeway the Austrian Corps of Gyulai attacked the Westphalians, walking into a hail of fore from twelve pound and eight pound batteries. Meerveldt emerged from the open woodland between the Elster and the Pleisse looking to link up with the Austrian Grenadier division outside Cracowitz. They walked into a huge volley from the Young Guard, wavered and then fell back into the woodland. The Grenadier division suffered a lot of casualties in and around Cracowitz exchanging volleys with the Poles and some of the Young Guard. Gyulai’s Corps began exchanging volleys with the Westphalians, however they had suffered quite a bit to the artillery and it wasn’t long before the first battalion had to fall back! If only the Armies of the North and Poland could break the French resistance to the east of the city in both the South and North!
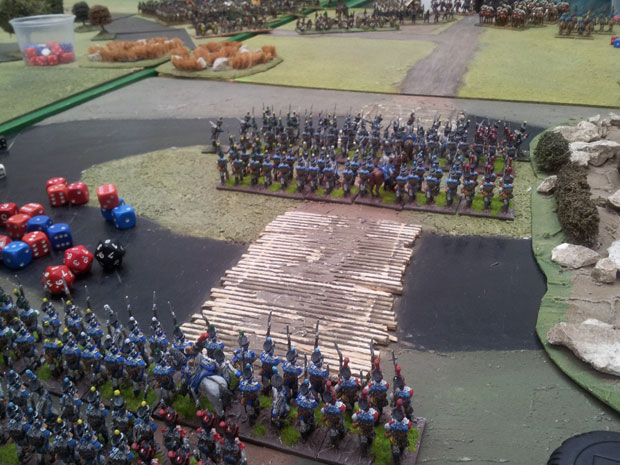
Garde du Corps

Saxon Heavies charge the Russian infantry.

Marmont was supported by the Heavy Cavalry of the French I Reserve Cavalry Corps under Latour Maubourg, these were Saxon and there was some concern over the commitment these troops may have shown. The French need not have worried, the Garde du Corps and Zastrow cuirassier performed admirably, smashing a whole Russian division between them.

Guard Grenadiers

The French Old Guard emerging from Leipzig.

The bearskins of the Old Guard were then seen making their way through the Corps of Macdonald, could Blucher hold? On they came and the Russians prepared to meet them, unfortunately some of the front battalions of Sackens Corps had enough and began to fall back on their support. All this disorder mean’t large bodies of Russian infantry were left exposed, unformed in front of the Saxon Heavies. The Saxon’s didn’t hesitate, with blades flashing they broke the first line of the Russian Corps!
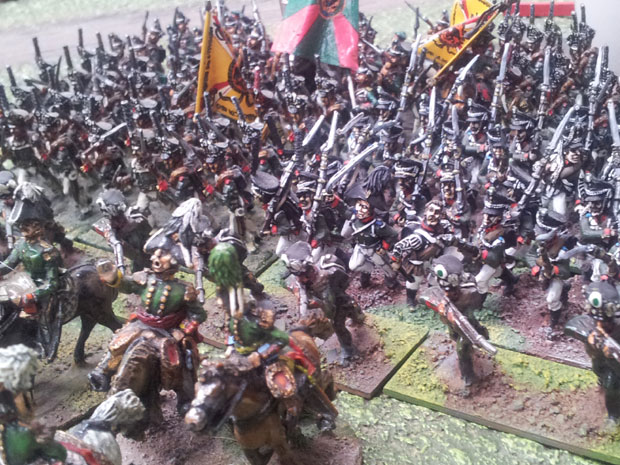
Old Guard

More Guard from the Connoisseur miniatures range.

Old Guard Chasseurs

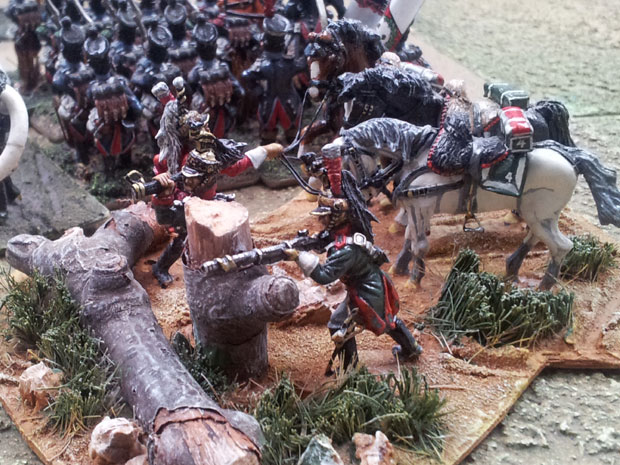
Old Guard Chasseurs a Pied from the Bicorne Miniatures range.

Blucher began to consolidate on to his second line of defence.

The Russo Prussian Guard attacks

The Russo Prussian Guard attacks.


The figures used here are Prussian line, our own Prussian Guard has taken retirement, we are currently hoping to get our hands on some Prussian Guard, they seem scarce though, so may have to use some of our Prussian line and convert them.

The Russian Guard, backed up by the Army of Poland began to exert pressure on the troops of Victor and Lauriston, however several hours of fighting saw the Russian Guard falling back with over fifty percent casualties! Lauriston was shattered but still held the villages. The Army of Poland slammed into Victor, the French began to give ground slowly.

Guard Lancers

Imperial Guard Lancers, 1st regiment, or Polish Lancers, support Marmont's drive to the west.

In the North West Reyniers Corps began to crumble, half the troops had now defected, the corps cavalry was no more, while Macdonald did his utmost to stop the Army of the North, heavily outnumbered he began to fall back!

The Army of Poland

The arrival of the army of Poland, along with the cavalry if the Russian Guard..

All counted on the work of the French troops to the West, the Austrians were giving way before the second Young Guard division while Bluchers position was becoming more and more desperate.

Gyulai breaks

The Austrian's on the Causeway break!

The final stages of the battle saw the French troops giving ground to the west, withdrawing into Leipzig while the Old Guard cleared the way to the west!

After three and a half days of gaming the French had a victory!