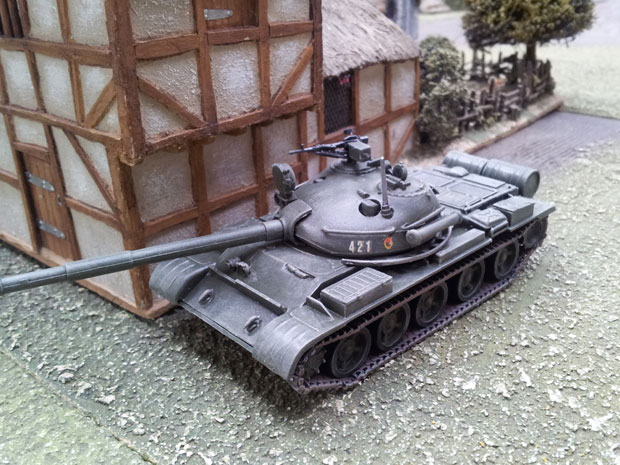
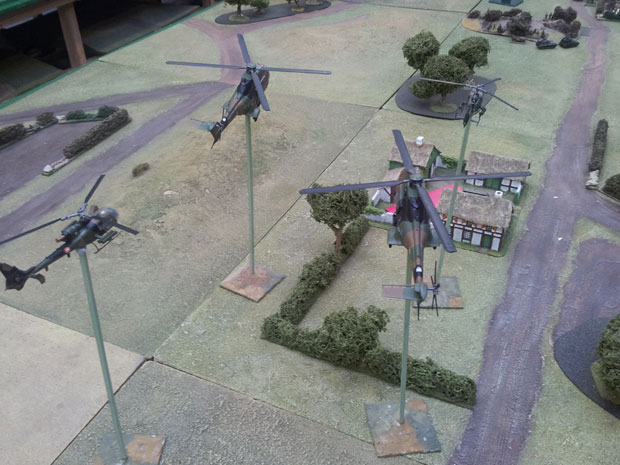
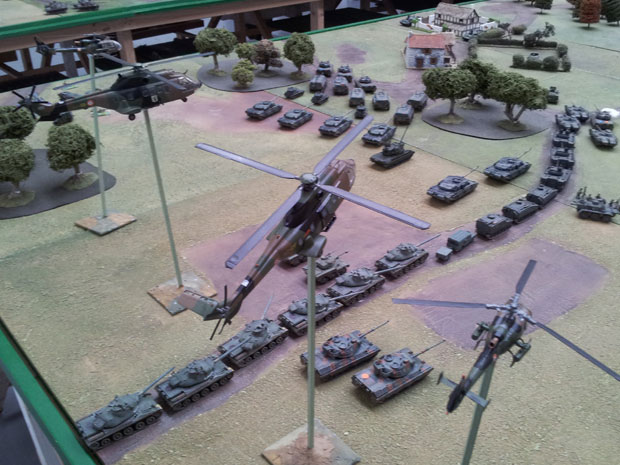
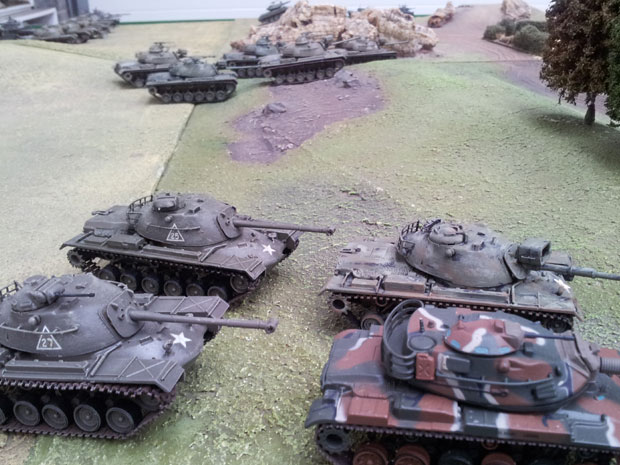
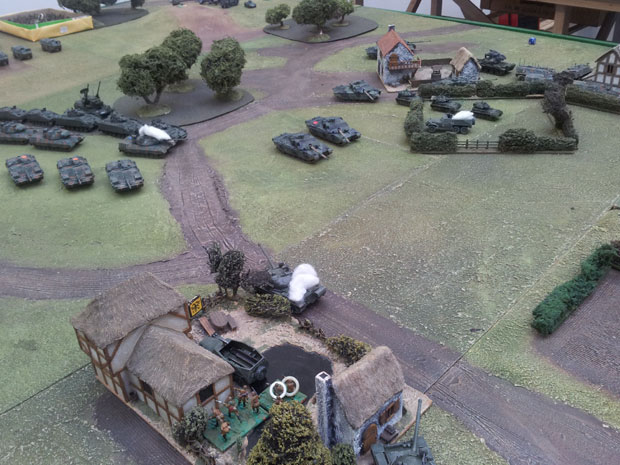
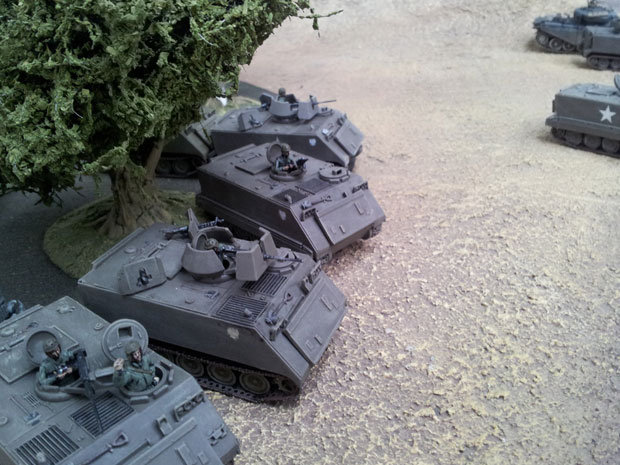
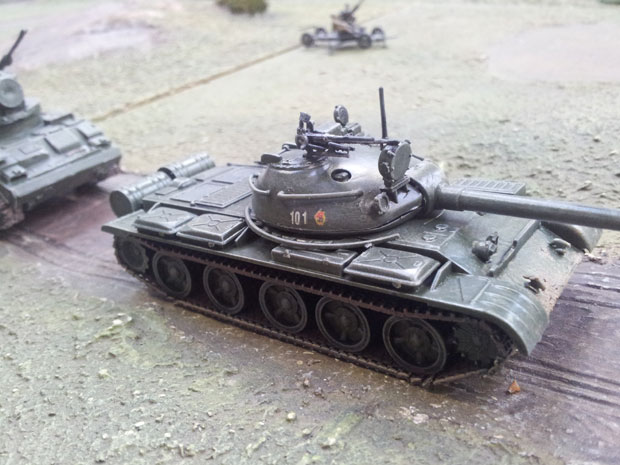
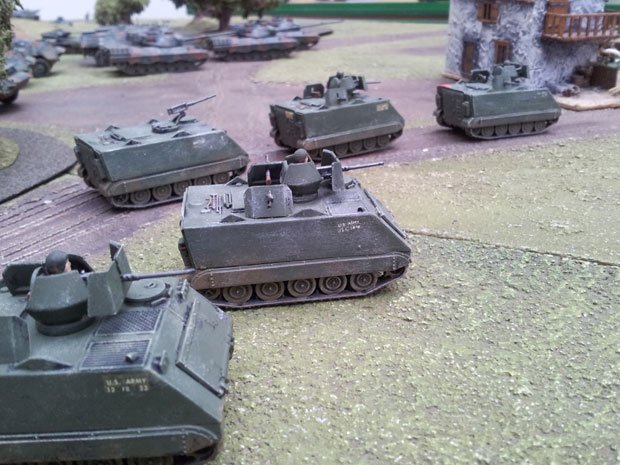
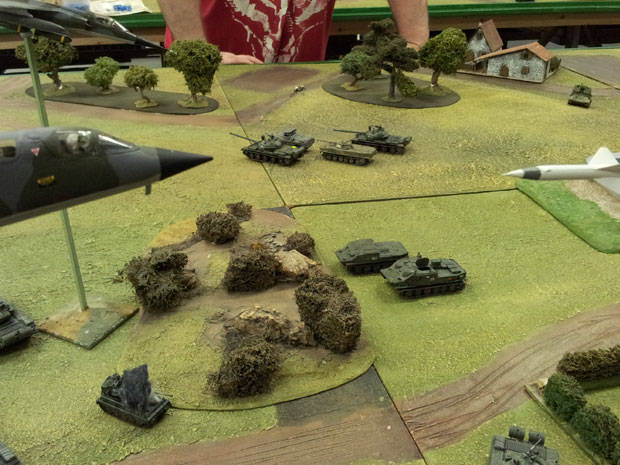
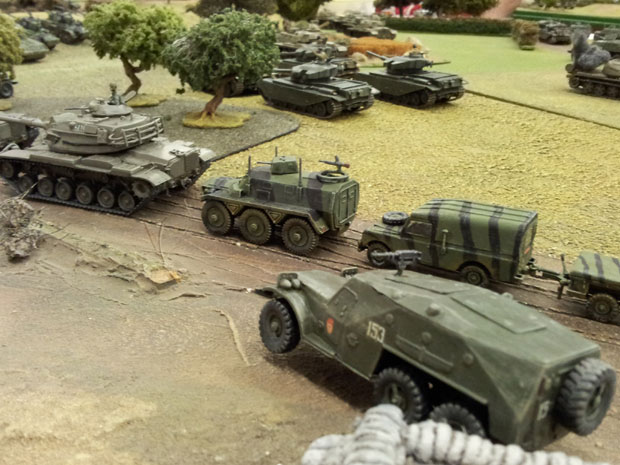
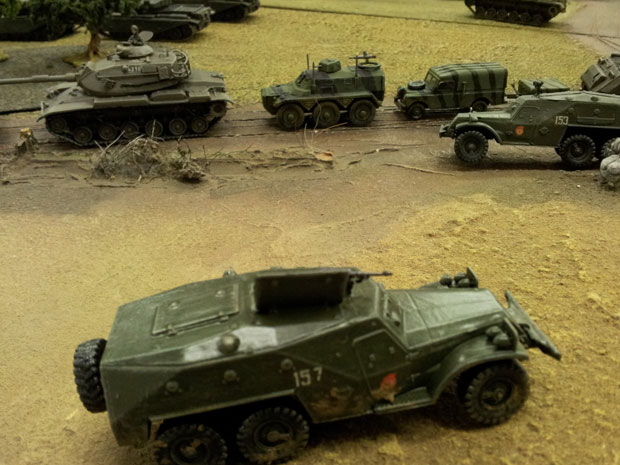
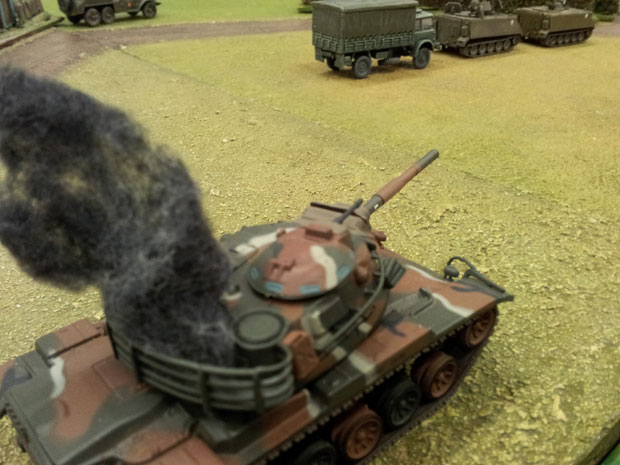
My Good Generals, here is the write up from our recent Cold War game staged here at the WHC by the chaps from the Reigate club. I have included as many photos as was deemed sensible, as I took over 100, so when you take a look through just hover your cursor over the photo to see the note for the picture.
Hope this is okay, I hope you enjoy it.
My thanks to the Reigate guys for putting this on and especially to Paul Goodwin for his patience in the final editing.
At the Reigate club we have been keen WW2 players for many years and were looking for something a bit different and we designed a few scenarios that assumed war had broken out between the Soviets and Western Allies in 1946. One game involved the liberation of Poland.
Being inveterate kit builders we began to look at modern tanks etc and one thing lead to another so we decided to stretch the “Poland idea” a bit further, into the 1970s/80s. 1/76th and 1/72nd modern kits were purchased and over a year substantial forces were built up (approx 200 tanks and APCs and many planes and helicopters). Using the fictional background a more varied mix of tanks and aircraft etc can be used, great to get those keen kit builders involved!
The chance came to do a large one day game at the Wargames Holiday Centre (WHC) and we grabbed it. A playing area of 28 feet by 15 feet was just ideal. The rules we use are Rapid Fire with our own adaptations to convert to modern warfare in the 1970s and 80s.
Our aim was to provide a fast flowing game that our existing club WW2 players could easily understand and convert to. We make no claims to total accuracy but the game is great fun and something different.
The WHC game was set in the early 1980’s and in a fictional Poland that is divided between the western and eastern power blocs.
The forces pitted against each other were a mixed NATO force consisting of British, German and French armoured brigades, making an improvised NATO armoured division. This was supported by a “Free Polish” armoured division equipped with American armour and some up gunned British supplied Centurions. A British Air Mobile Brigade completed the western forces.
The Soviet supported forces of the Peoples Republic of Poland (PPR) were two regular Motor Rifle Divisions and a weak reserve Motor Rifle Division.
The forces of the PPR have mounted an attack on western supported “Free Poland” to distract attention from an increasingly successful reformist agenda. The government hopes that this classic strategy of uniting a nation against a common enemy will suppress calls for reform.
The Free Polish forces have been initially caught off balance but have now held the initial attacks and are seeking an area to mount a counter attack. A suitable point of attack has been found between two regular PPR Motor Rifle divisions in an area weakly garrisoned by a reserve formation. To ensure adequate NATO air support can be used it is vital that the highly efficient Soviet supplied and manned SAM system is knocked out. It has been decided by the NATO high command that a heliborne assault be mounted against the two local SAM sites using the British Air Mobile Brigade. At the same time the Free Polish and NATO armoured divisions will attack into this “corridor” and force their way into the PPR Soviet supported forces rear.
Elements of the two nearby PPR regular Motor Rifle Divisions are expected to attempt to close off this penetration and to target and then destroy the landed air mobile forces.
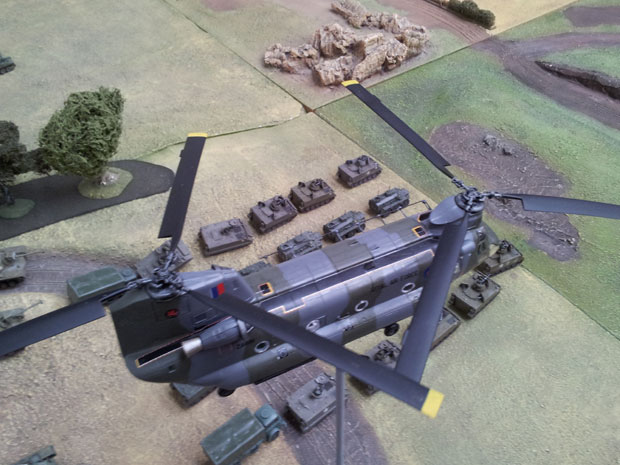
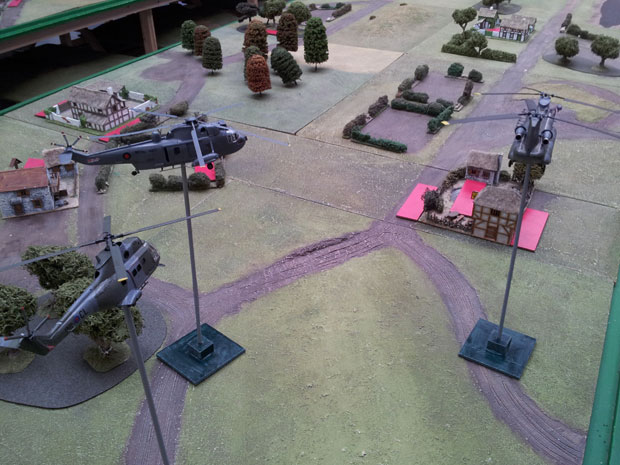
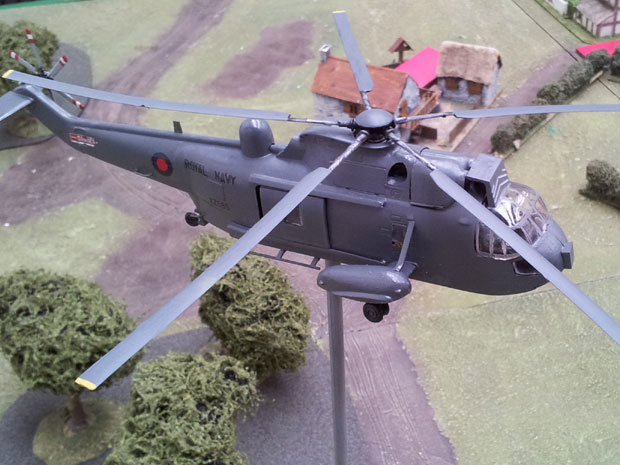
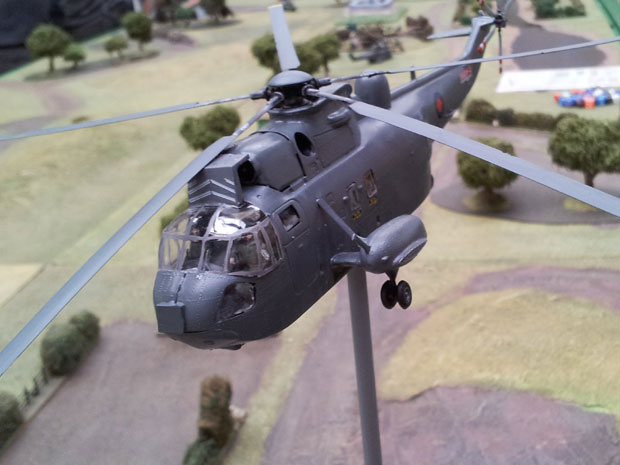
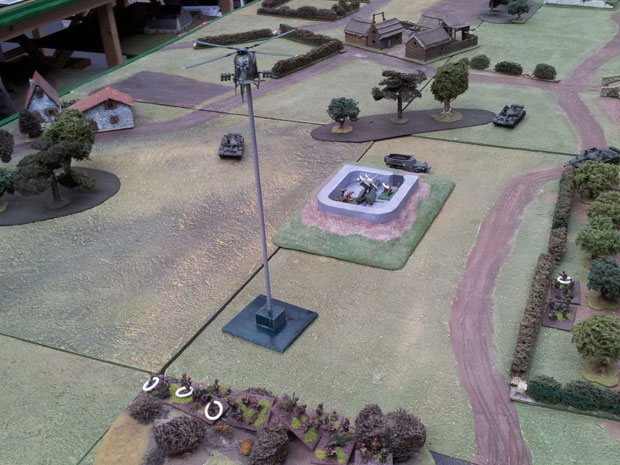
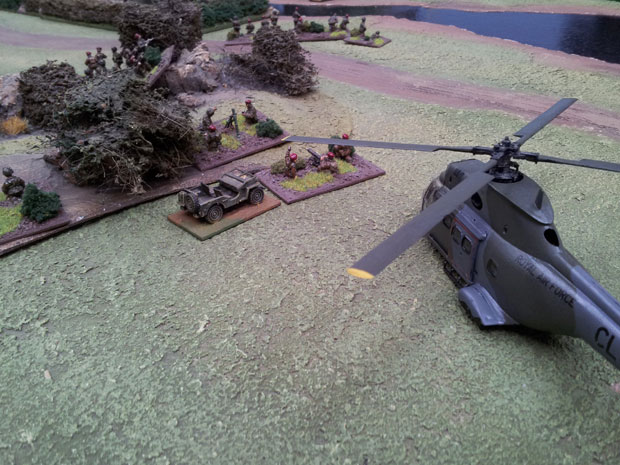
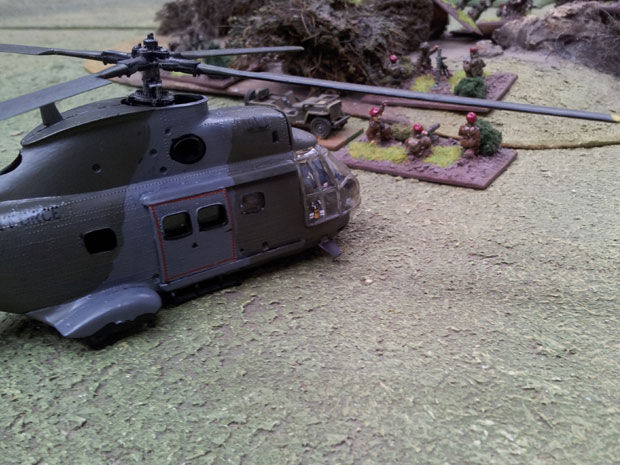
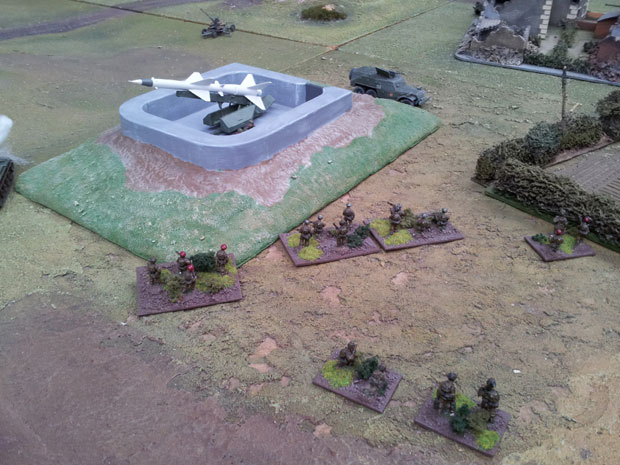
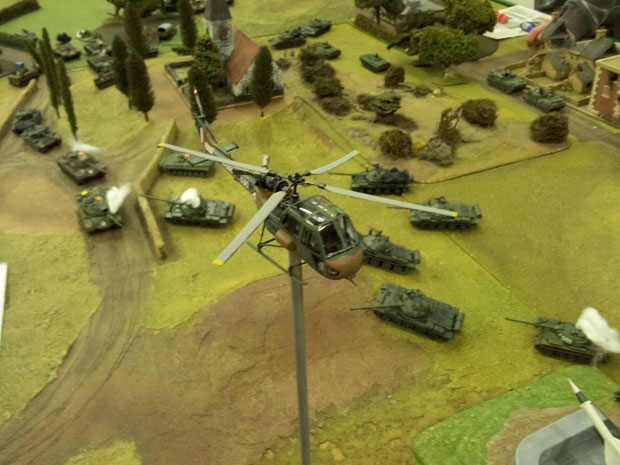
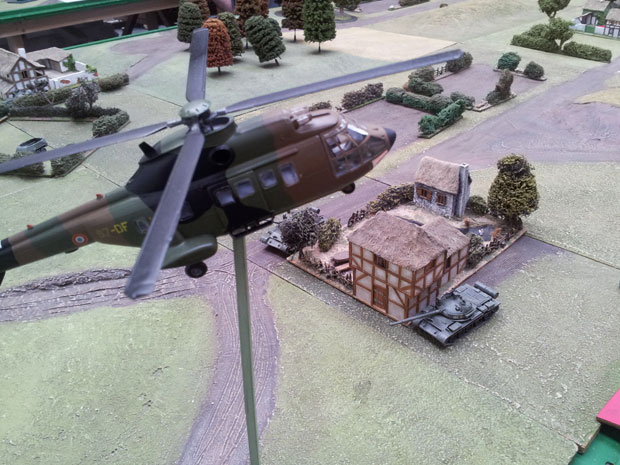
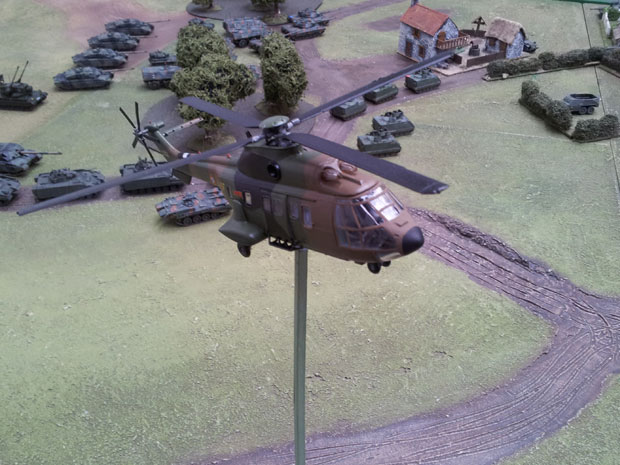
The initial airborne assault was made by two British parachute battalions, one allocated to each SAM site. Each battalion was transported in by Chinook and Puma helicopters supported by seconded Sea King helicopters to give additional lift capability.
The infantry companies landed first with later lifts bringing in support weapons, artillery and light tanks (Scimitars and Scorpions) The first wave landed near the SAM sites having moved in under the SAM radar, hugging the terrain. This made the helicopters vulnerable to low level flak and some were temporarily driven off but crucially none shot down.
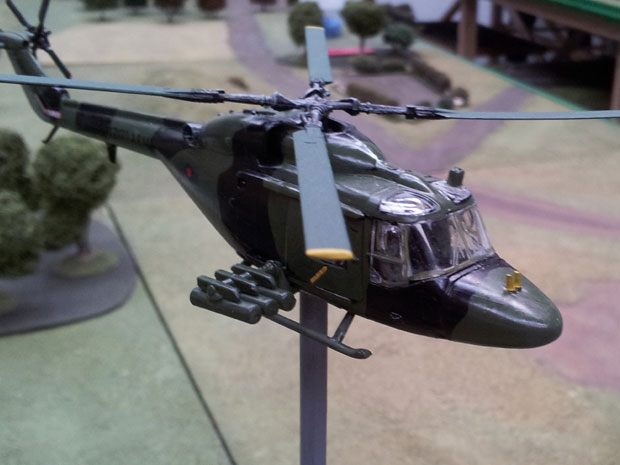
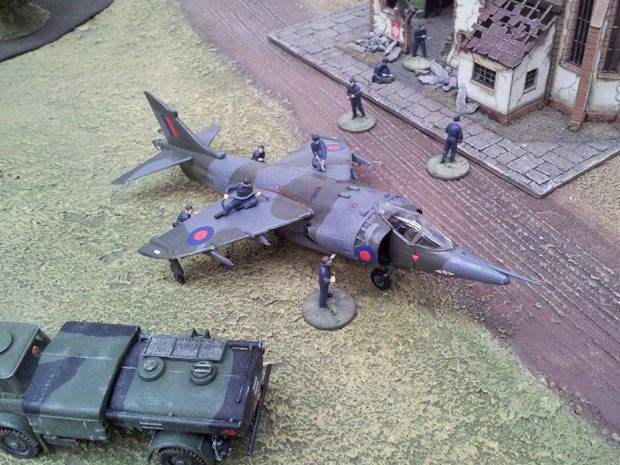
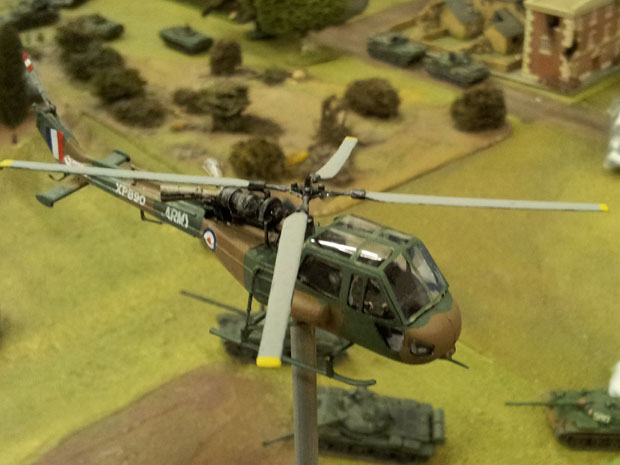
The NATO commanders decided against supporting the initial landings with ATGW equipped Lynx helicopters or Harrier aircraft which were an integral part of the Air Mobile Brigade. The commanders wished to use them to support the “land” forces later on.
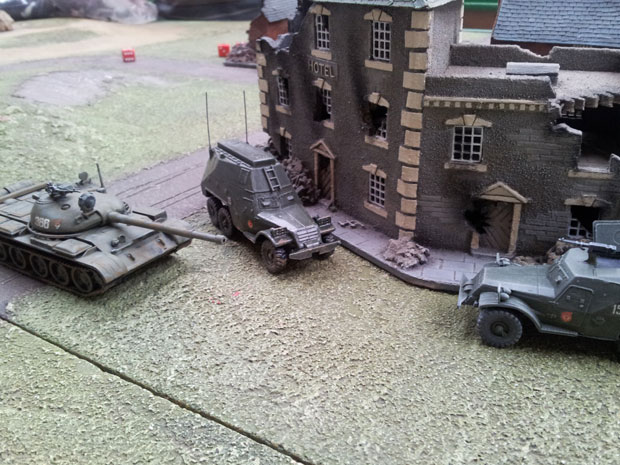
On the northern SAM site the first infantry companies to land headed straight for the SAM site taking heavy fire from the defenders. A company of elderly T55s appeared and caused a temporary fright and inflicted heavy casualties. The paras by this time had landed some Milan ATGW teams and the tanks were driven off. The remaining Paras continued the attack and successfully stormed the SAM site.
By this time the reserve Gurkha battalion and a battery of 105mm guns had been landed and this force was able to successfully attack a nearby town which straddled one of the roads the Soviet PPR forces would need to bring reinforcements in on.
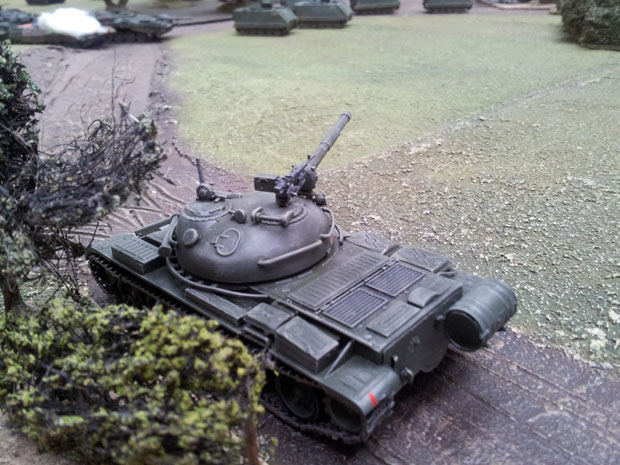
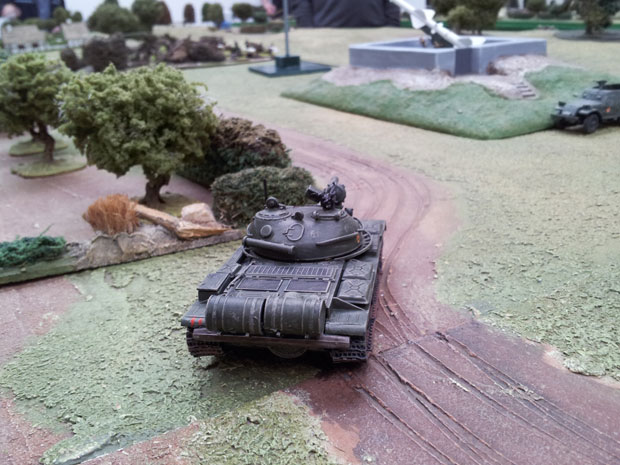
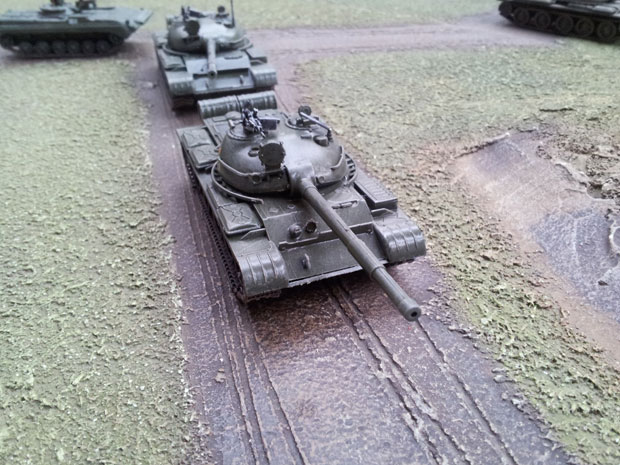
The attack on the southern SAM site went differently. Initially things went as they had on the northern site but as a company of T62 tanks appeared the local Para commander decided to pull the infantry companies back to cover and bring the Milans forward through the cover. All this took time and the attack stalled. The Milan teams were eventually deployed but struggled to damage the tanks.
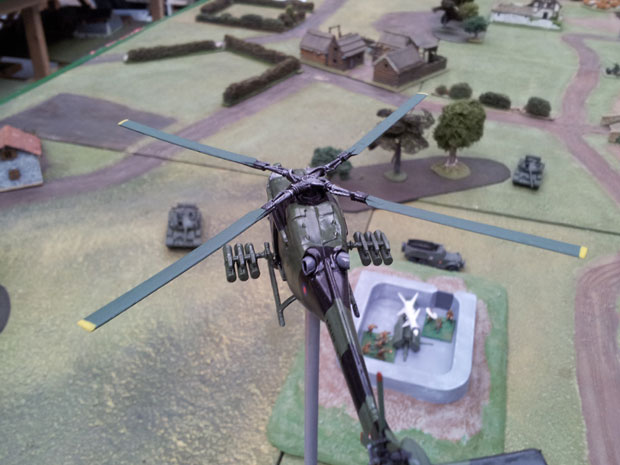
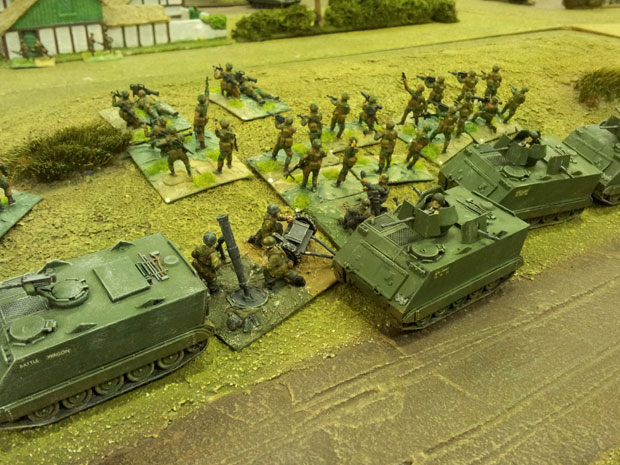
In the meantime battalion mortars deployed and commenced firing on the SAM site. Finally a frustrated NATO commander ordered in a Lynx helicopter armed with ATGW missiles. Those elderly tanks would be toast! Unfortunately, although some damage was done the tanks were not completely driven off.
At the same time the newly arrived light tanks and some infantry were despatched to move around the southern flank of the SAM site through some orchards. It was stalemate, the PPR tanks covered the open ground around the SAM site but the PPR forces lacked infantry to force the paras out of the cover and were pinned into the SAM site fortifications. The “heavy” land forces would have to arrive to break the deadlock.
NATO and Free Polish armour had now crossed the frontier.
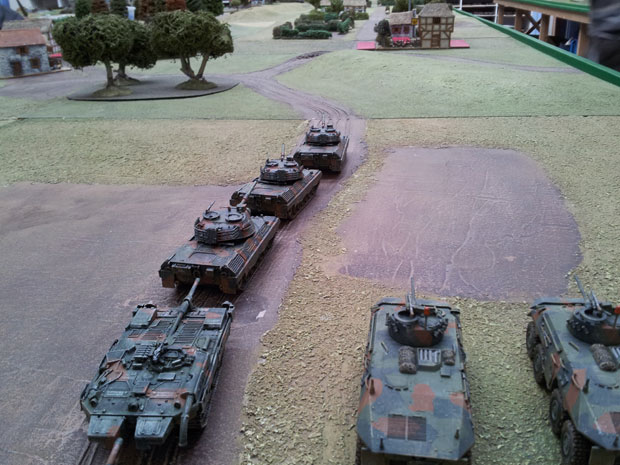
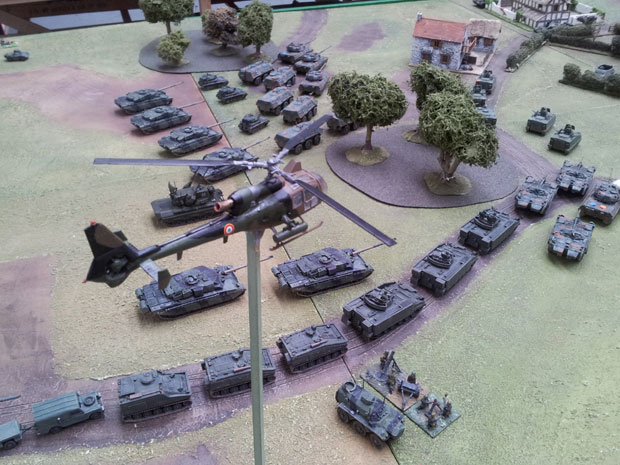
In the south the German Brigade led the way, with Luchs scout cars and Leopard I tanks in the lead followed by two infantry battalions, mounted in Mardar and M113 APCs.
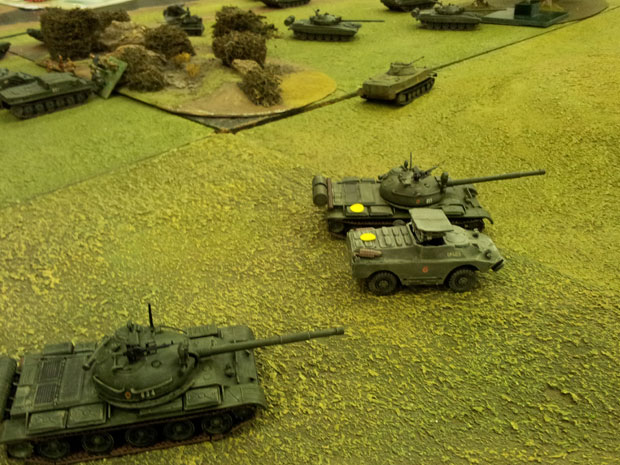
The frontier was covered by elements of the reserve 35th Motor Rifle Division consisting of some PPR Sagger ATGW teams supported by infantry companies and a couple of companies of T62 tanks.
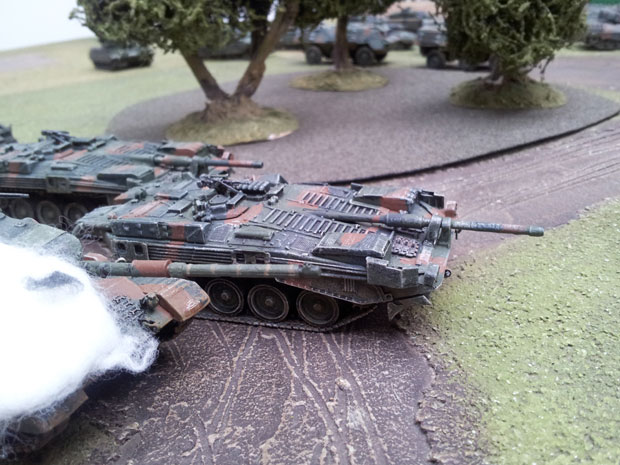
The PPR forces put up a brave fight with an intense fire fight taking place, although both sides seemed to suffer from an inability to actually hit anything and if they did only superficial damage was done! The outcome was the battle on the frontier was prolonged and the NATO commander here had to deploy a reserve company of Swedish supplied S tanks (you see what I mean about being able to deploy more varied tanks!). Finally with the arrival of the small British Brigade, superbly equipped with Challenger tanks and Warrior APCs, the deadlock was broken.
The NATO commander was further heartened by the arrival of the French Brigade and made his plans for the breakthrough to the SAM site.
The French Brigade consisted of a tank battalion equipped with AMX 30 tanks, an armoured infantry battalion and small airmobile force equipped with Gazelle and modern Puma helicopters.
To the north the Free Poles were making better progress, although a lack of suitable roads caused some delay. In this sector the PPR forces had not deployed close to the frontier but a little way back so the decisive encounter was delayed.
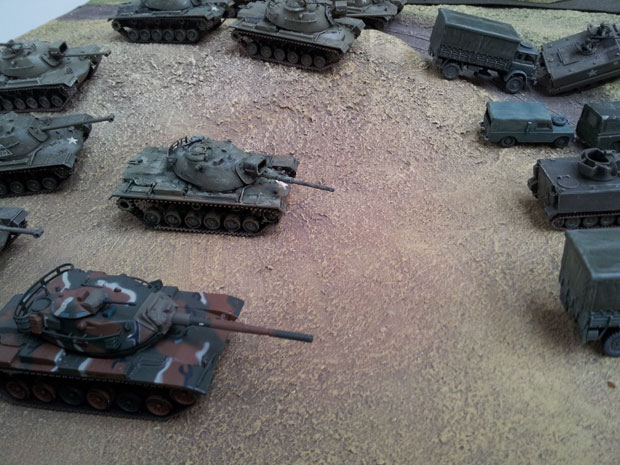
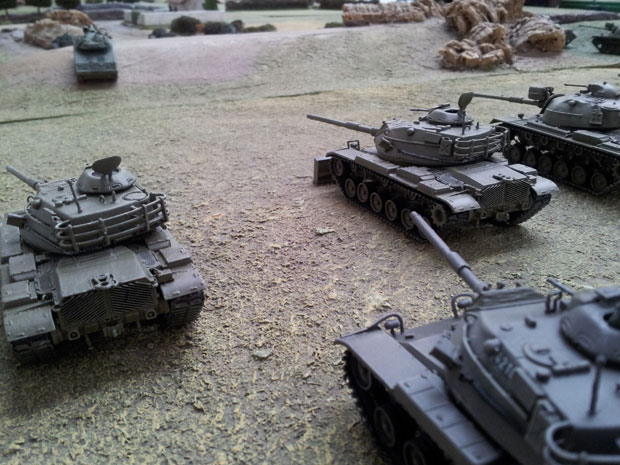
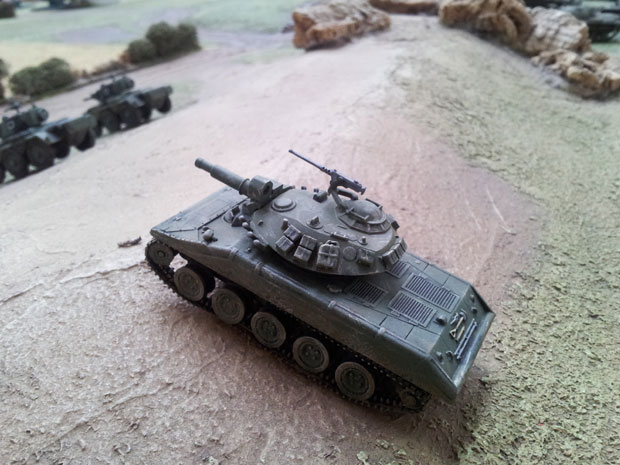
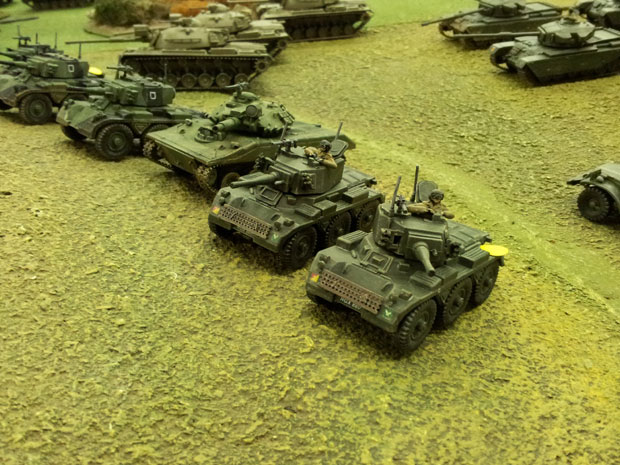
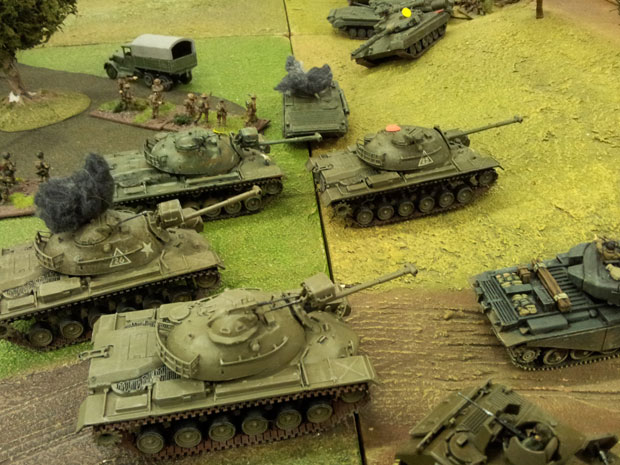
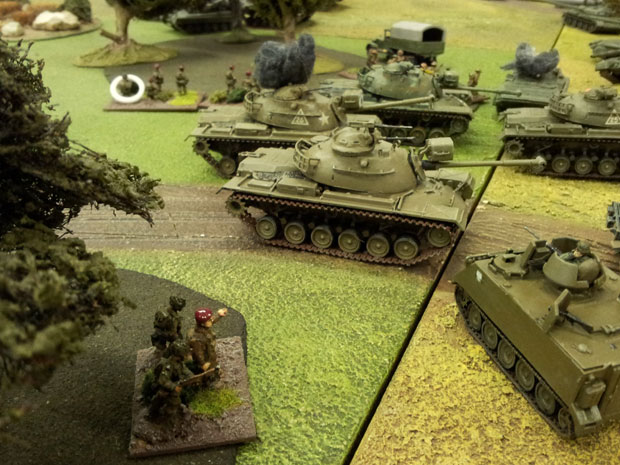
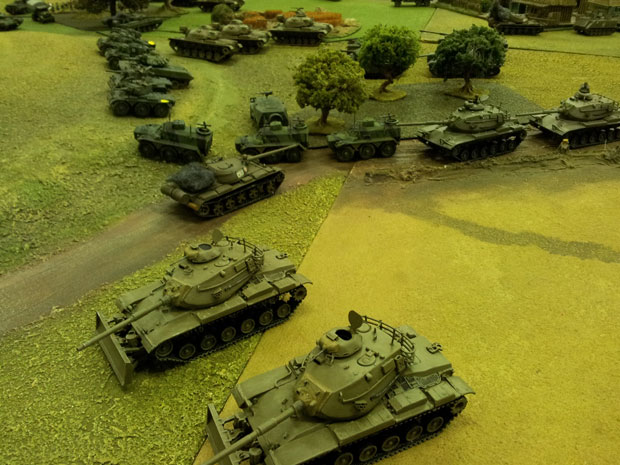
The forces were similar to those defending the southern frontier but the tanks were T55’s. The Free Polish commander led with a reservist battalion of M48 tanks and an armoured car regiment equipped with Saladin armoured cars and a few Sheridan light tanks.
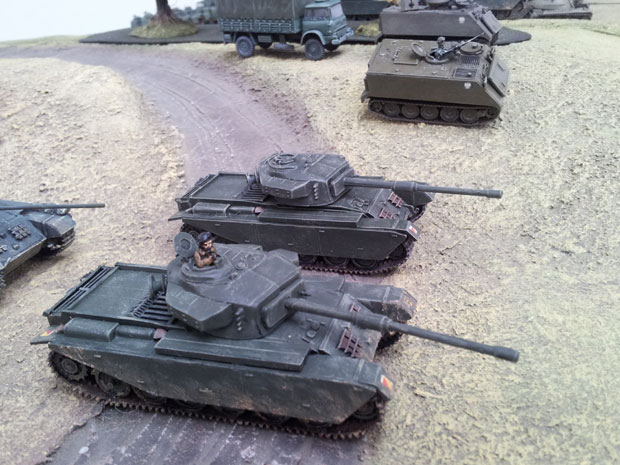
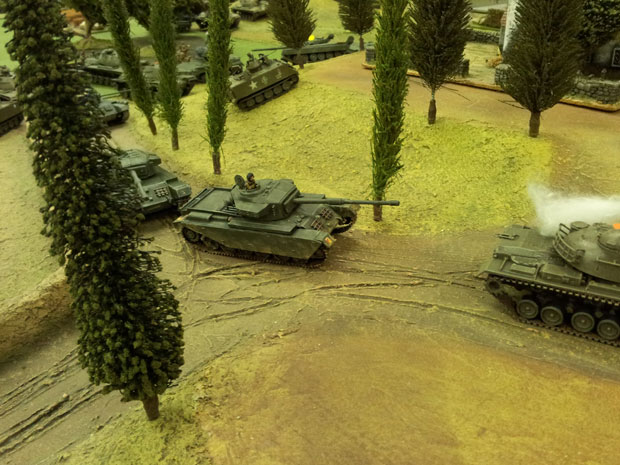
Behind these forces were a regular M60 equipped tank battalion supported by two armoured infantry battalions in M113 APC’s. In reserve there were the Centurion battalion and two further infantry battalions in Saracen APC’s.
Once again the fighting was fierce but crucially this time with effect, the Free Poles decisively out shooting the PPR forces. Gaps appeared in the PPR line. The Free Polish reservist M48 tank battalion charged forward attempting to make contact with the airborne forces.
Both NATO forces were now poised to breakthrough to the airborne forces, could they do it?
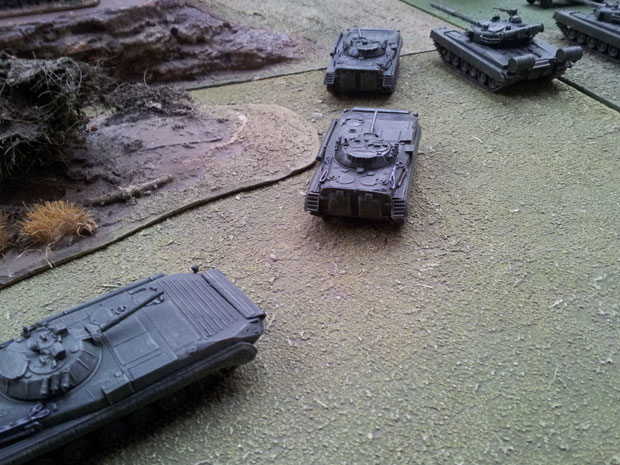
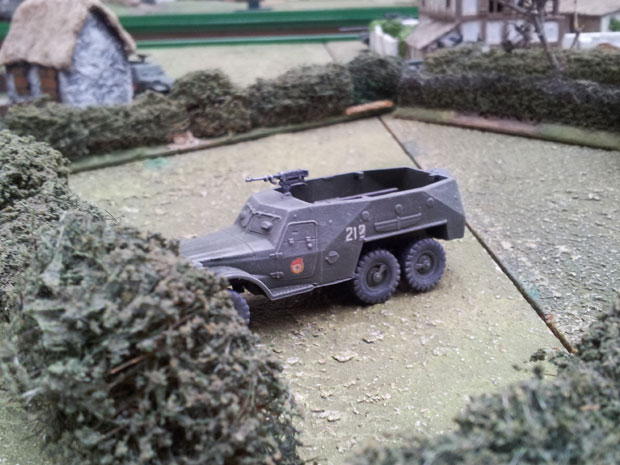
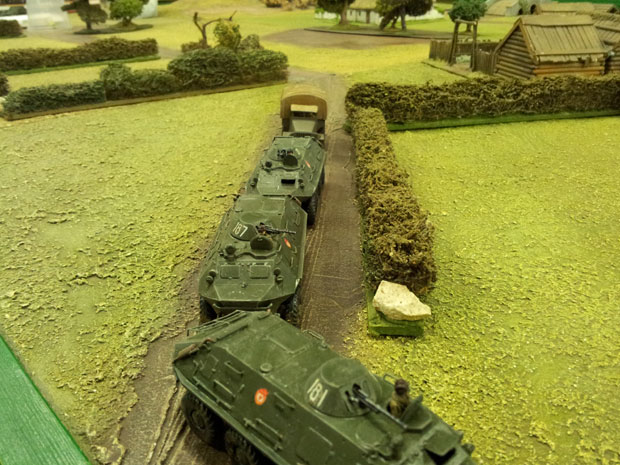
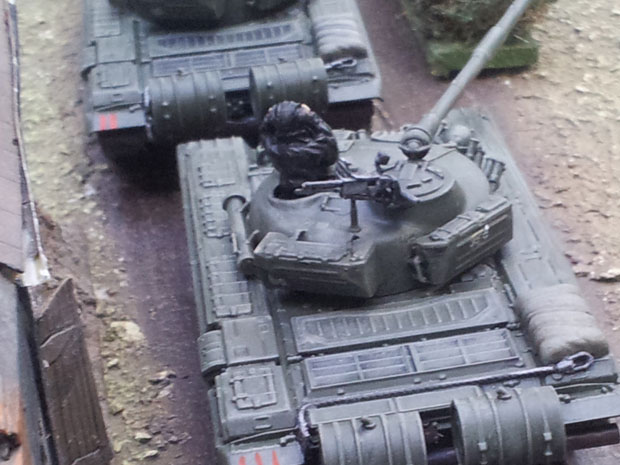
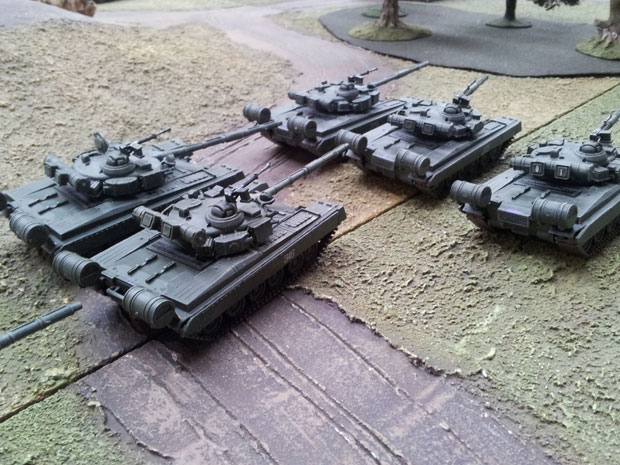
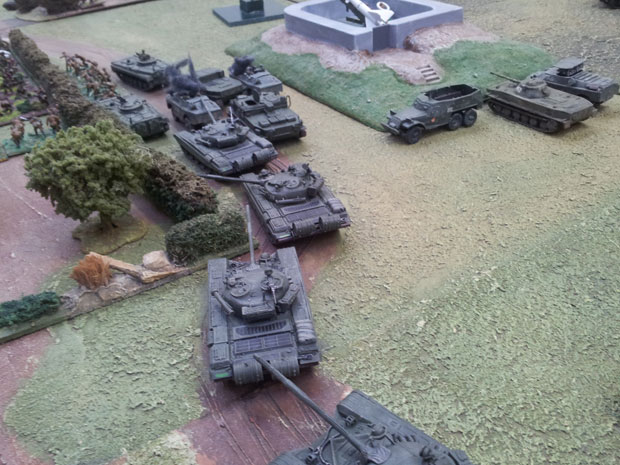
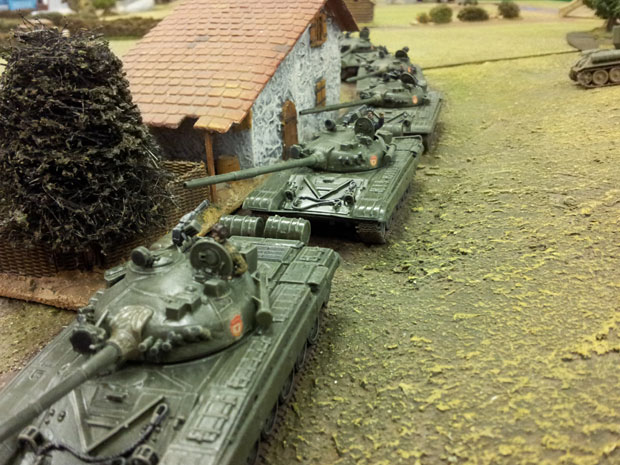
On the southern table PPR reinforcements arrived in the guise of the 23rd Motor Rifle Division, this was a standard modern regular PPR formation, it’s three battalion tank regiment was equipped throughout with T72 tanks and two of it’s three infantry battalions mounted in BTR60 APCs with the remaining one equipped with modern BMP 1 tracked APCs.
This was a formidable force; the T72s were better tanks than the NATO Leopard 1 and AMX 30 but inferior to the British Challengers. The NATO commander had to use his Challengers wisely.
The other advantage the NATO player had was that he was concentrated whilst the PPR forces were split with 2/3rds of the motor rifle division arriving from the east and the remaining one tank battalion and infantry battalion arriving further west in the flank of the NATO forces and it was this force that caused a considerable headache all day for the NATO commander.
It was eventually dealt with but with a loss of one of the precious Challengers.
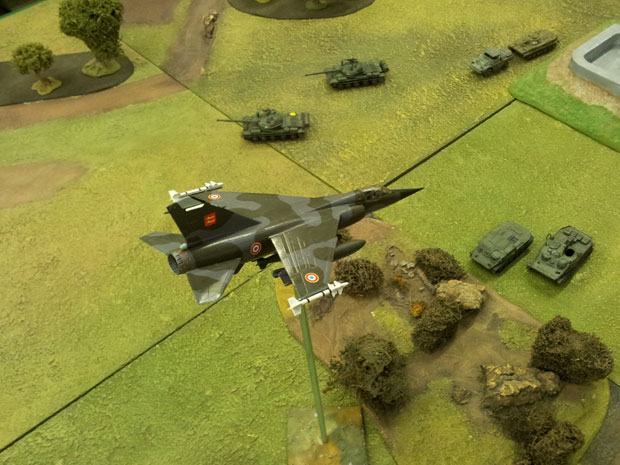
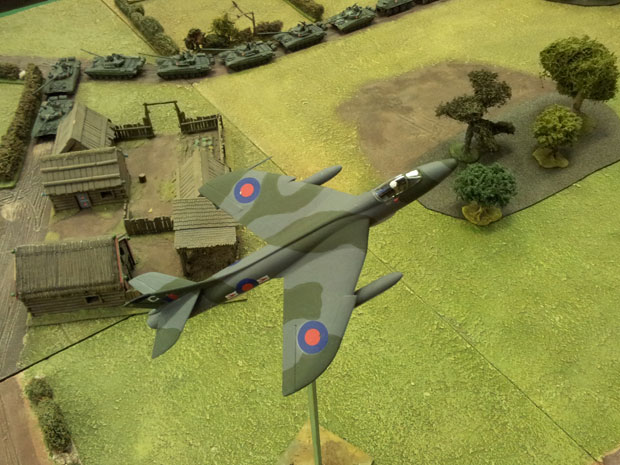
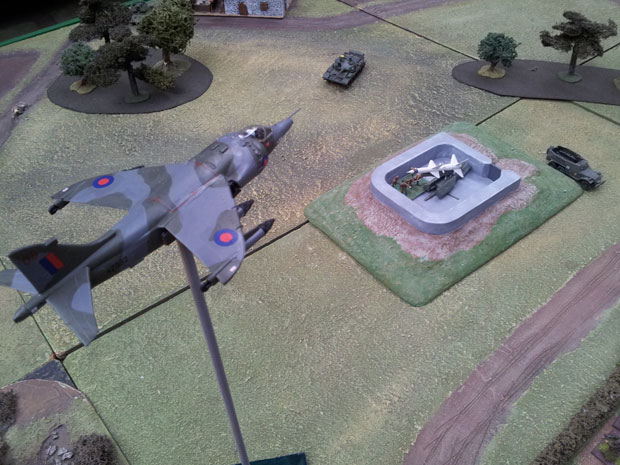
In an effort to maintain forward momentum the NATO player threw in all the air support he could, with Harriers and Hunter jets making many sorties.
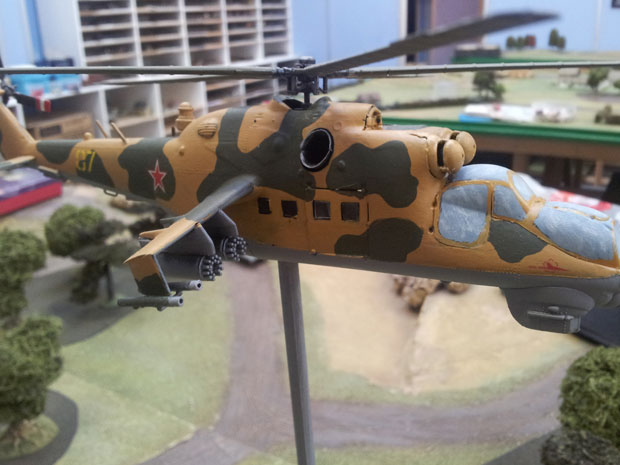
PPR flak was intense and the SAM site still functioning. A Hunter jet made an excellent bomb run on the SAM site before being shot out of the sky. Annoyingly for NATO they just could not land the knockout blow on the SAM site. In the midst of all this chaos in the sky a Soviet supplied Mi24 Hind gunship sneaked in under the NATO air umbrella. This was a formidably armed machine and immediately successfully targeted a Challenger tank.
The Hind crew had a short time to celebrate as they were bounced by an RAF Harrier returning from a bombing mission, although only having his 30mm cannon available the Harrier pilot pressed home his attack, the Hind pilot making successful evasive manoeuvres before managing to get in a fleeting shot with his own weapons and then both aircraft headed for home.
With his flank now cleared the NATO commander pushed the German brigade forward with the Panzer Grenadiers in the lead but it was late in day.
In the meantime the bulk of the 23rd Motor Rifle Division was advancing from the east.
These forces easily secured the SAM site pushing back the remaining Paras from the orchard to the south. It was apparent both sides would need to regroup and renew hostilities the next day.
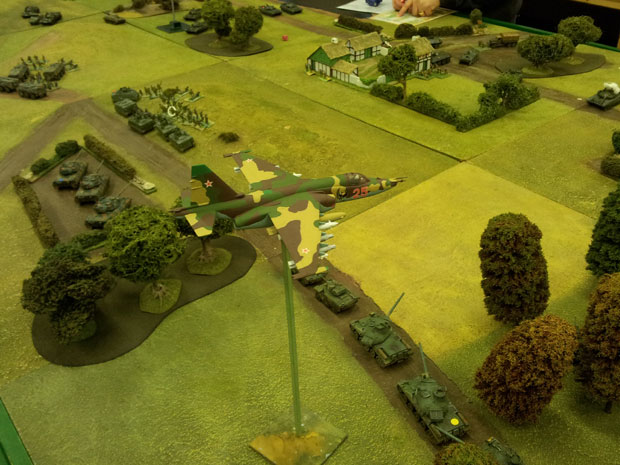
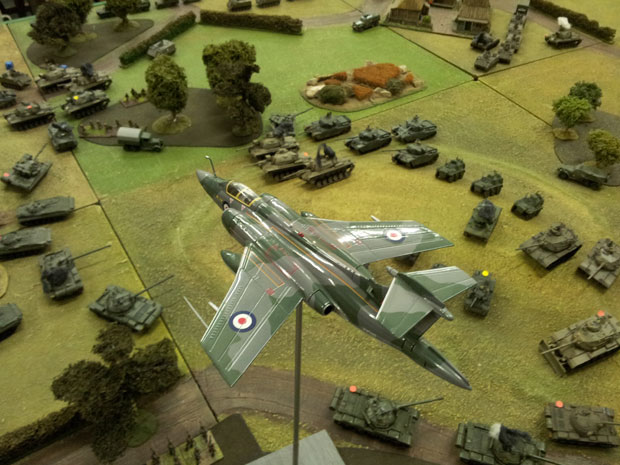
The NATO commander however, had one ace still up his sleeve in the shape of an uncommitted TSR 2 strike aircraft configured for ground support (another advantage of a fictional scenario!). The airstrike on the SAM site was ordered, the TSR 2 arrived, a truly magnificent sight. The now barely functioning SAM site got a shot off and the TSR2 tumbled from the skies!
One of our club members had spent two weeks making the kit, ordered special decals and only just finished it on Saturday night and as all wargamers will know this outcome was preordained by these facts alone!
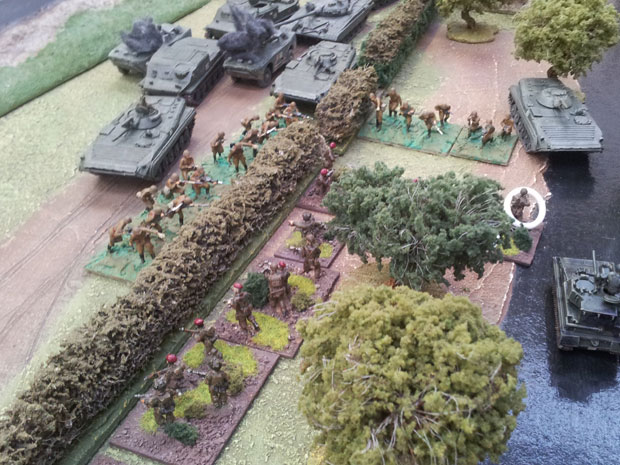
Returning to the northern flank as the frontier defences crumbled the first PPR reinforcements arrived in the form of the recce elements of the 25th Motor Rifle Division. This division had been undergoing modernisation and was mainly equipped with older T62 tanks but one tank battalion and crucially the recce battalion had new T80 tanks and BRMP APCs. The recce unit attempted to counterattack but found itself outnumbered and withdrew, the infantry seeking cover in woods and the tanks and APCs withdrawing into dead ground.
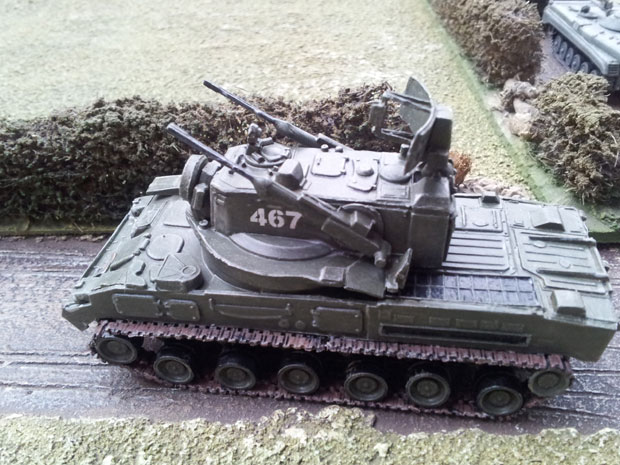
Further north a T62 tank battalion and an armoured infantry battalion in wheeled BTR 60s deployed behind a hill line to seal the northern flank. To the east the roads were full of the remaining two tank battalions and their supporting infantry, a juicy target for NATO airpower. ATGW equipped Lynx helicopters appeared on cue and tried to knock out the mobile PPR flak weapons to give themselves a clear run at the remaining enemy armour. The flak proved highly resilient and the NATO helicopters had to expend all their missiles before eliminating it.
These PPR reinforcements were now heading directly for the destroyed northern SAM site and more importantly the adjacent town now occupied by NATO troops. The PPR forces needed to clear the town to enable them to reinforce the frontier forces.
The reservist Free Polish M48 tank battalion was still in the lead and made the dash for the high ground above the town. To do this they had to pass the wood already occupied by the infantry recce elements of the 25th Motor Rifle Division. The recce troops ran to the edge of the wood deployed their handheld A/T weapons and fired. Amazingly the M48s emerged from this ambush virtually unscathed, turned their 90mm guns on the unfortunate PPR troops causing horrendous casualties.
The PPR troops fled. Free Polish luck was holding!
To the north the Free Polish commander had gathered his forces and the regular M60 battalion and Saladin armoured cars crested the hill.
The PPR T62’s supported by some ATGW teams were waiting for them and this time hits were achieved. A fire fight then developed but the Free Polish player was able to bring his reserve Centurion tank battalion into play and the numbers told.
Crucially the PPR reinforcements were held up retaking the town.
This they did with some ease the T80 and T62 tanks supported by two infantry battalions (one in BMP1 APCs), simply overwhelmed the poor Gurkhas and remaining Paras in a text book combined arms attack.
The PPR forces now moved round and through the town and the wrecked SAM site was retaken by PPR infantry.
A counterattack mounted into the flank of the Free Polish M48 tanks then took place supported by a Mi24 Hind gunship and was initially very successful.
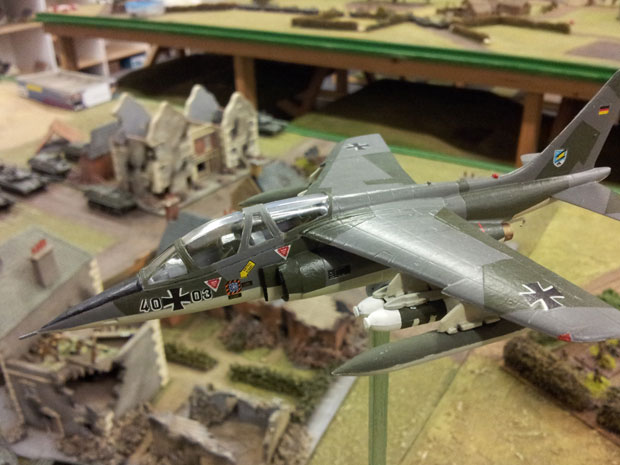
Just as the PPR tanks were about to exploit this advantage two extremely successful bombing runs by first a RAF Buccaneer and then a German Alphajet took place which immobilised some of the PPR tanks and inflicted heavy casualties on the PPR infantry supporting the attack.
The PPR counterattack stalled.
By this time however the success of the Free Polish M60 and Centurion tank battalions, further north, had become apparent and the 25th Motor Rifle Division commander decided to pull back to a new defensive line as night fell.
The day ended and players retired to the local Star Inn for a well deserved drink and inevitable inquest. “My dice were rubbish”; “you should have done that etc etc”!
Mark Freeth was an excellent host as usual and his photos have done full justice to the game.
We’ve now played two Rapid Fire mega-games at the WHC (Bagration 1944 and 1980s) and are starting to get a feel for the possibilities of the set-up here. The plan for our next game is a WW2 late war western front scenario that will use the full capabilities of the WHC terrain. It is in the last stages of planning, so if you are interested let Mark Freeth know and we can contact you once the date is finalised.

